The algorithm created by Hideo Otsuna.
FIJI plugins created by Hideo Otsuna and Takashi Kawase.
This manual is modified based on the instruction developed by Justine X Chia (UCSF).
***For EM MIP search please use this EM search plugin
***Downloading the Color Depth MIPs are here
- Launch and update FIJI.
- Drag and drop
ColorMIP_Mask_Search.jaron FIJI then quit (the plugin installation).
(you can get the .jar file from here)
Drag the folder (containing Gal4 color depth MIPs) into fiji, use virtual stack option.
- Duplicate a single slice that containing the neuron from the Gal4 image (⌘⇧ D).
- Trace area of interest on a duplicated slice (use polygon tool and try to be as accurate as possible).
- Edit > Clear Outside.
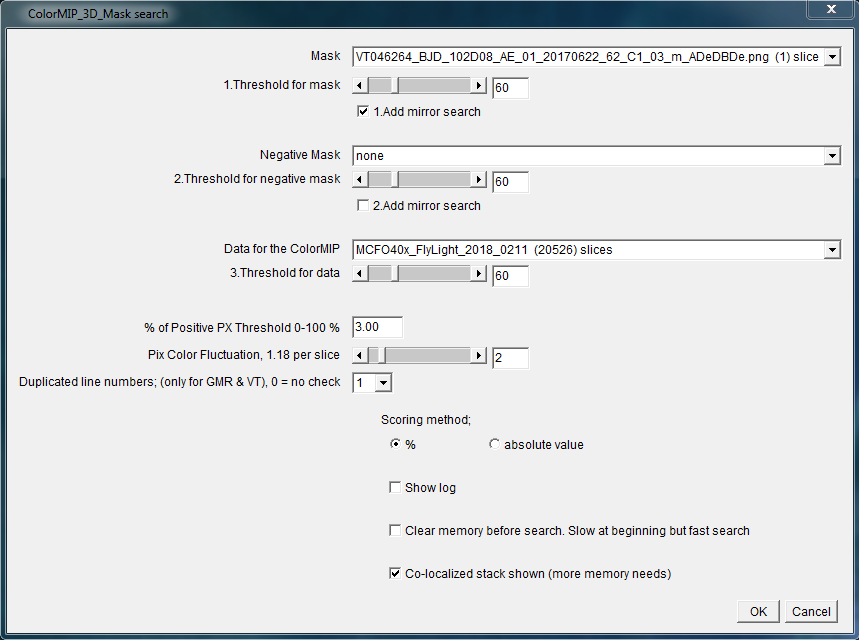
Plugins > ColorMIP Mask search

- Show log // -> show NaN for log may be useful for a first pass, just to keep track of all slices.
- Threshold for data: 30-60 is a good place to start for searching Gal4.
- If background is too high, increase threshold (max value is 255).
- If too many hits, can try increasing % of Positive PX Threshold 5-10%.
- The search can stop by pushing escape.
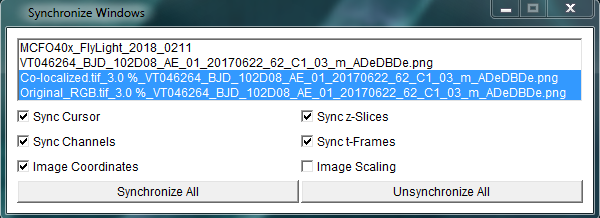
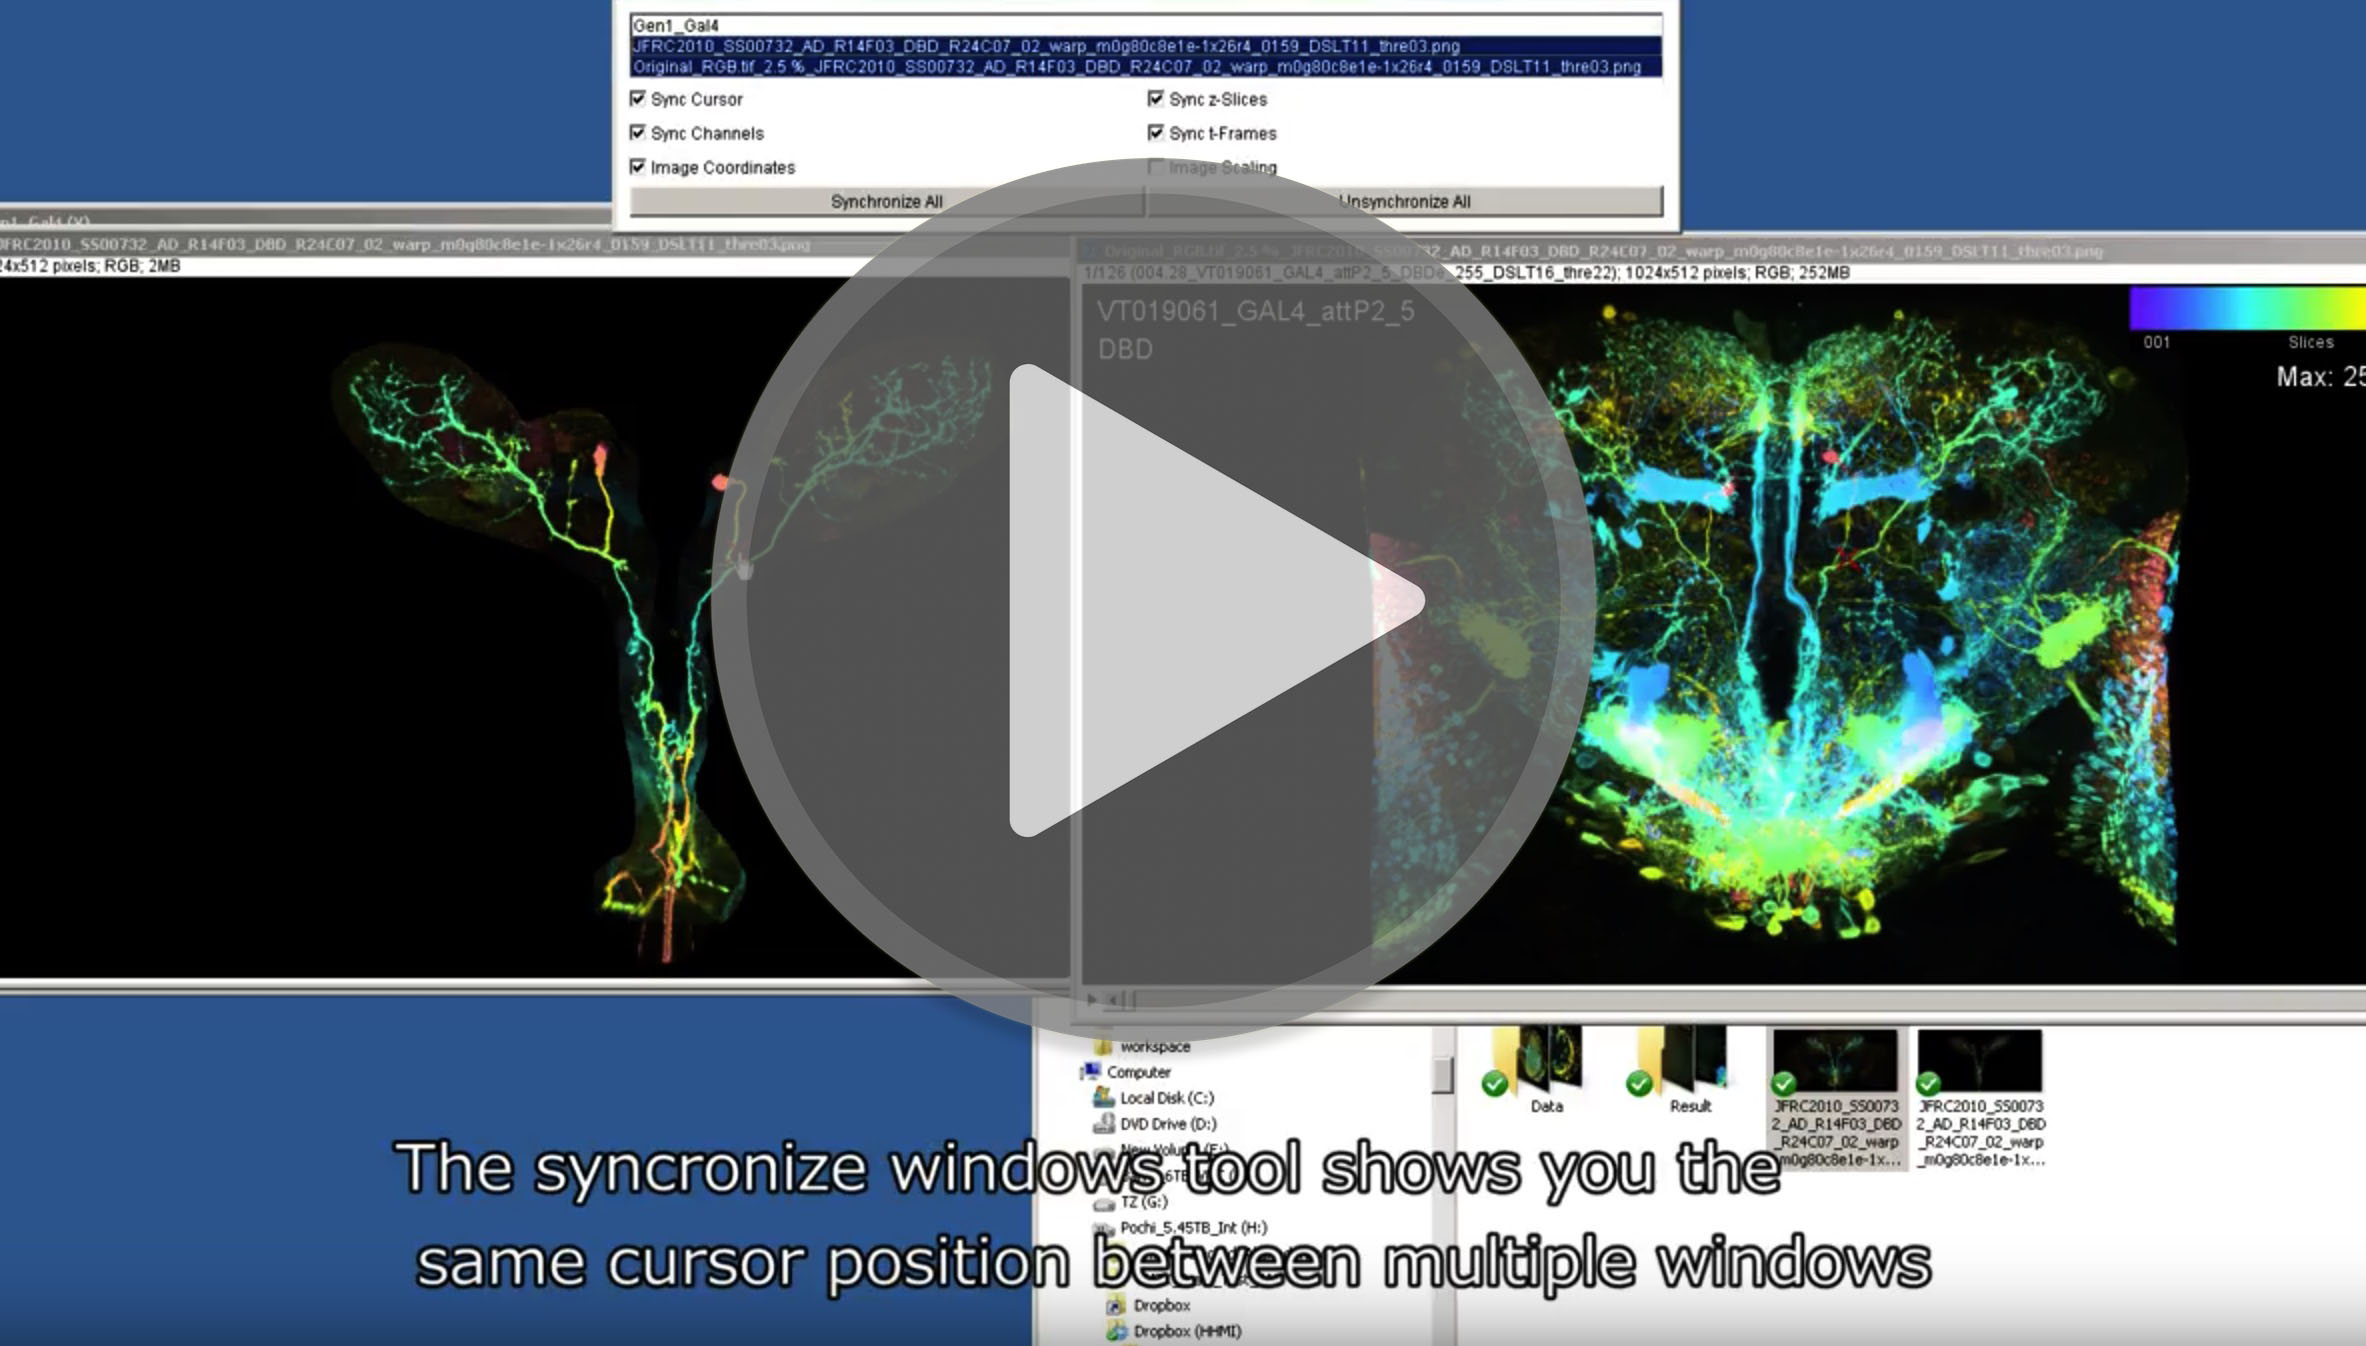
To make sure the position between the mask (the neuron) and hits (Gal4 lines), synchronizing the wingdows is useful function.
- Analyze > Tools > Synchronize Windows.
- Select the two windows to synchronize.

A red x (cross-hair) will now appear at the same position in both images.

realtime_Result_ctrl_click_substack.ijm is useful for quickly making a list of lines and the substack while scrolling through the stack of potential hits.
- Open
realtime_Result_ctrl_click_substack.ijm. - Click window with colorMIP search result stacks.
- Run macro (only accepts one open window). Then Result window will be open.
- Shift + click on the result stack will add the image name into the Result table.
- ctrl + click will create a substack with the Result table from the result stack.

