This repository contains the code running on the Flight Control Computer (FCC). It controls and communicates with the rest of the flight system via CAN (Controller Area Network).
Use the readme and scripts in the scripts/ directory to compile, run and manage the code. You might need to install some dependencies, such as boost (a C++ library) and wiringpi.
Boost installation
$ sudo apt-get install libboost-all-dev
Wiring Pi installation
$ wget https://project-downloads.drogon.net/wiringpi-latest.deb
$ sudo dpkg -i wiringpi-latest.deb
General overview of sub-directories. For more information consult README.md file in each sub-directory.
.githubcontains GitHub workflow scripts (.yml).dependcontains all dependencies that are needed in order to build and run the code.docscontains documentation related files.drivercontains hardware drivers used byutilandmodules.logscontains logfiles.modulescontains the software modules that communicate with each other using Fast-DDS.scriptscontains scripts for fast and efficient system management.testscontains unit and integration tests.utilcontains utility functions used bydriverandmodules.
TODO
- TODO some sort of visual graph
Start by setting up a "normal" RaspberryPi system. Then, follow the steps below:
-
The RaspberryPi is running a Linux kernel with Rreempt-RT. Please follow this tutorial in order to compile und upload the kernel to the RaspberryPi.
-
In order to install Fast-RTPS follow this. Ensure that you have all dependencies installed.
-
For Mavlink have a look at this tutorial.
-
To install the CAN driver and CAN utils use this tutorial here. But put these two lines
# Enable can (dtparam=spi=on must be set)
dtoverlay=mcp2515-can0,oscillator=16000000,interrupt=25,spimaxfrequency=2000000
# spimaxfrequency is optional to reduce or increase spi speed if errors occur on bus lane
into your /boot/config.txt and these
auto can0
iface can0 can static
	bitrate 500000
into your /etc/network/interfaces.
- In order to get rid the locale errors, put
export LC_ALL=Cat the bottom of the.bashrcin the home directory and reboot.
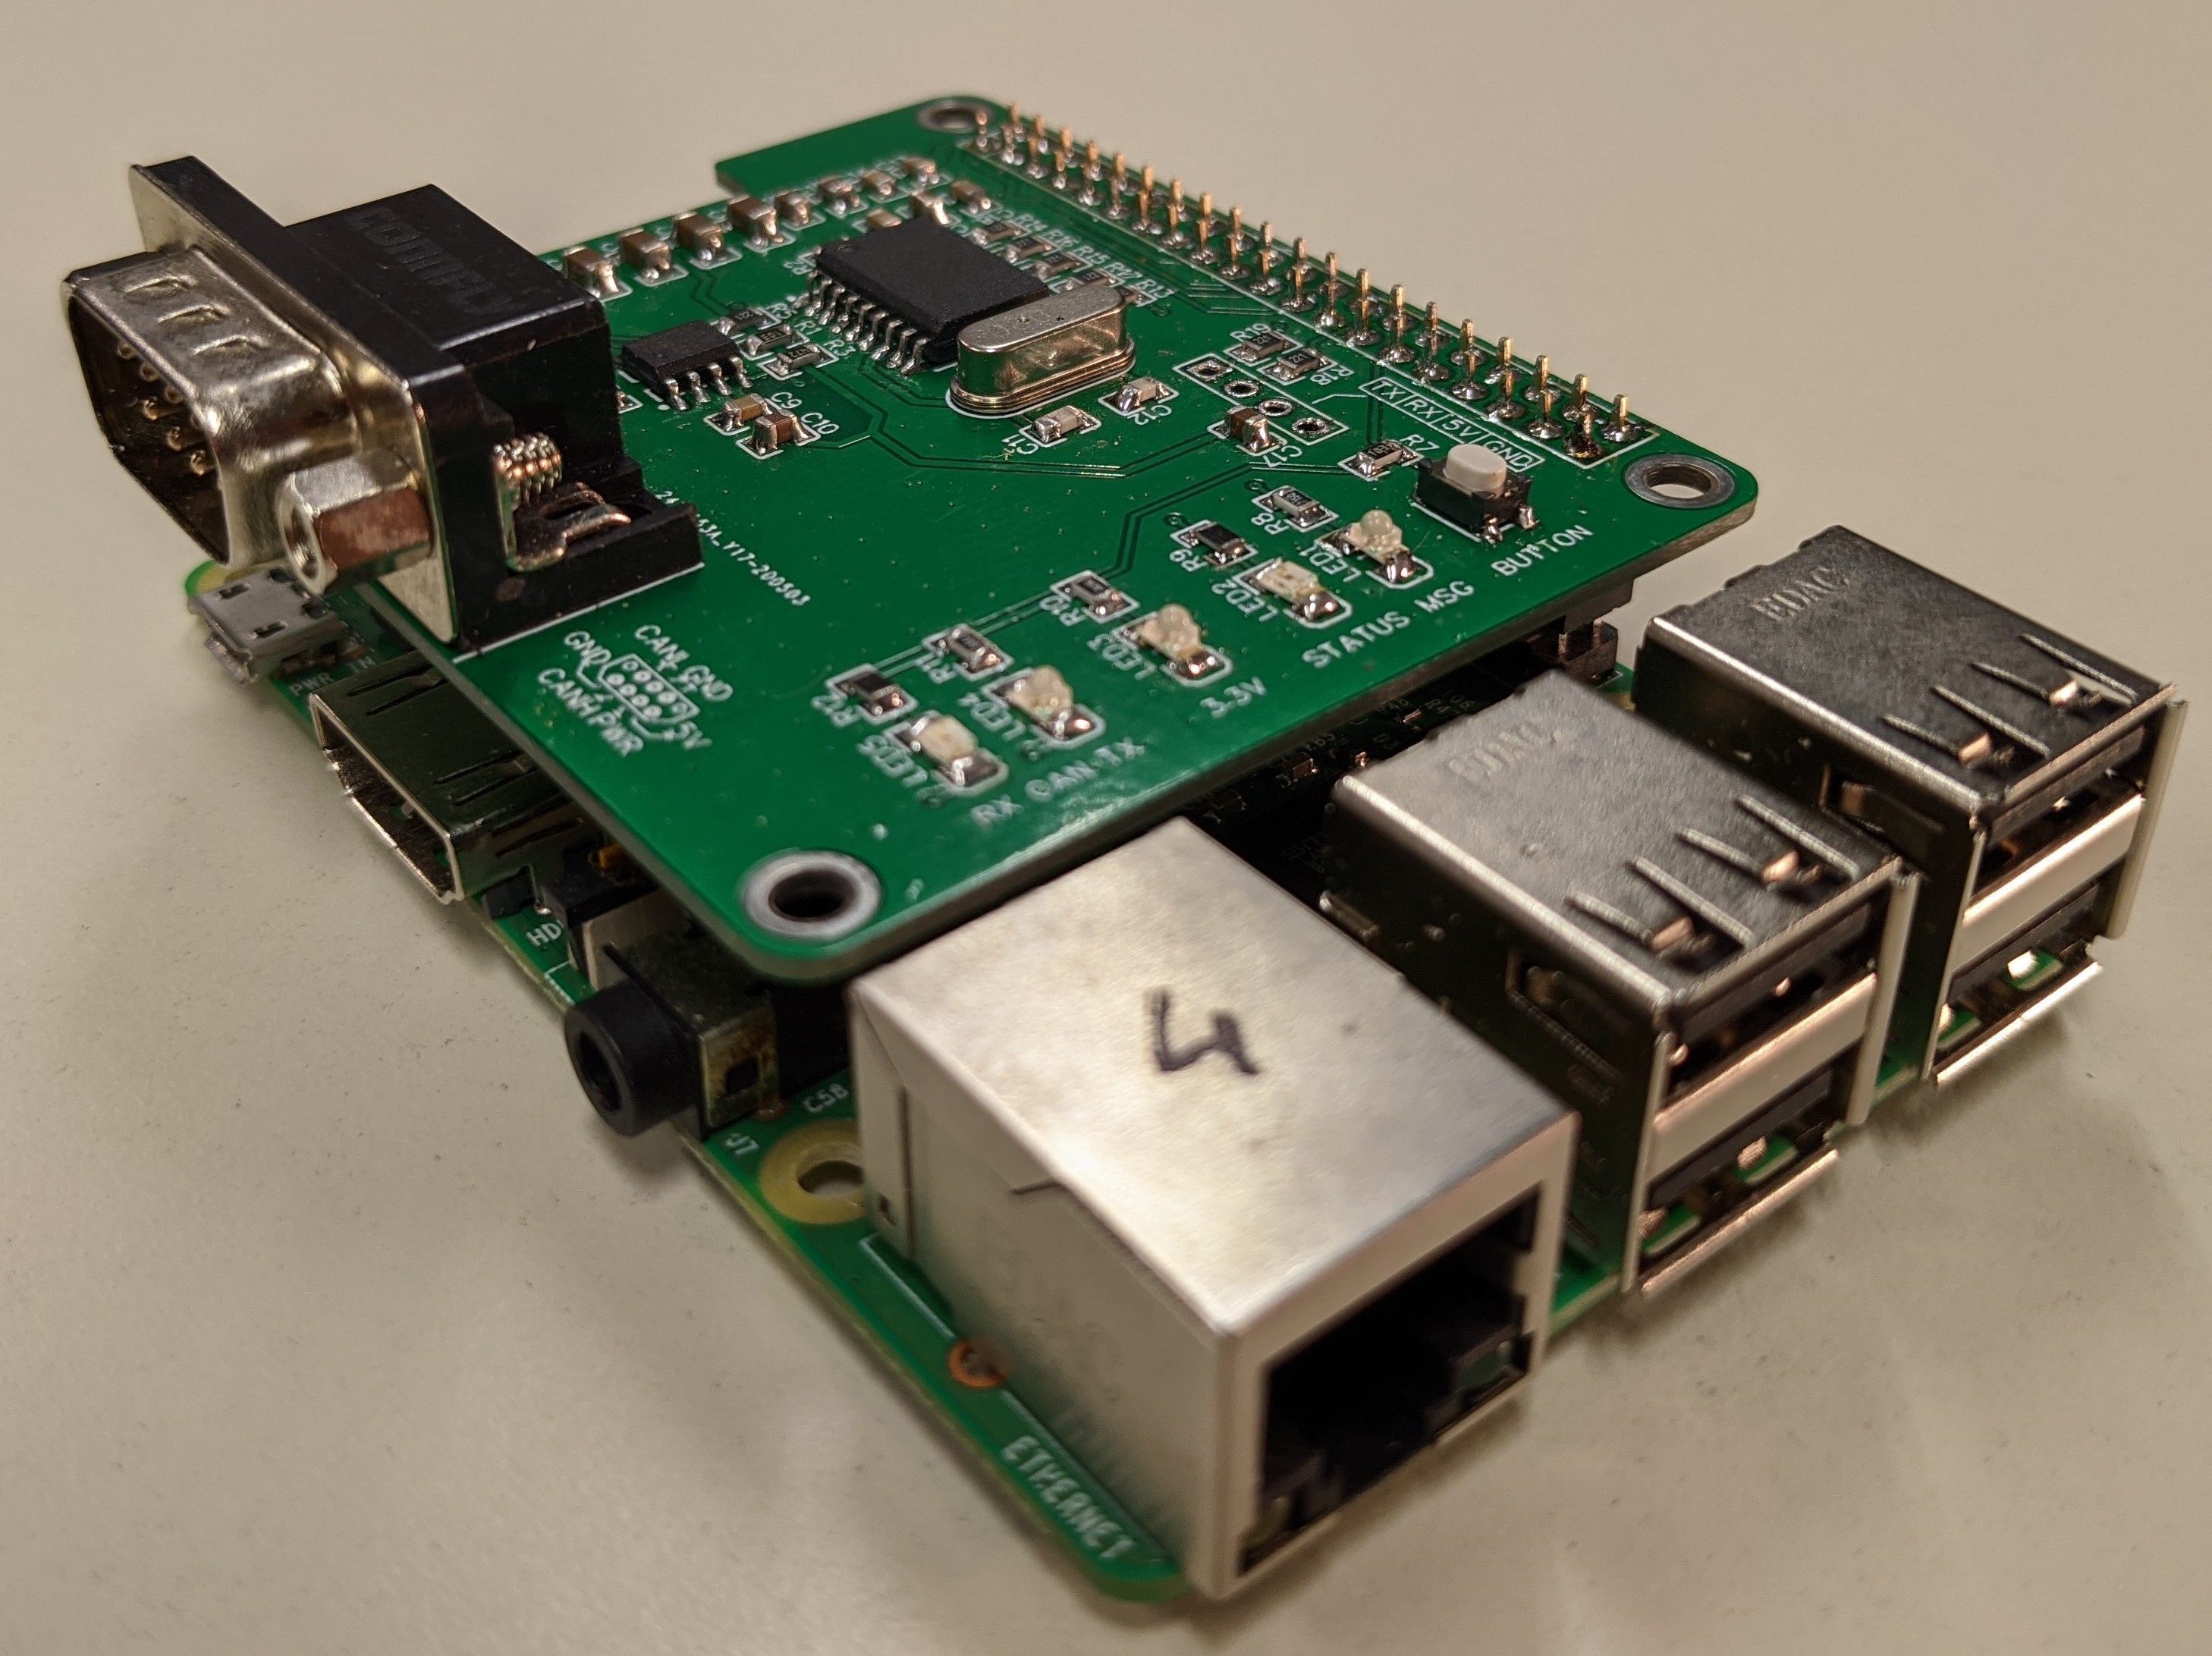
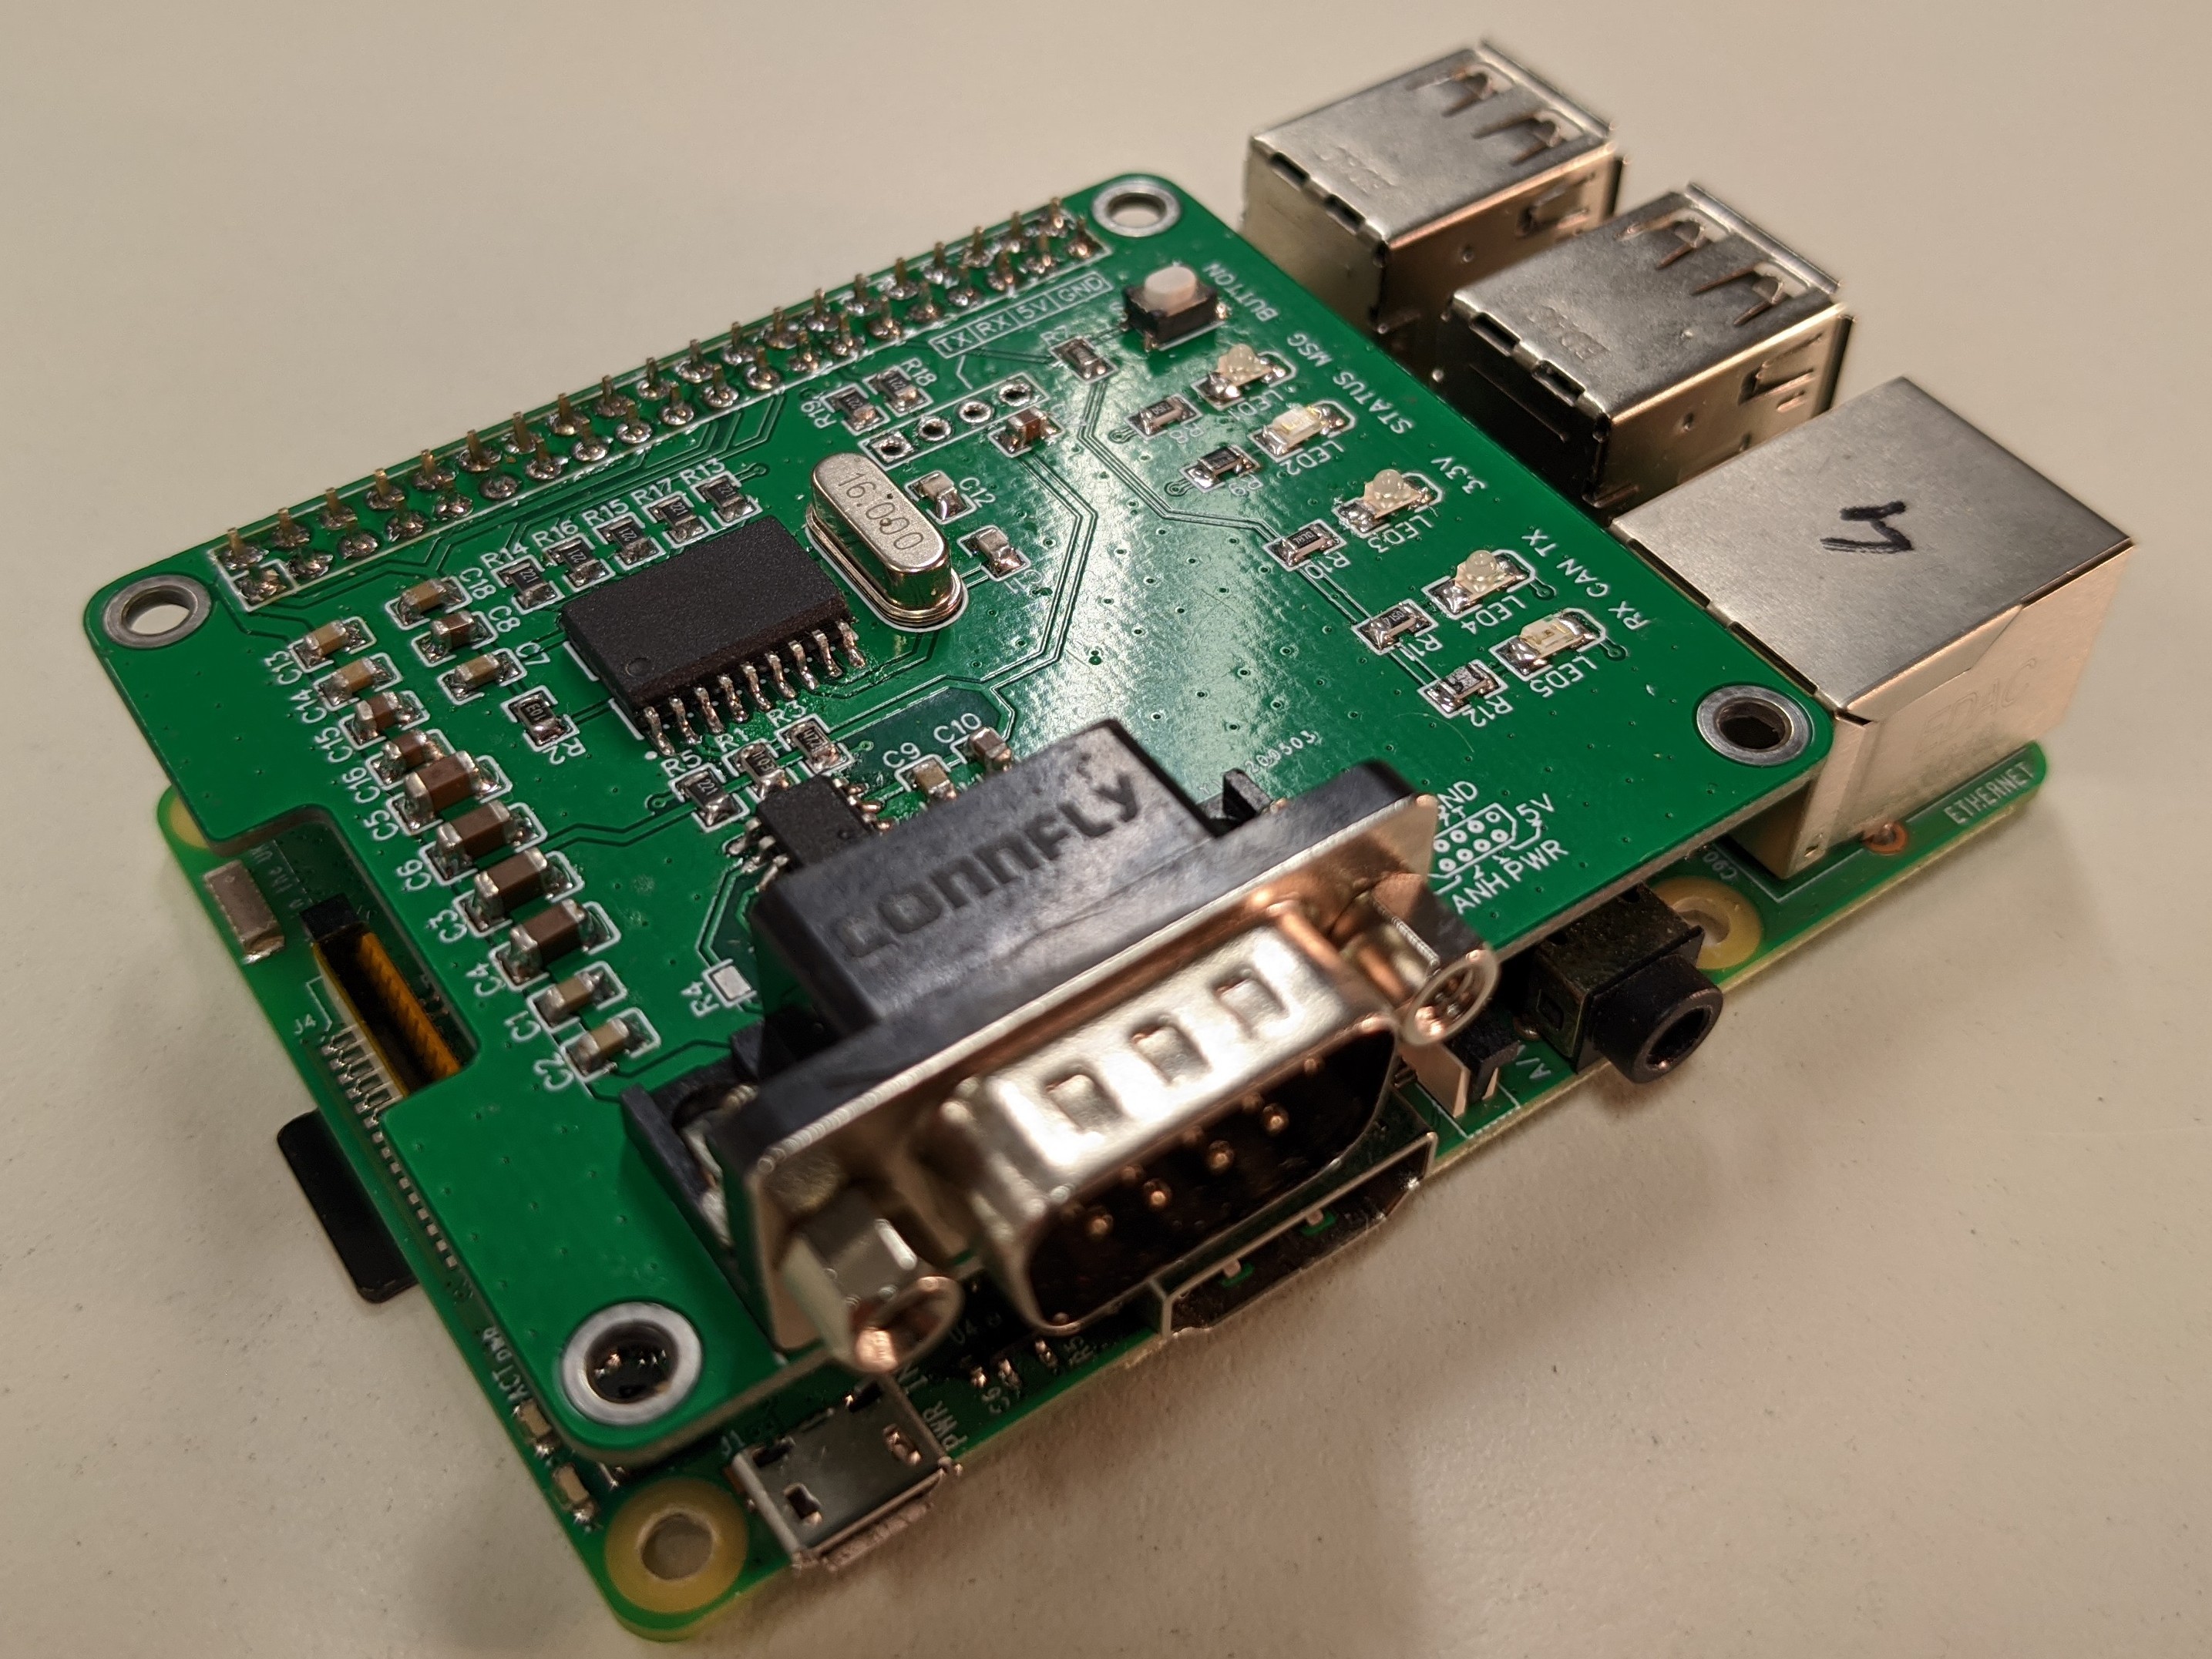
We are currently using a RaspberryPi 3 (and 4) Model B. It is connected to a custom build shield (hat) that provides power and communication over the CAN bus.
RaspberryPi with CAN interface shield:

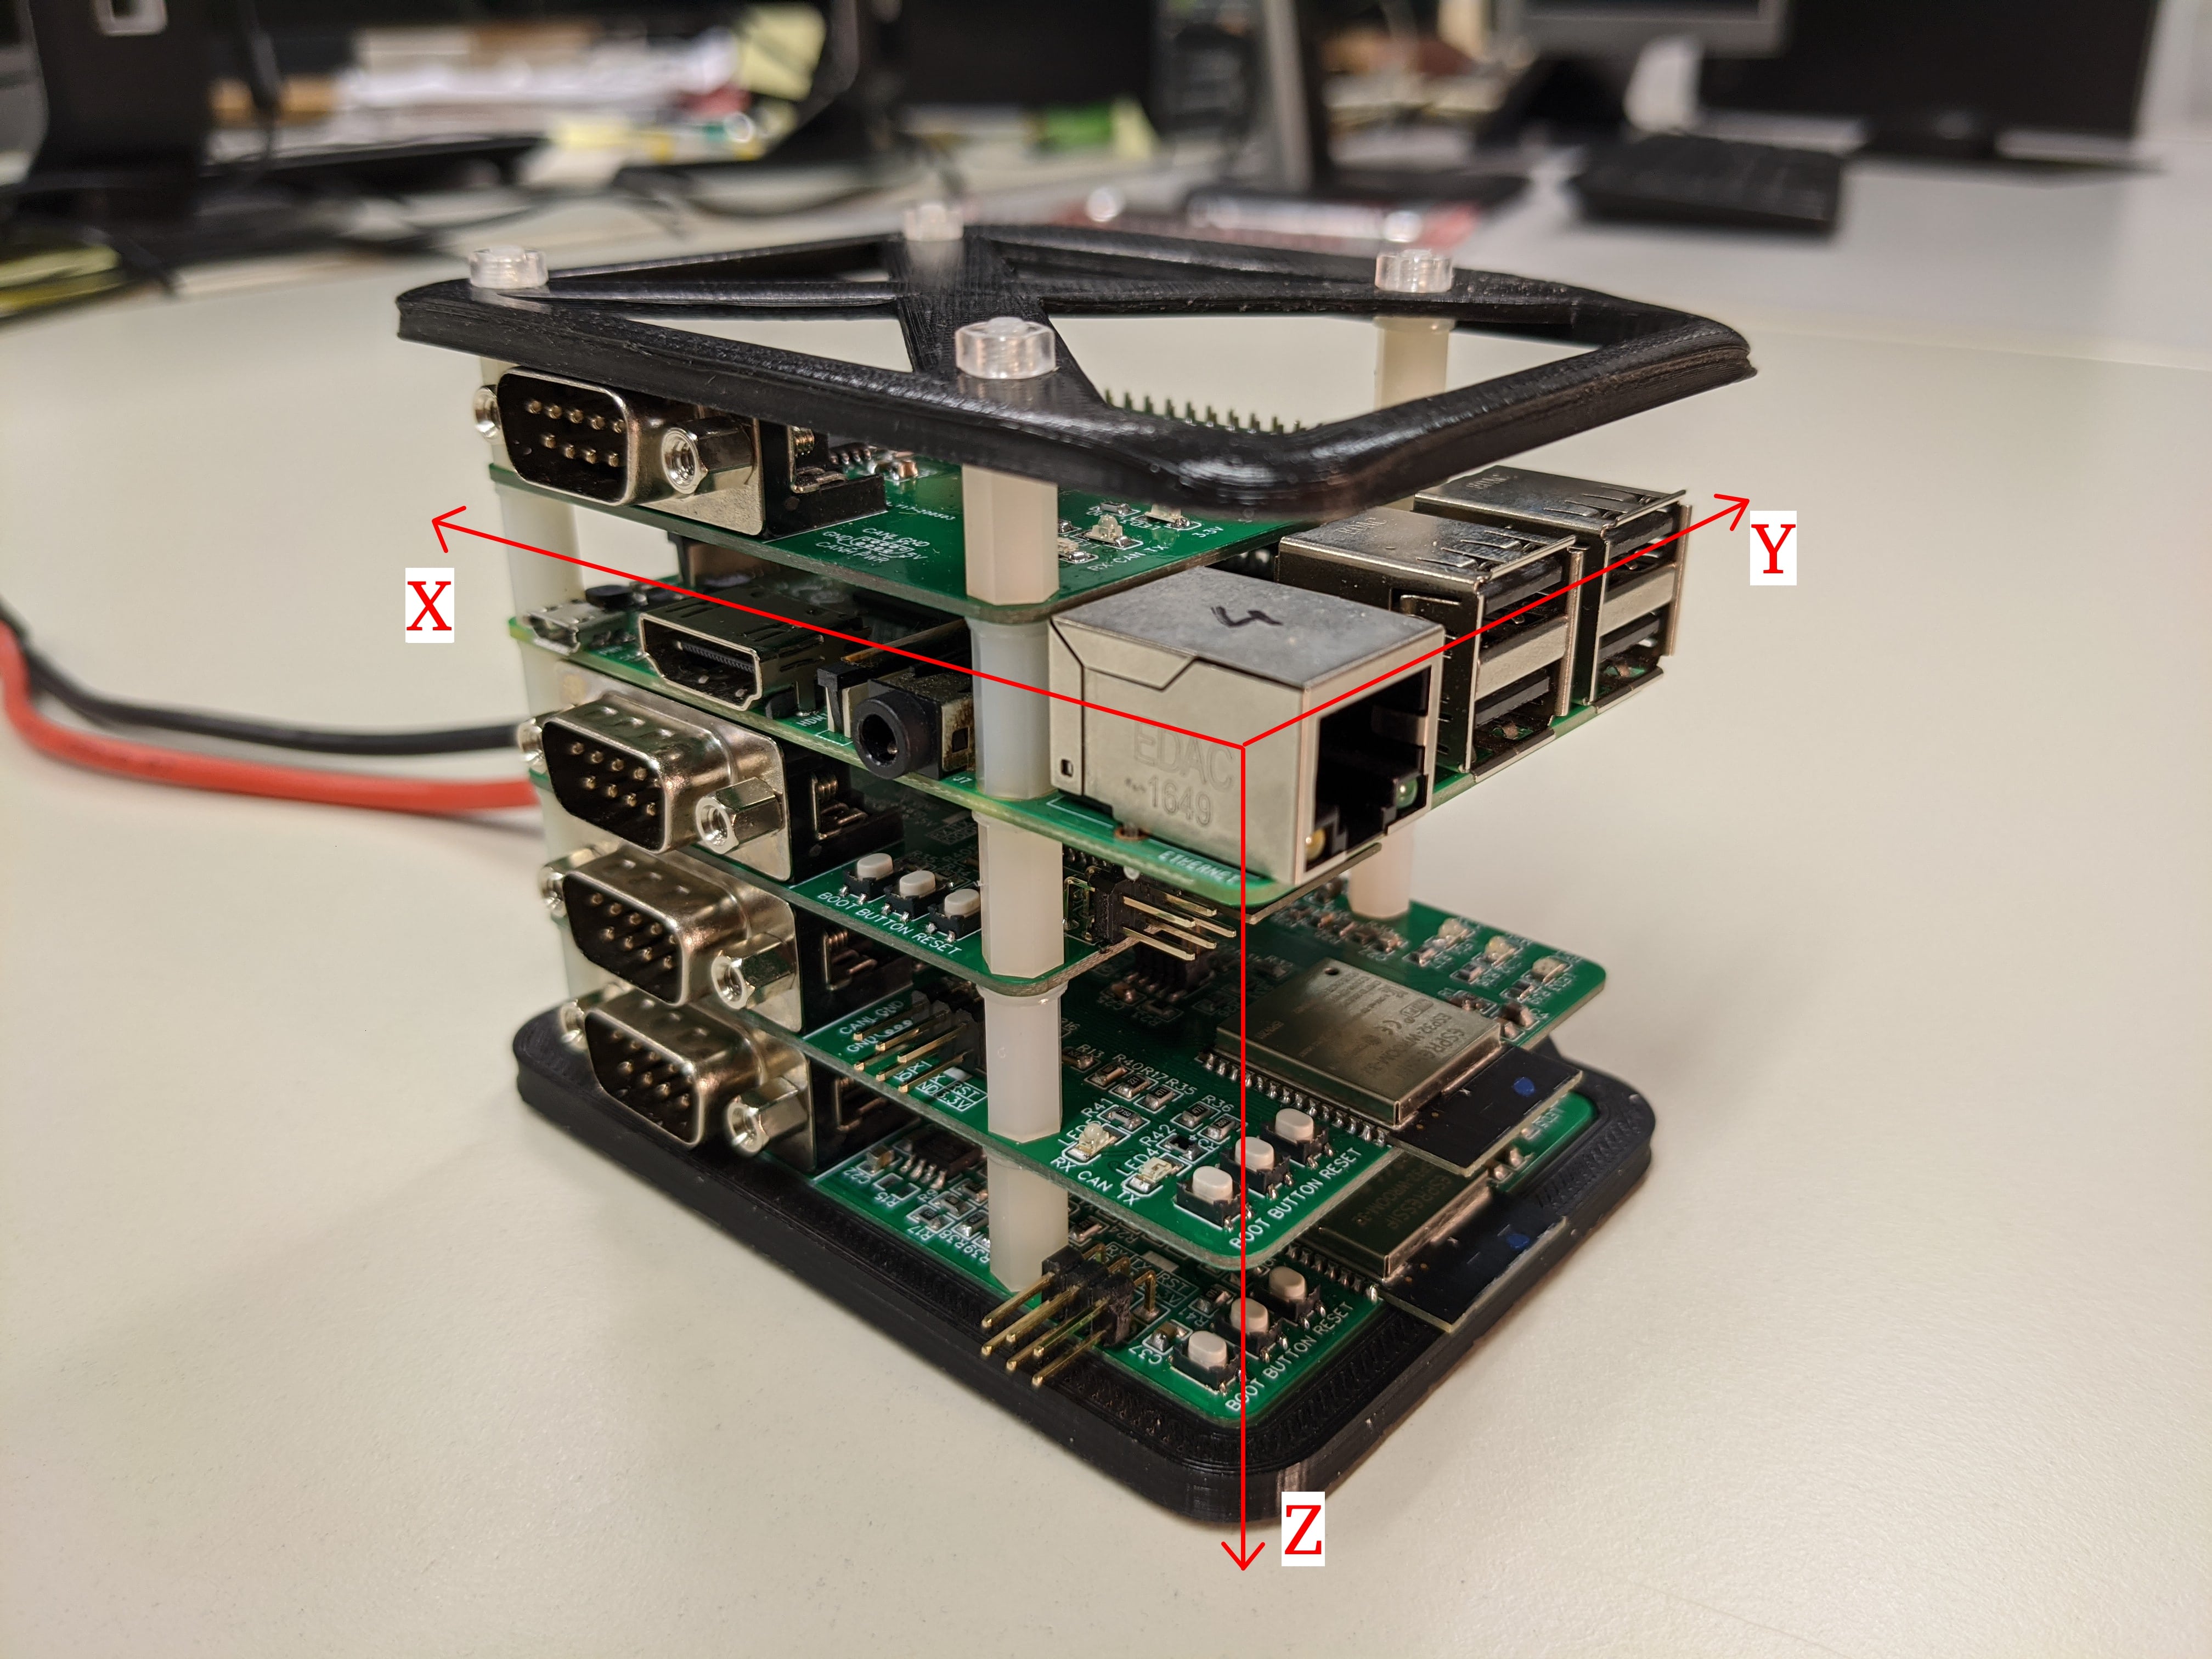
 RaspberryPi mounted in complete stack:

For more information about the shield and the rest of the custom hardware, have a look at the mfs-hardware repository.
We are currently supporting 3x 3 Flightmodes Mode. Flightfunction Func selects which 3 Flightmodes are active. So on total we could theoretically support 9 different actual modes.
The 3 possible states Mode can be in are MANUAL AUTNOMOUS and EXPERIMENTAL. The 3 possible states Func are divided in FCT_0 FCT_1 and FCT_2. The AUTONOMOUS mode is build on the MANUAL mode. This means, if AUTONOMOUS mode is active, all MANUAL functions are active as well. EXPERIMENTAL mode and functions are free to use and not determined to a specific behaviour yet.
| Flightmode / Flightfunction | FCT_0 | FCT_1 | FCT_2 |
|---|---|---|---|
| MANUAL | Manual control | Attitude control | Height, velocity and course control |
| AUTONOMOUS | Mission | Tracker | Advanced |
| EXPERIMENTAL | TBA | TBA | TBA |
In addition to above presented modes / functions the pilot can decide whether the control output from the RaspberryPi should actually be used as control input to the aircraft or whether the aircraft should directly be controlled (without going through the RaspberryPi) from pilot commands. This is in addition to the "Manual control" option as seen in the table above where the signals are send through the RaspberryPi but not being modified. This is controlled via software running on the RAI board. We will call this pilot-overwrite.
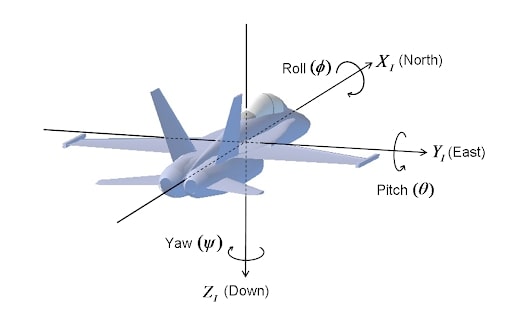
We are using the following body coordinate system:

The default orientation coordinate system of the stack is the following:

Because the stack is turned onto its left side inside the Hype aircraft, the hype coordinate system is slightly different. While x stays the same y becomes z and z becomes -y.
In general, follow the Google C++ and the PEP8 Python style guides. Where deemed sensible and / or necessary, diverge from these guides.