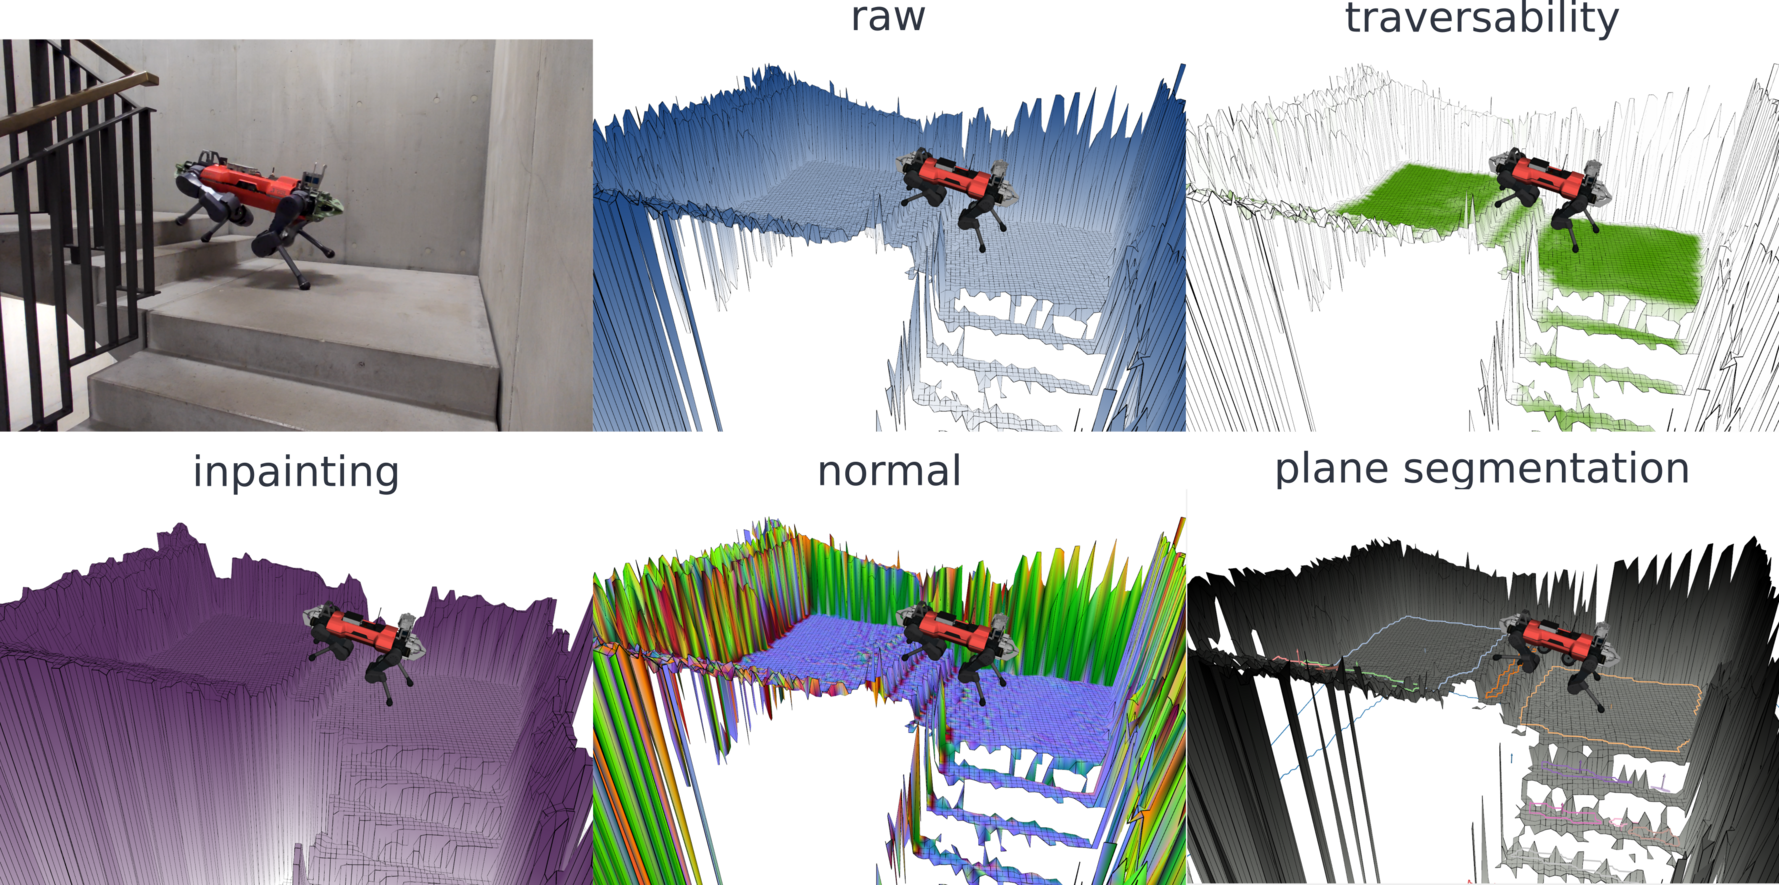
This is a ROS package for elevation mapping on GPU. The elevation mapping code is written in python and uses cupy for GPU computation. The
plane segmentation is done independently and runs on CPU. When the plane segmentation is generated, local convex approximations of the
terrain can be efficiently generated.


Takahiro Miki, Lorenz Wellhausen, Ruben Grandia, Fabian Jenelten, Timon Homberger, Marco Hutter
Elevation Mapping for Locomotion and Navigation using GPU arXiv
@misc{https://doi.org/10.48550/arxiv.2204.12876,
  doi = {10.48550/ARXIV.2204.12876},
  url = {https://arxiv.org/abs/2204.12876},
  author = {Miki, Takahiro and Wellhausen, Lorenz and Grandia, Ruben and Jenelten, Fabian and Homberger, Timon and Hutter, Marco},
  keywords = {Robotics (cs.RO), FOS: Computer and information sciences, FOS: Computer and information sciences},
  title = {Elevation Mapping for Locomotion and Navigation using GPU},
  publisher = {arXiv},
  year = {2022},
  copyright = {arXiv.org perpetual, non-exclusive license}
}
The tested versions are CUDA10.2, 11.6
Check how to install here.
You will need
For traversability filter, either of
Optionally, OpenCV for inpainting filter.
Install numpy, scipy, shapely, opencv-python with the following command.
pip3 install -r requirements.txtcupy can be installed with specific CUDA versions. (On jetson, only "from source" i.e. pip install cupy could work)
For CUDA 10.2 pip install cupy-cuda102
For CUDA 11.0 pip install cupy-cuda110
For CUDA 11.1 pip install cupy-cuda111
For CUDA 11.2 pip install cupy-cuda112
For CUDA 11.3 pip install cupy-cuda113
For CUDA 11.4 pip install cupy-cuda114
For CUDA 11.5 pip install cupy-cuda115
For CUDA 11.6 pip install cupy-cuda116
(Install CuPy from source) % pip install cupy
You can choose either pytorch, or chainer to run the CNN based traversability filter.
Install by following the official documents.
Pytorch uses ~2GB more GPU memory than Chainer, but runs a bit faster.
Use parameter use_chainer to select which backend to use.
sudo apt install ros-noetic-pybind11-catkin
sudo apt install ros-noetic-grid-map-core ros-noetic-grid-map-msgsCUDA and cuDNN can be installed via apt. It comes with nvidia-jetpack. The tested version is jetpack 4.5 with L4T 32.5.0.
On jetson, you need the version for its CPU arch:
wget https://nvidia.box.com/shared/static/p57jwntv436lfrd78inwl7iml6p13fzh.whl -O torch-1.8.0-cp36-cp36m-linux_aarch64.whl
pip3 install Cython
pip3 install numpy==1.19.5 torch-1.8.0-cp36-cp36m-linux_aarch64.whl
Also, you need to install cupy with
pip3 install cupyThis builds the packages from source so it would take time.
sudo apt install ros-melodic-pybind11-catkin
sudo apt install ros-melodic-grid-map-core ros-melodic-grid-map-msgs
Also, on jetson you need fortran (should already be installed).
sudo apt install gfortranIf the Jetson is set up with Jetpack 4.5 with ROS Melodic the following package is additionally required:
git clone git@github.com:ros/filters.git -b noetic-develsudo apt install libopencv-devsudo apt install libeigen3-devCGAL5 is required. It will be automatically downloaded and installed into the catkin workspace by the cgal5_catkin package. Make sure you have the third-party libaries installed on you machine:
sudo apt install libgmp-dev
sudo apt install libmpfr-dev
sudo apt install libboost-all-dev
PCL is required, but the ANYbotics distributed version does not contain visualization components. With pcl_visualization_catkin, the missing components are provided into your catkin workspace (for pcl 1.10). Additionally vtk7 is required, DO NOT install this on the ANYmal onboard PCs, only on OPC and simulation PCs.
sudo apt install libvtk7-dev
catkin build pcl_visualization_catkinFor rviz-visualization the jsk-library is used.
sudo apt-get install ros-noetic-jsk-visualizationcatkin build elevation_mapping_cupy
catkin build convex_plane_decomposition_rosIf you get error such as
Make Error at /usr/share/cmake-3.16/Modules/FindPackageHandleStandardArgs.cmake:146 (message):
  Could NOT find PythonInterp: Found unsuitable version "2.7.18", but
  required is at least "3" (found /usr/bin/python)
Build with option.
catkin build elevation_mapping_cupy -DPYTHON_EXECUTABLE=$(which python3)Basic usage.
roslaunch elevation_mapping_cupy elevation_mapping_cupy.launchFor the plane segmentation node
roslaunch convex_plane_decomposition_ros convex_plane_decomposition.launchFirst, install turtlebot simulation.
sudo apt install ros-noetic-turtlebot3-gazebo ros-noetic-turtlebot3-teleopThen, you can run the examples. For the basic version:
export TURTLEBOT3_MODEL=waffle
roslaunch elevation_mapping_cupy turtlesim_example.launch
Or, for the version including plane segmentation:
catkin build convex_plane_decomposition_ros
export TURTLEBOT3_MODEL=waffle
roslaunch elevation_mapping_cupy turtlesim_segmentation_example.launch
To control the robot with a keyboard, a new terminal window needs to be opened.
Then run
export TURTLEBOT3_MODEL=waffle
roslaunch turtlebot3_teleop turtlebot3_teleop_key.launch
Velocity inputs can be sent to the robot by pressing the keys a, w, d, x. To stop the robot completely, press s.
-
topics specified in
pointcloud_topicsinelevation_mapping_cupy/config/parameters.yaml([sensor_msgs/PointCloud2])The distance measurements.
-
/tf([tf/tfMessage])The transformation tree.
-
The plane segmentation node subscribes to an elevation map topic ([grid_map_msg/GridMap]). This can be configured in
convex_plane_decomposition_ros/config/parameters.yaml
For elevation_mapping_cupy, topics are published as set in the rosparam.
You can specify which layers to publish in which fps.
Under publishers, you can specify the topic_name, layers basic_layers and fps.
publishers:
  your_topic_name:
    layers: [ 'list_of_layer_names', 'layer1', 'layer2' ]             # Choose from 'elevation', 'variance', 'traversability', 'time' + plugin layers
    basic_layers: [ 'list of basic layers', 'layer1' ]                # basic_layers for valid cell computation (e.g. Rviz): Choose a subset of `layers`.
    fps: 5.0                                                        # Publish rate. Use smaller value than `map_acquire_fps`.
Example setting in config/parameters.yaml.
-
elevation_map_raw([grid_map_msg/GridMap])The entire elevation map.
-
elevation_map_recordable([grid_map_msg/GridMap])The entire elevation map with slower update rate for visualization and logging.
-
elevation_map_filter([grid_map_msg/GridMap])The filtered maps using plugins.
The plane segmentation node publishes the following:
-
planar_terrain([convex_plane_decomposition_msgs/PlanarTerrain])A custom message that contains the full segmentation as a map together with the boundary information.
-
filtered_map([grid_map_msg/GridMap])A grid map message to visualize the segmentation and some intermediate results. This information is also part of
planar_terrain. -
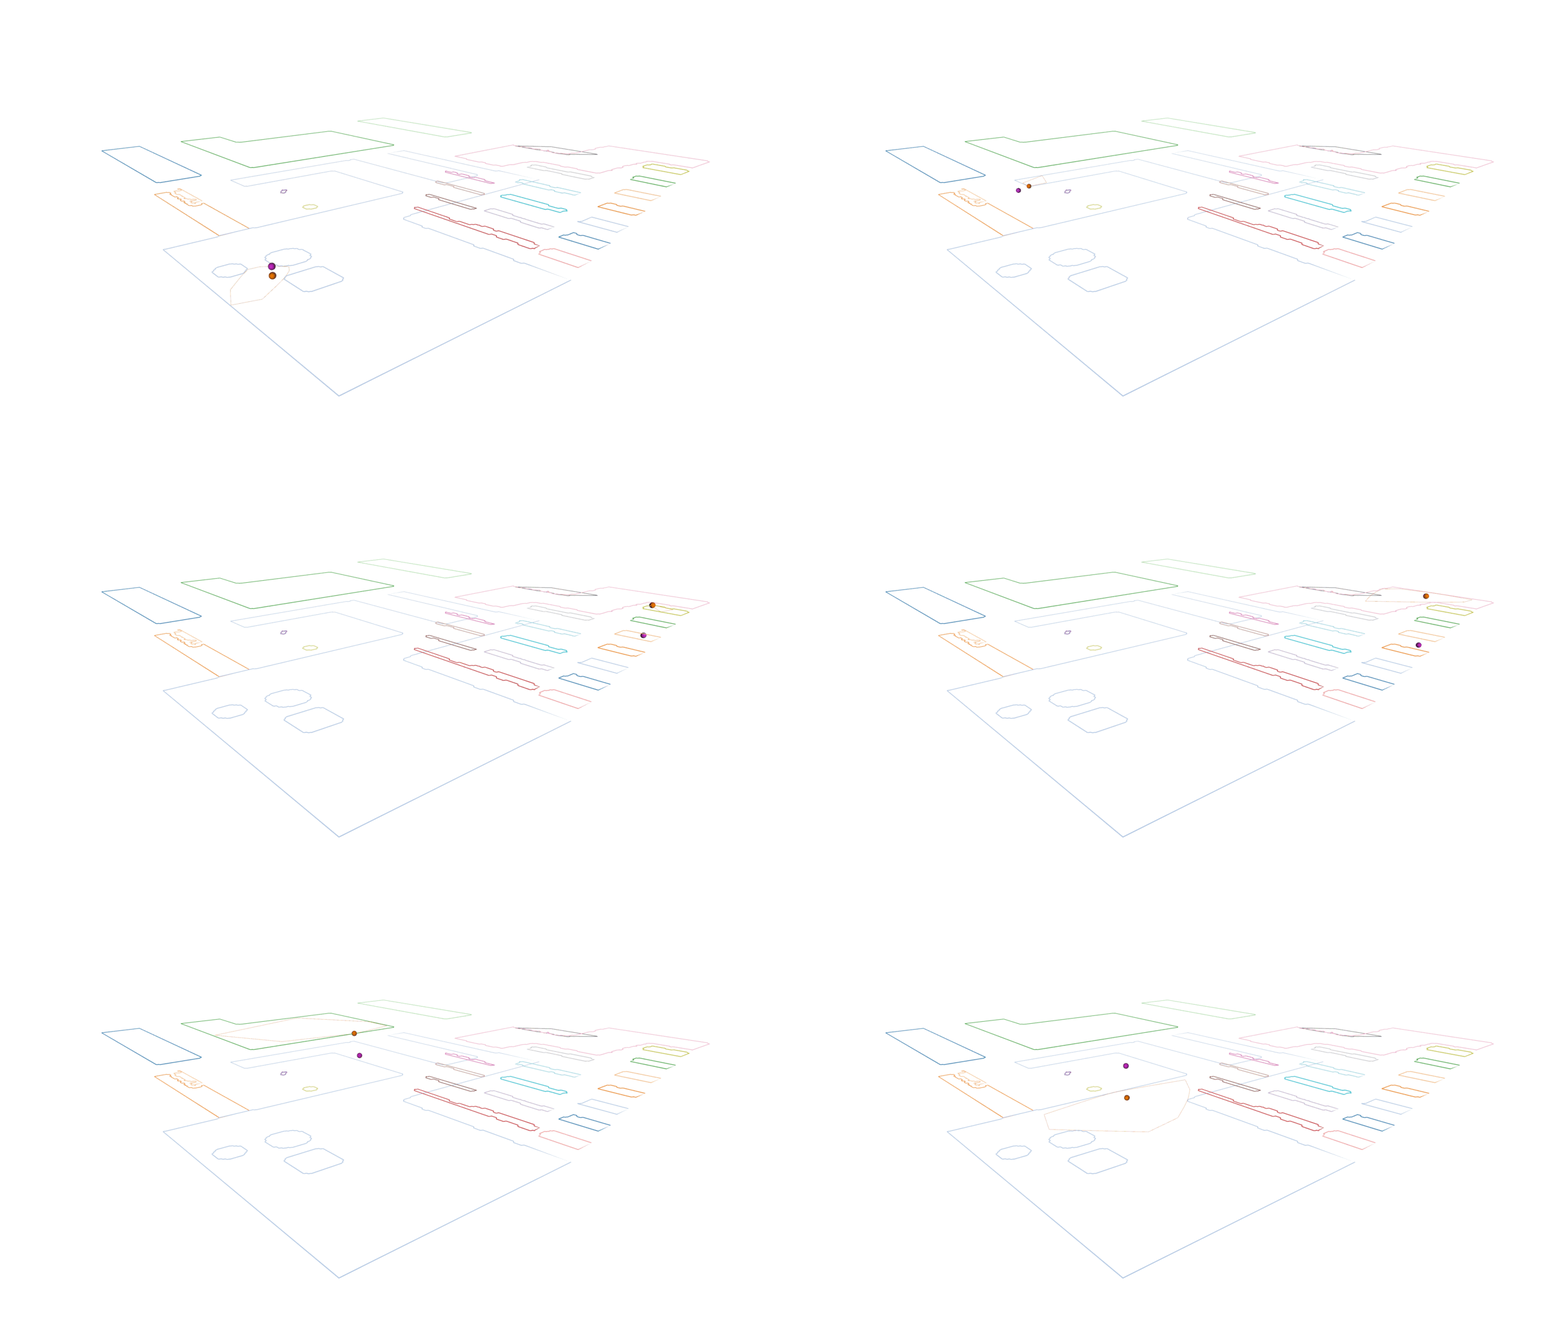
boundaries([jsk_recognition_msgs/PolygonArray])A set of polygons that trace the boundaries of the segmented region. Holes and boundaries of a single region are published as separate polygons with the same label.
-
insets([jsk_recognition_msgs/PolygonArray])A set of polygons that are at a slight inward offset from
boundaries. There might be more insets than boundaries since the inward shift can cause a single region to break down into multiple when narrow passages exist.
You can create your own plugin to process the elevation map and publish as a layer in GridMap message.
Let's look at the example.
First, create your plugin file in elevation_mapping_cupy/script/plugins/ and save as example.py.
import cupy as cp
from typing import List
from .plugin_manager import PluginBase


class NameOfYourPlugin(PluginBase):
    def __init__(self, add_value:float=1.0, **kwargs):
        super().__init__()
        self.add_value = float(add_value)

    def __call__(self, elevation_map: cp.ndarray, layer_names: List[str],
            plugin_layers: cp.ndarray, plugin_layer_names: List[str])->cp.ndarray:
        # Process maps here
        # You can also use the other plugin's data through plugin_layers.
        new_elevation = elevation_map[0] + self.add_value
        return new_elevation
Then, add your plugin setting to config/plugin_config.yaml
example:                                      # Use the same name as your file name.
  enable: True                                # weather to load this plugin
  fill_nan: True                              # Fill nans to invalid cells of elevation layer.
  is_height_layer: True                       # If this is a height layer (such as elevation) or not (such as traversability)
  layer_name: "example_layer"                 # The layer name.
  extra_params:                               # This params are passed to the plugin class on initialization.
    add_value: 2.0                            # Example param
Finally, add your layer name to publishers in config/parameters.yaml. You can create a new topic or add to existing topics.
  plugin_example: # Topic name
    layers: [ 'elevation', 'example_layer' ]
    basic_layers: [ 'example_layer' ]
    fps: 1.0        # The plugin is called with this fps.