- Update config.yaml
- Update secrets.yaml [Optional]
- Update params.yaml
- Update the entity
- Update the configuration manager in src config
- Update the components
- Update the pipeline
- Update the main.py
- You can use any dataset (including the Kaggle dataset) that is supported by opendatasets. Just place the URL of the dataset in
config/config.yaml/data_ingestion/source_URL - If you want to use your custom dataset, just place it inside the
artifacts/data_ingestion/datasetfolder or any other custom folder that you have to mention inconfig/config.yaml/data_ingestion/dataset_dir
https://github.com/utpal108/waste-detection-using-yoloV5Using Anaconda Virtual Environments
conda create -n venv python=3.10 -y
conda activate venv
Or for Linux operating system, you can use that
python3.10 -m venv venv
source venv/bin/activatepip install -r requirements.txtFor downloading the Kaggle dataset, place the kaggle.json file (Kaggle API credentials) in your root directory.
Finally, run the following command to run your application:
python app.pyNow,open up your local host with a port like that on your web browser.
http://localhost:8080Before predicting, you have to train your model with your own dataset.
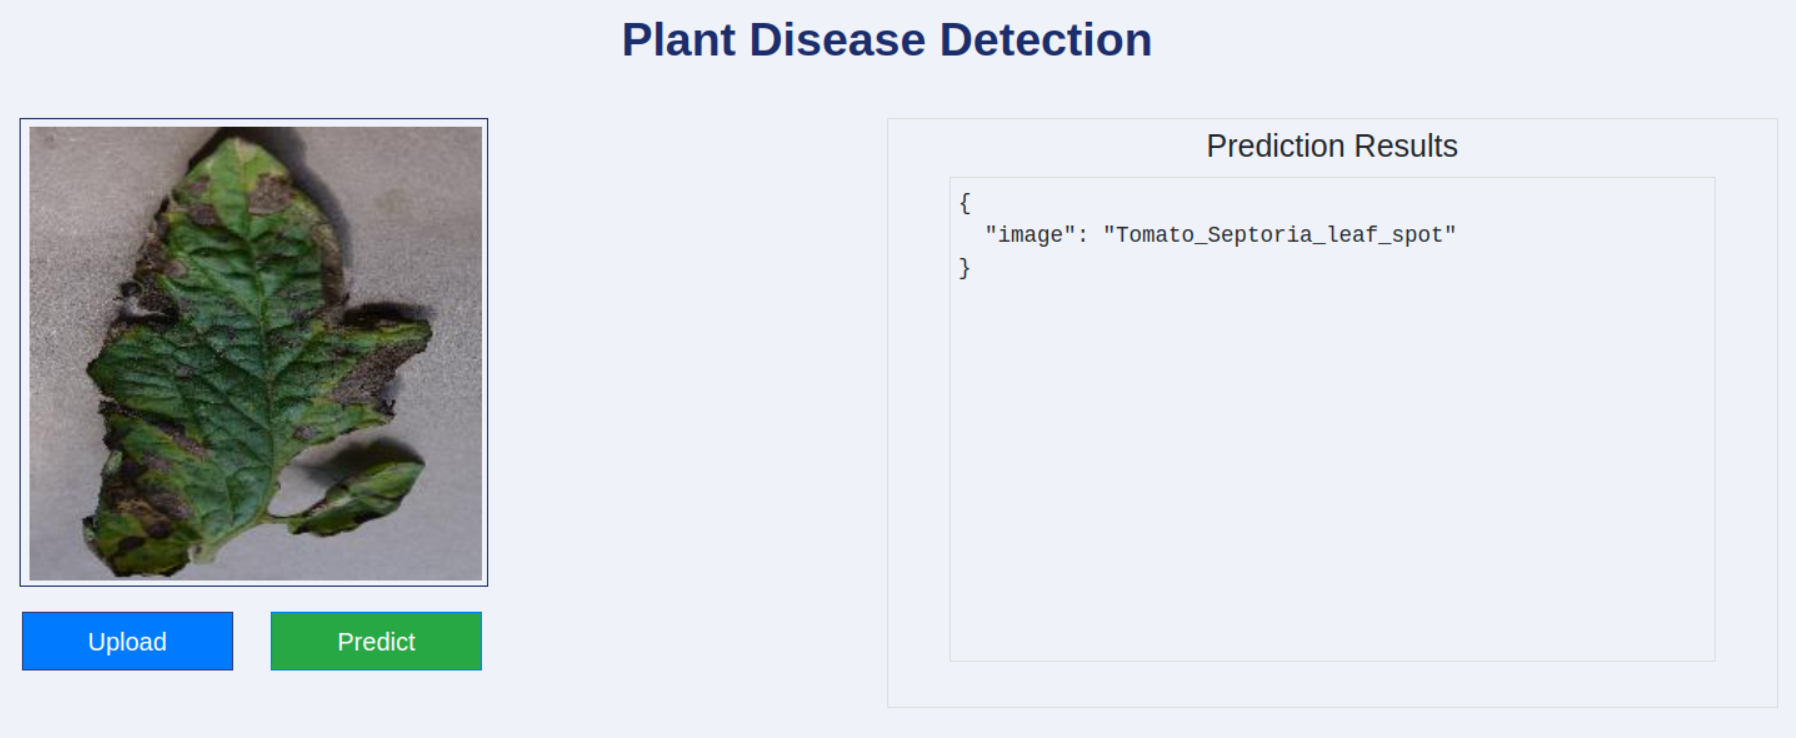
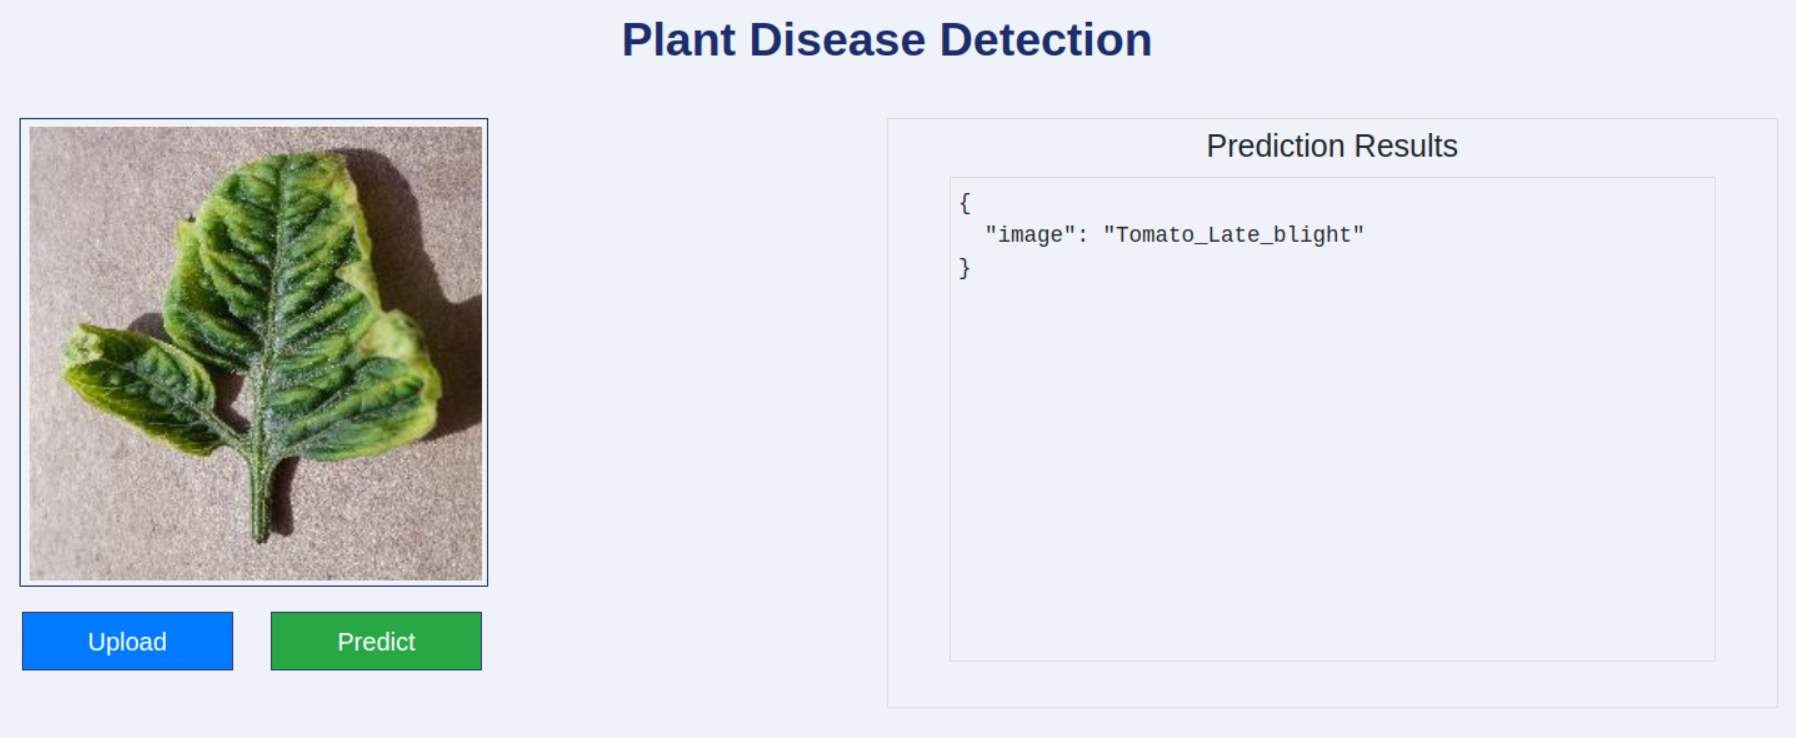
http://localhost:8080/trainAfter completing the training, you can now detect any plant disease from the plant leaf image, according to your training datasets.
STEP 00 : Login to AWS console.
STEP 01 : Create IAM user for deployment
#with specific access

1. EC2 access : It is virtual machine

2. ECR: Elastic Container registry to save your docker image in aws


#Description: About the deployment

1. Build docker image of the source code

2. Push your docker image to ECR

3. Launch Your EC2

4. Pull Your image from ECR in EC2

5. Lauch your docker image in EC2

#Policy:

1. AmazonEC2ContainerRegistryFullAccess

2. AmazonEC2FullAccess
STEP 02 : Create ECR repo to store/save docker image
- Save the URI: 681776806933.dkr.ecr.us-east-2.amazonaws.com/plant-disease-detection
STEP 03 : Create EC2 machine (Ubuntu)
STEP 04 : Open EC2 and Install docker in EC2 Machine:
#optinal

sudo apt-get update -y

sudo apt-get upgrade

#required

curl -fsSL https://get.docker.com -o get-docker.sh

sudo sh get-docker.sh

sudo usermod -aG docker ubuntu

newgrp docker
STEP 05 : Configure EC2 as self-hosted runner: setting>actions>runner>new self hosted runner> choose os> then run command one by one
STEP 06 : Setup github secrets:
AWS_ACCESS_KEY_ID=

AWS_SECRET_ACCESS_KEY=

AWS_REGION = us-east-2

AWS_ECR_LOGIN_URI = demo>>  681776806933.dkr.ecr.us-east-2.amazonaws.com

ECR_REPOSITORY_NAME = plant-disease-detection

