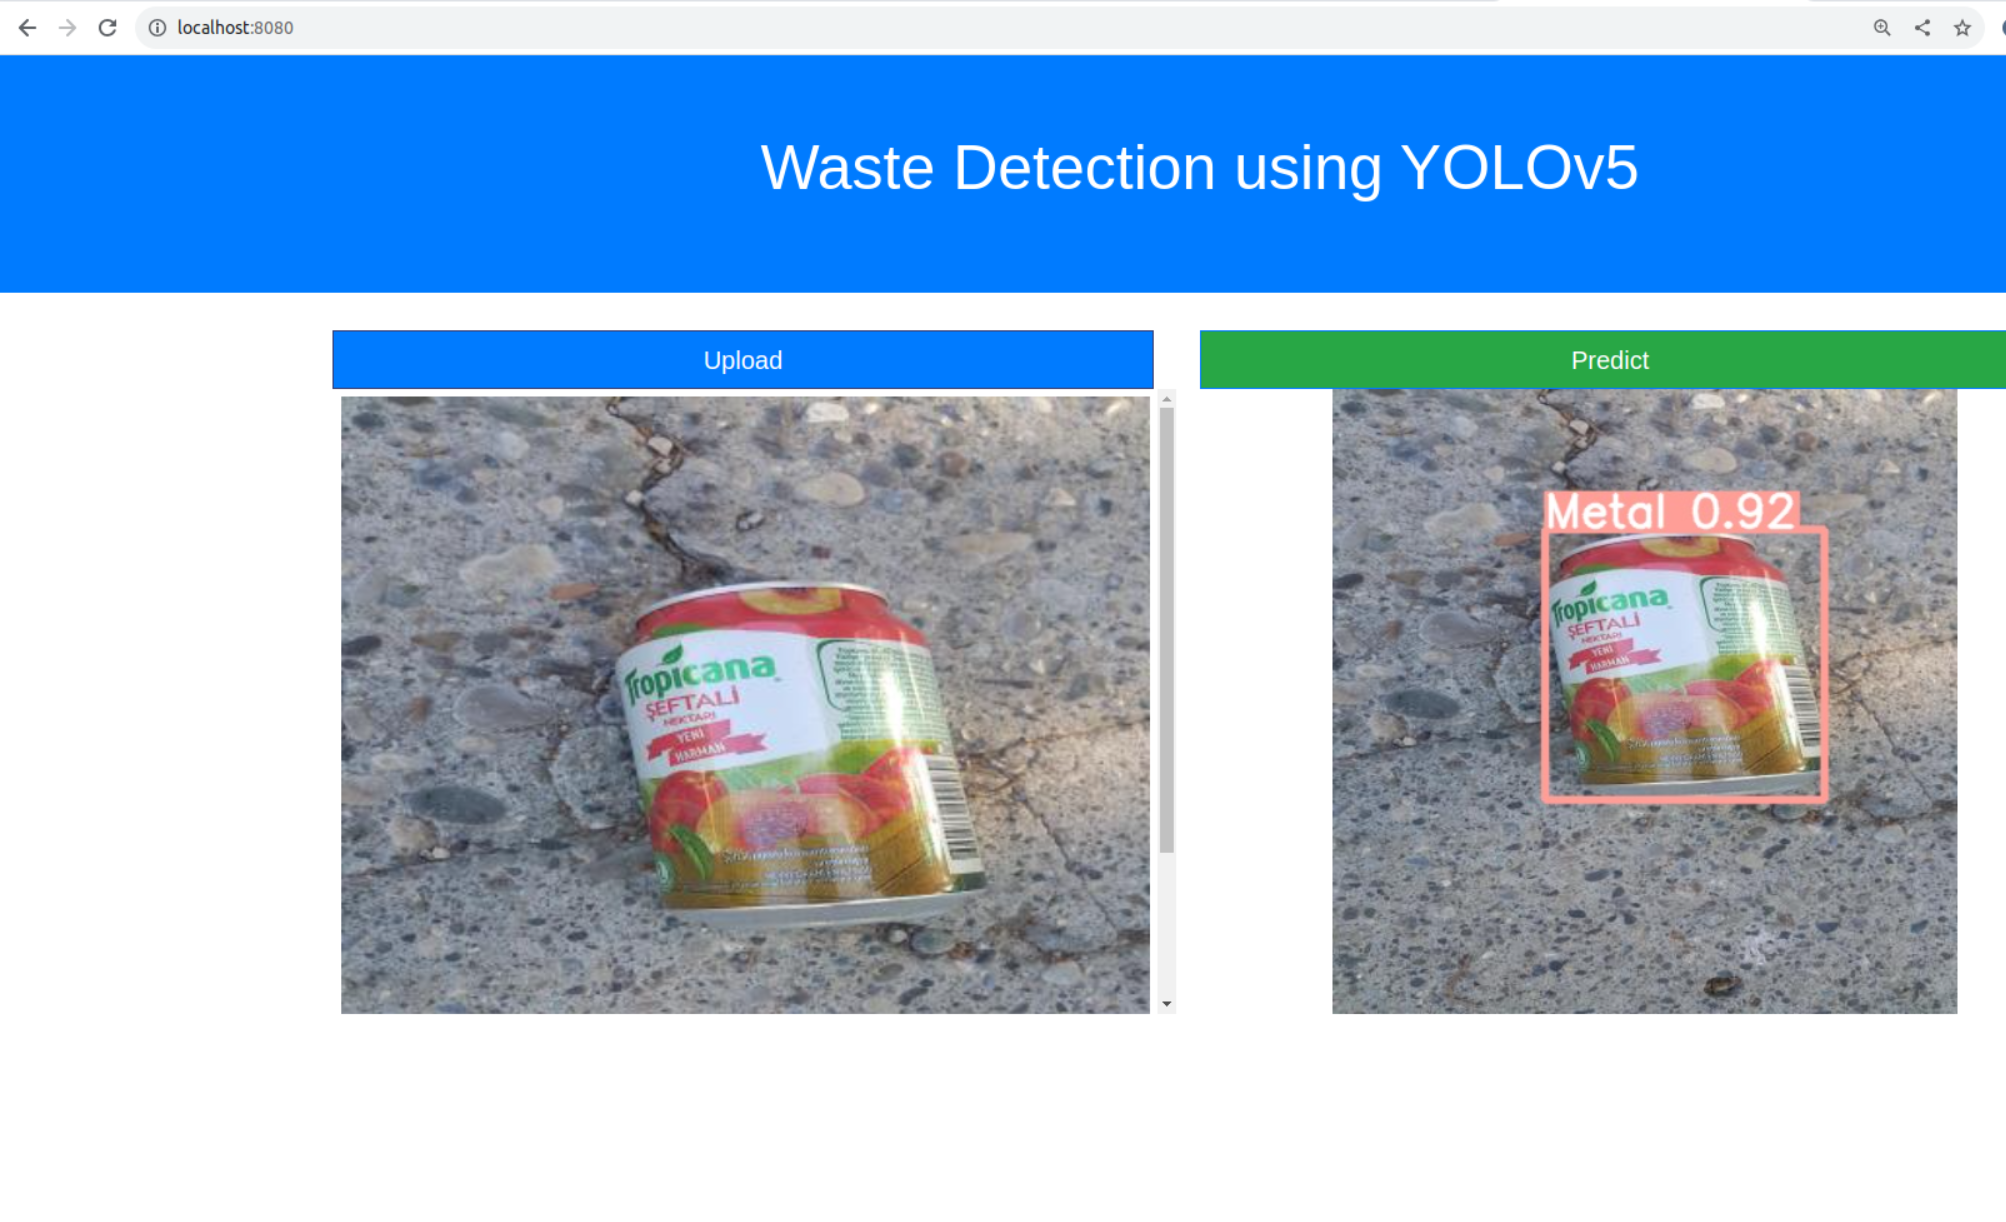
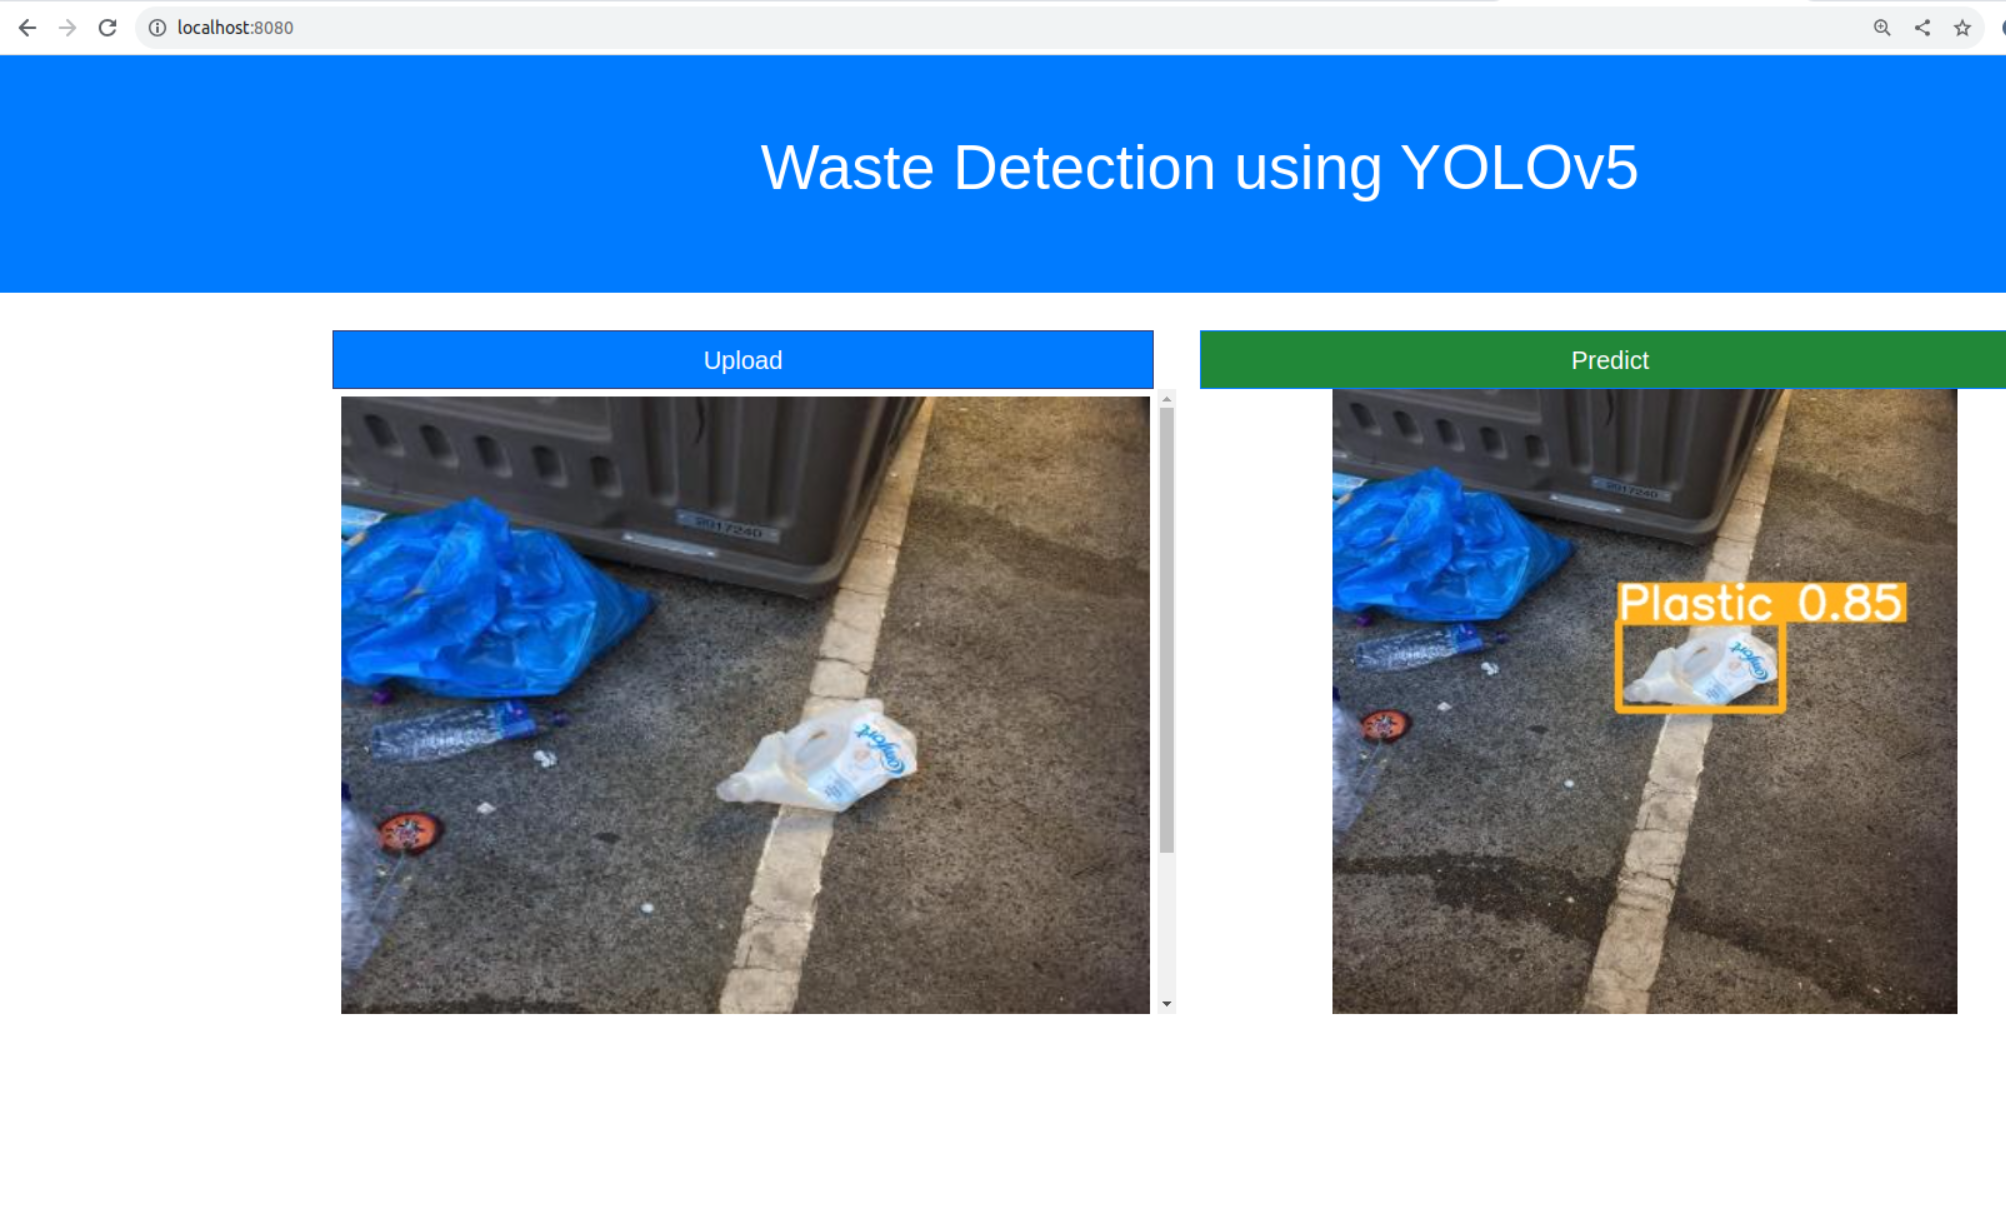
- Update config.yaml
- Update secrets.yaml [Optional]
- Update params.yaml
- Update the entity
- Update the configuration manager in src config
- Update the components
- Update the pipeline
- Here, I have used this waste detection dataset. You can use your own dataset. Just place the URL of the dataset in
config/config.yaml/data_ingestion/source_URL
https://github.com/utpal108/waste-detection-using-yoloV5Using Anaconda Virtual Environments
conda create -n venv python=3.10 -y
conda activate venv
Or for Linux operating system, you can use that
python3.10 -m venv venv
source venv/bin/activatepip install -r requirements.txtFinally, run the following command to run your application:
python app.pyNow,open up your local host with a port like that on your web browser.
http://localhost:8080Before predicting, you have to train your model with your own dataset.
http://localhost:8080/trainAfter completing the training, you can now detect waste from any image or live video.
To detect waste from any live video, you have to follow this URL
http://localhost:8080/liveSTEP 00 : Login to AWS console.
STEP 01 : Create IAM user for deployment
#with specific access

1. EC2 access : It is virtual machine

2. ECR: Elastic Container registry to save your docker image in aws


#Description: About the deployment

1. Build docker image of the source code

2. Push your docker image to ECR

3. Launch Your EC2

4. Pull Your image from ECR in EC2

5. Lauch your docker image in EC2

#Policy:

1. AmazonEC2ContainerRegistryFullAccess

2. AmazonEC2FullAccess
STEP 02 : Create ECR repo to store/save docker image
- Save the URI: 681776806933.dkr.ecr.us-east-2.amazonaws.com/waste-detection
STEP 03 : Create EC2 machine (Ubuntu)
STEP 04 : Open EC2 and Install docker in EC2 Machine:
#optinal

sudo apt-get update -y

sudo apt-get upgrade

#required

curl -fsSL https://get.docker.com -o get-docker.sh

sudo sh get-docker.sh

sudo usermod -aG docker ubuntu

newgrp docker
STEP 05 : Configure EC2 as self-hosted runner: setting>actions>runner>new self hosted runner> choose os> then run command one by one
STEP 06 : Setup github secrets:
AWS_ACCESS_KEY_ID=

AWS_SECRET_ACCESS_KEY=

AWS_REGION = us-east-2

AWS_ECR_LOGIN_URI = demo>>  681776806933.dkr.ecr.us-east-2.amazonaws.com

ECR_REPOSITORY_NAME = waste-detection

