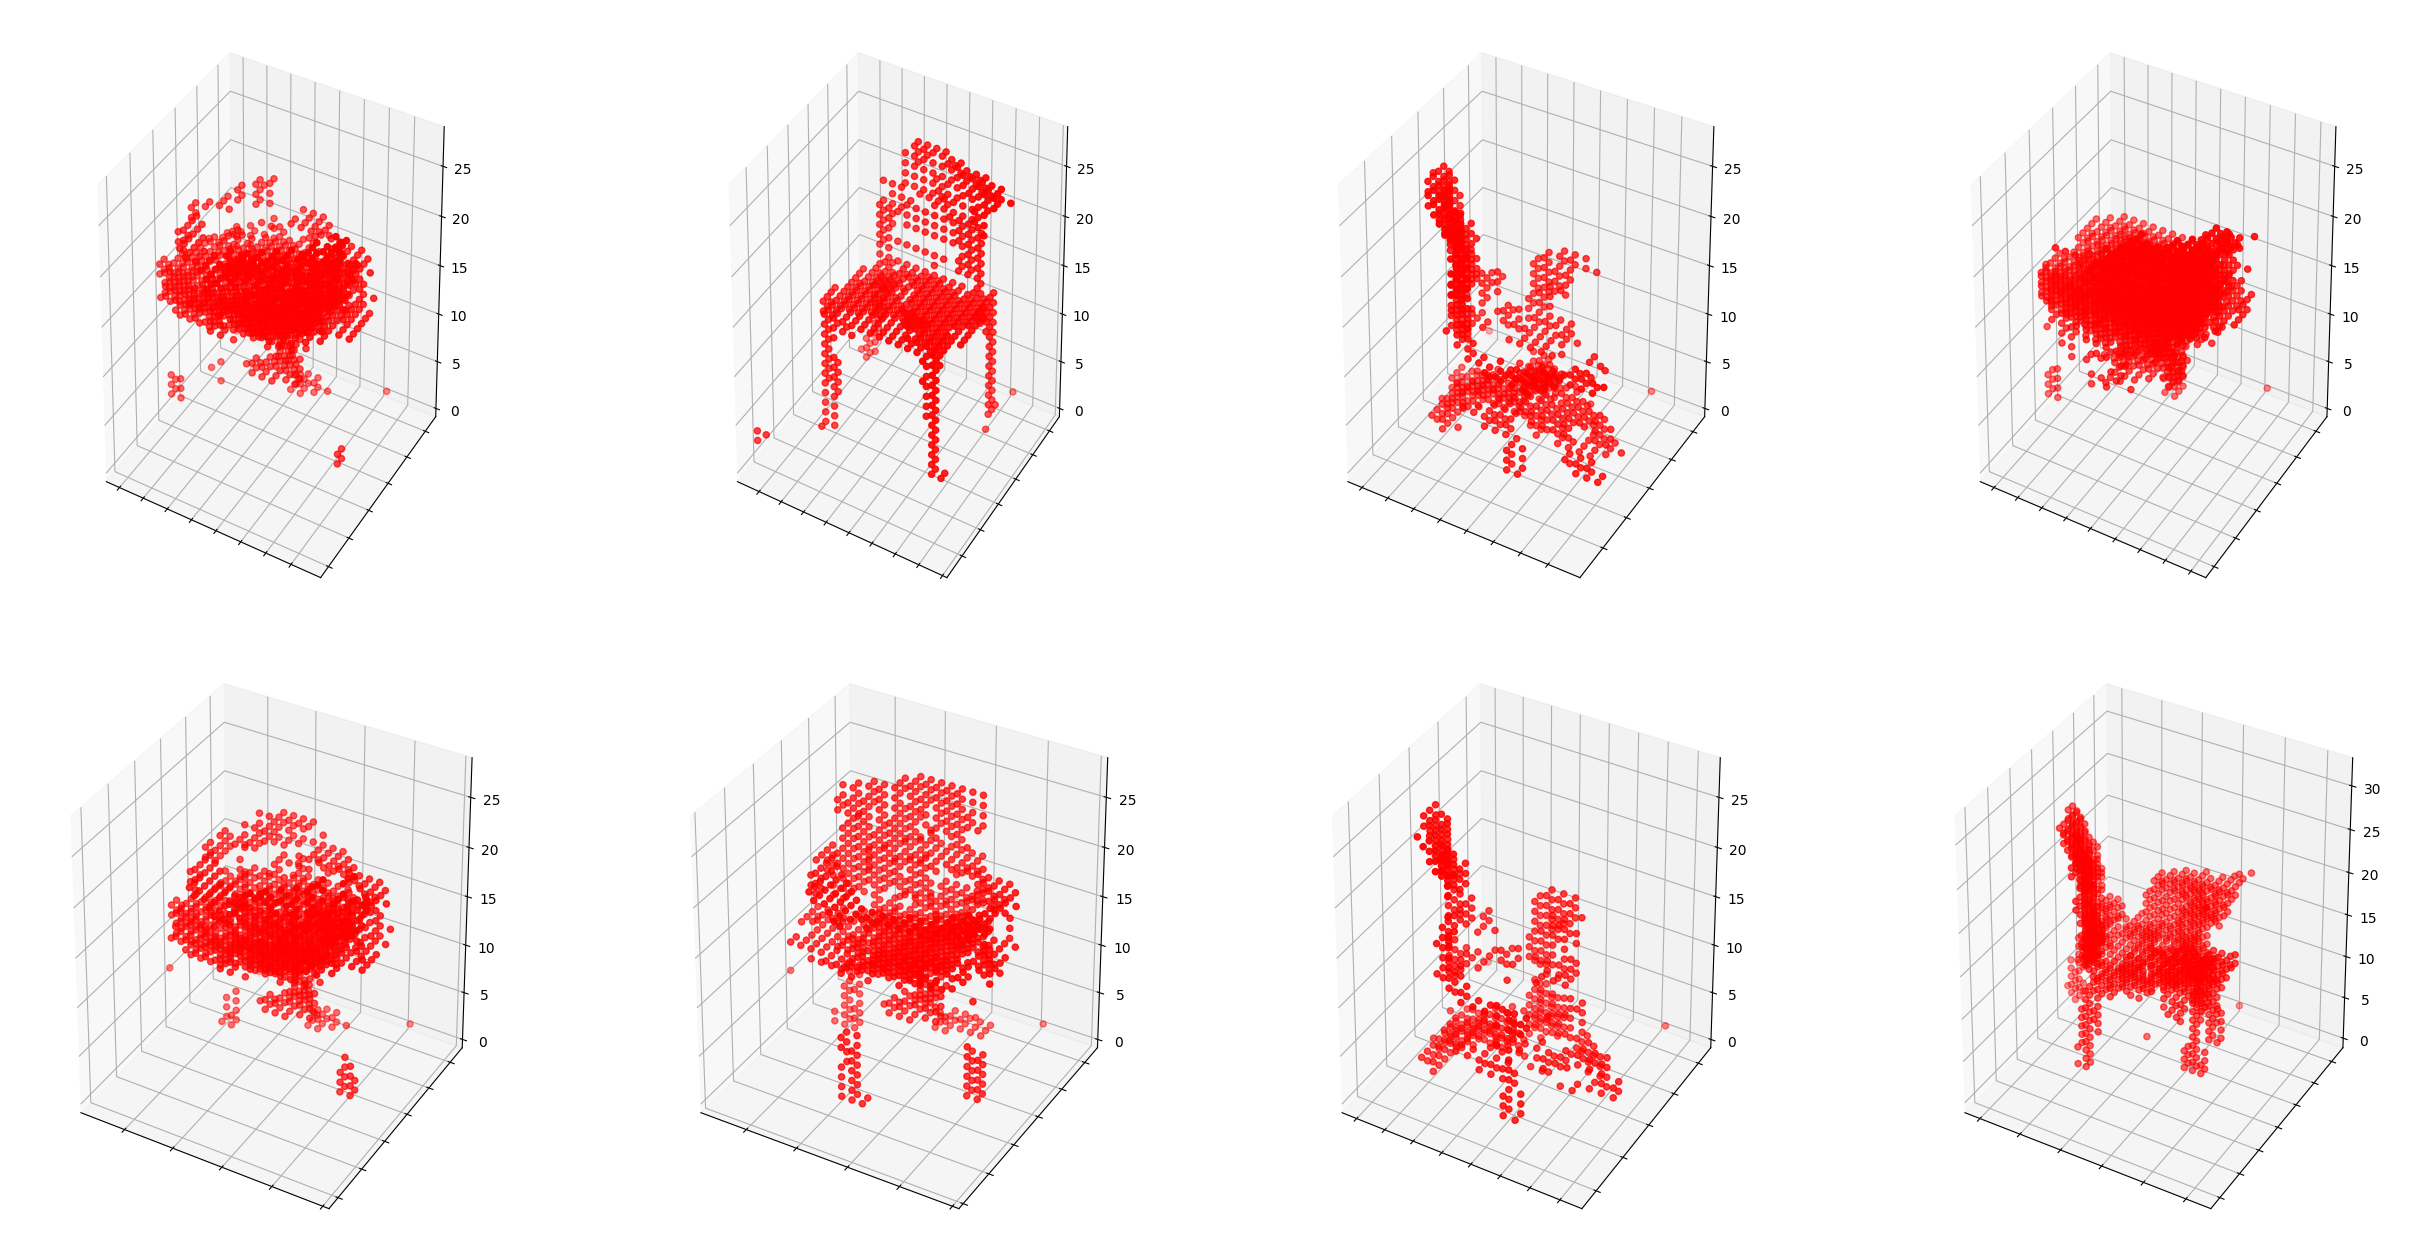
- This is a very simple-to-use pytorch implementation of part of the paper "Learning a Probabilistic Latent Space of Object Shapes via 3D Generative-Adversarial Modeling". I provide the complete pipeline of loading dataset, training, evaluation and visualization here and also I would share some results based on different parameter settings.
- 07/2024: added
convert.pyto convert.offfiles to.matfiles; you can download the ModelNet data from kaggle. - 10/2021: Refactored code, updated readme and provided a pretrained model.
- 03/2021: Added gitignore, removed some unrelated files, updated prerequisites to python 3.7.9 + pytorch 1.6.0, fixed mplot3d.
- Python 3.7.9 | Anaconda4.x
- Pytorch 1.6.0
- tensorboardX 2.1
- matplotlib 2.1
- visdom (optional)
Basically I already put the chair dataset and a trained model as an example in volumetric_data and outputs folders. You can directly go to the training or evaluation part. But I still give a complete pipeline here.
- We provide the chair dataset in
volumetric_datafolder from ModelNet. As we use ModelNet instead of ShapeNet here, the results may be inconsistent with the paper.
- Then
cd src, simply runpython main.pyon GPU or CPU. Of course, you need a GPU for training until getting good results. I used one GeForce GTX 1070 in my experiments on 3D models with resolution of 32x32x32. The maximum number of channels of feature map is 256. Because of these, the results may be inconsistent with the paper. You may need a stronger one for higher resolution one 64x64x64 and 512 feature maps.
- During training, model weights and some 3D reconstruction images would be also logged to the
outputsfolders, respectively, for everymodel_save_stepnumber of step inparams.py. You can play with all parameters inparams.py.
- For evaluation for trained model, you can run
python main.py --test=Trueto calltester.py. - If you want to visualize using visdom, first run
python -m visdom.server, thenpython main.py --test=True --use_visdom=True. - We provide some sample results in the following and in the
sample_resultsfolder.
- We provide a pretrained model here. Download, unzip and put it into the
outputsfolder. Then runpython main.py --test=True --model_name=dcgan_pretrained. You will find the outputs in thetest_outputsfolder withindcgan_pretrained.
- Here I list some basic parameter settings and in the results section I would change some specific parameters and see what happens.
- Batch size is 32, which depends on the memory and I do not see much difference by changing it.
- Learning rate, beta values for Adam and LeakyReLU parameters are the same with the original paper, as well as discriminator update trick based on accuracy.
- Latent z vector is sampled from normal(0, 0.33) following ganhacks, but I do not use soft labels in the basic setting.
- Sigmoid function is used at both generator and discriminator for final outputs.
-
I trained all models in the following for 500 epochs and save the last model weights. Some random samples are shown at the last epoch.
-
Model 1: change normal(0, 0.33) to uniform(0, 1) for sampling latent z vector based on Model 0

-
Model 2: change sigmoid at generator to tanh based on Model 0

-
Others: I tried soft labels / leakyReLU on both discriminator and generator based on Model 0, they both diverge (or collapse maybe) after somwhere before 500 epochs. For models without the discriminator, we will have a generator with trivial results. Also, I didn't really observe the convergence for all models, after 500 epochs, the loss of discriminator (real + fake) begins to be lower than 1.
- This code is a heavily modified version based on both 3DGAN-Pytorch and tf-3dgan and thanks for them. Here I try to build a simpler but more complete pipeline, and explore more results with different settings as well.
