This is the official implementation for SocialVAE: Human Trajectory Prediction using Timewise Latents. [arXiv] [YouTube]
Abstract -- Predicting pedestrian movement is critical for human behavior analysis and also for safe and efficient human-agent interactions. However, despite significant advancements, it is still challenging for existing approaches to capture the uncertainty and multimodality of human navigation decision making. In this paper, we propose SocialVAE, a novel approach for human trajectory prediction. The core of SocialVAE is a timewise variational autoencoder architecture that exploits stochastic recurrent neural networks to perform prediction, combined with a social attention mechanism and backward posterior approximation to allow for better extraction of pedestrian navigation strategies. We show that SocialVAE improves current state-of-the-art performance on several pedestrian trajectory prediction benchmarks, including the ETH/UCY benchmark, the Stanford Drone Dataset and SportVU NBA movement dataset.
@inproceedings{socialvae2022,
   author={Xu, Pei and Hayet, Jean-Bernard and Karamouzas, Ioannis},
   title={SocialVAE: Human Trajectory Prediction using Timewise Latents},
   booktitle={European Conference on Computer Vision},
   pages={511-528},
   year={2022},
   organization={Springer},
   doi={10.1007/978-3-031-19772-7_30}
}
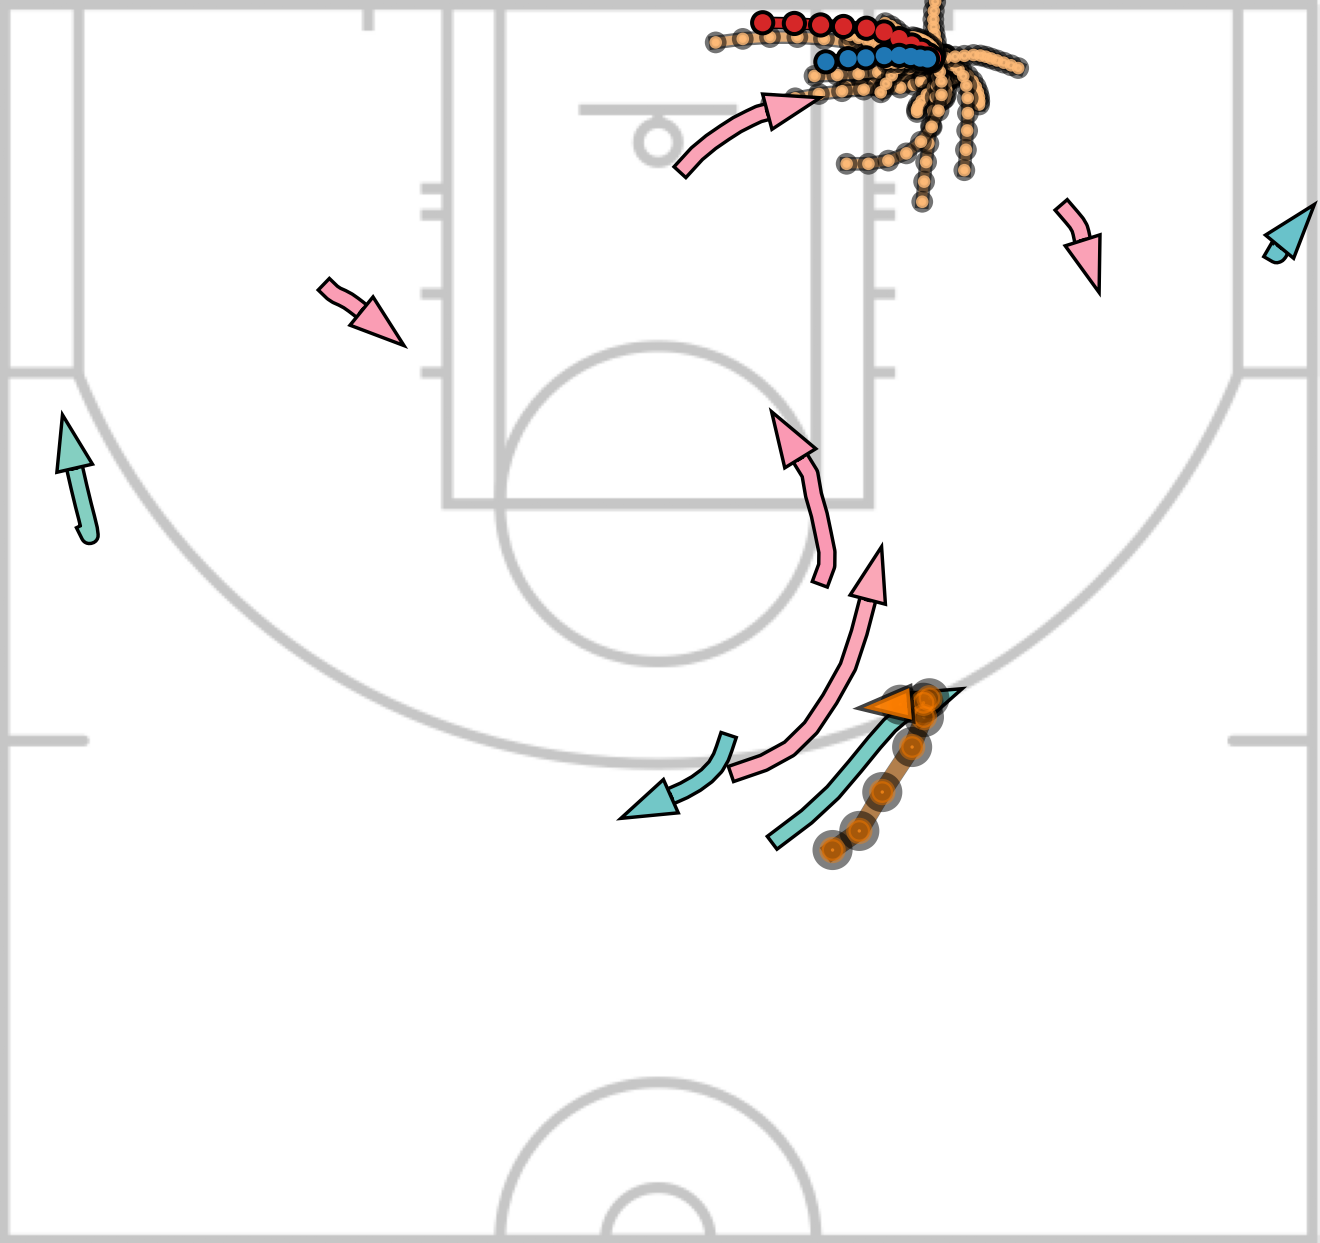
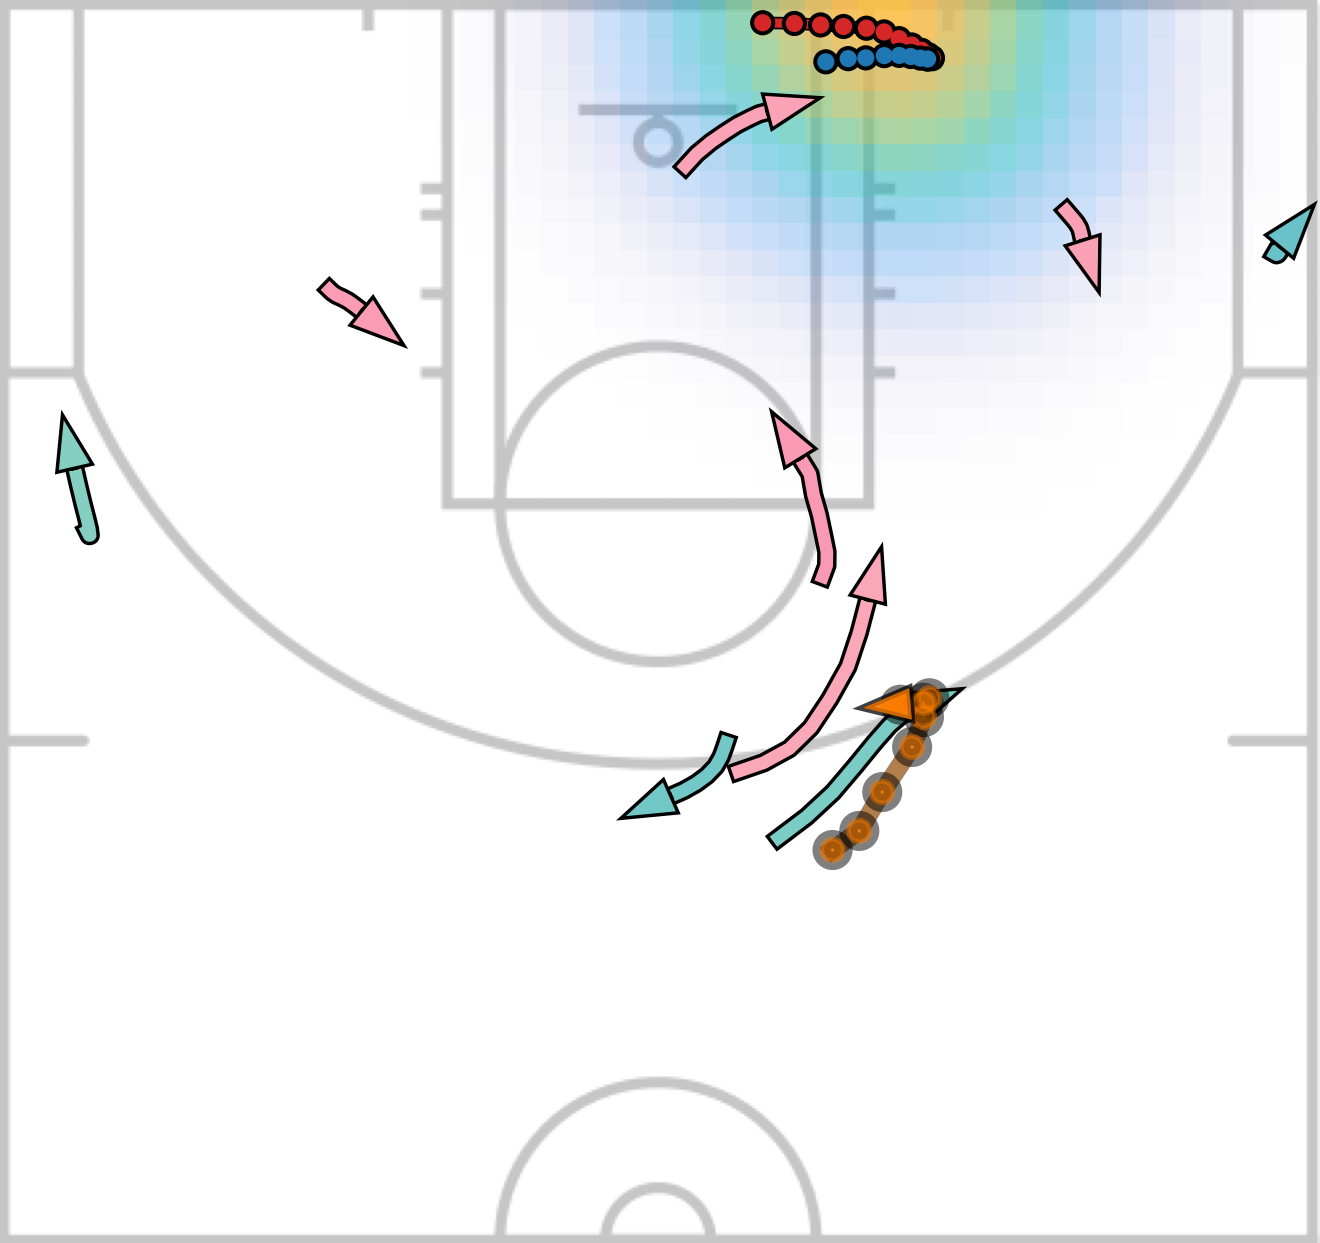
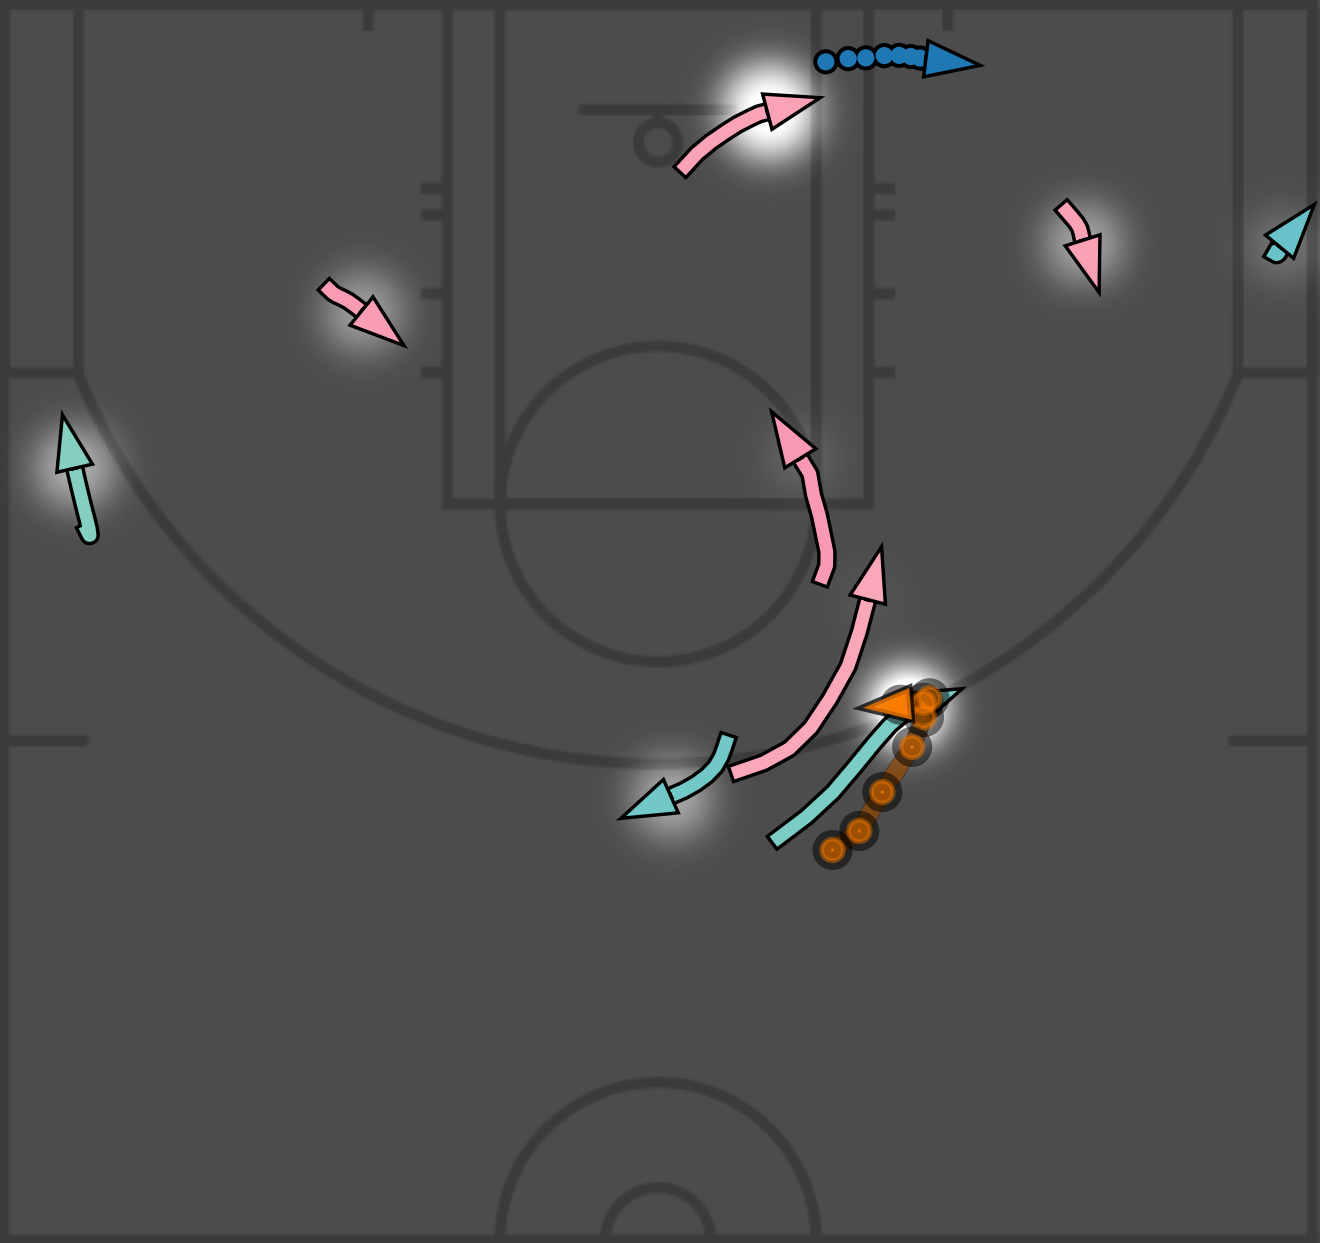
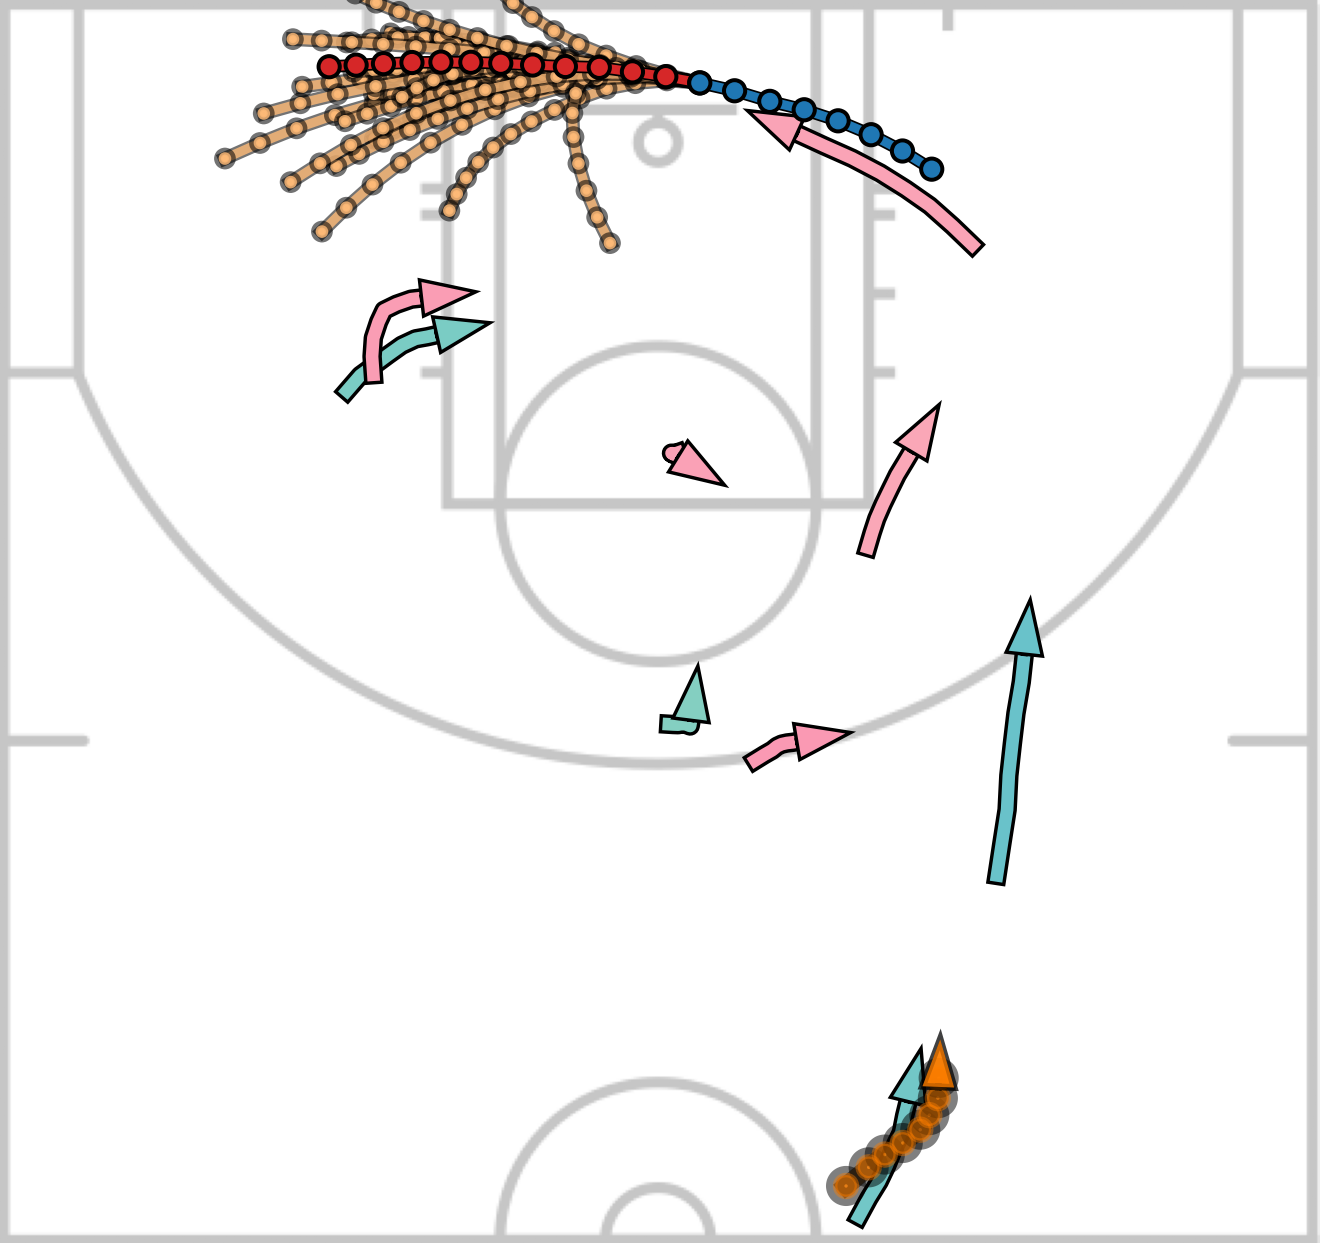
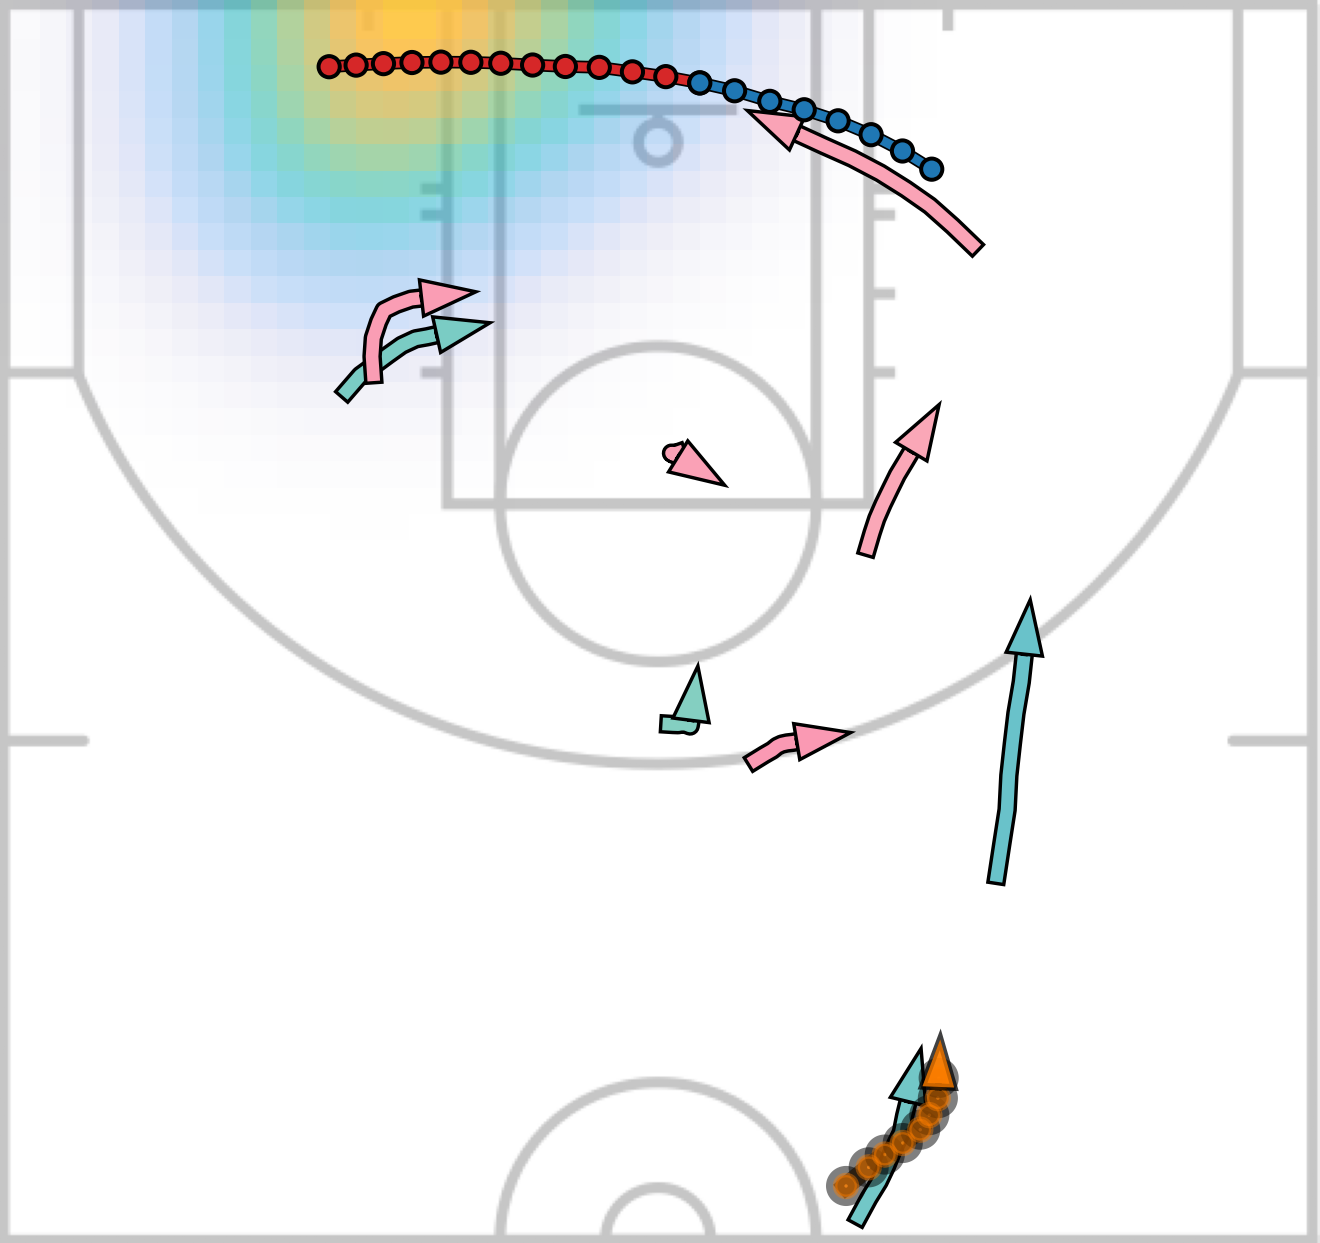
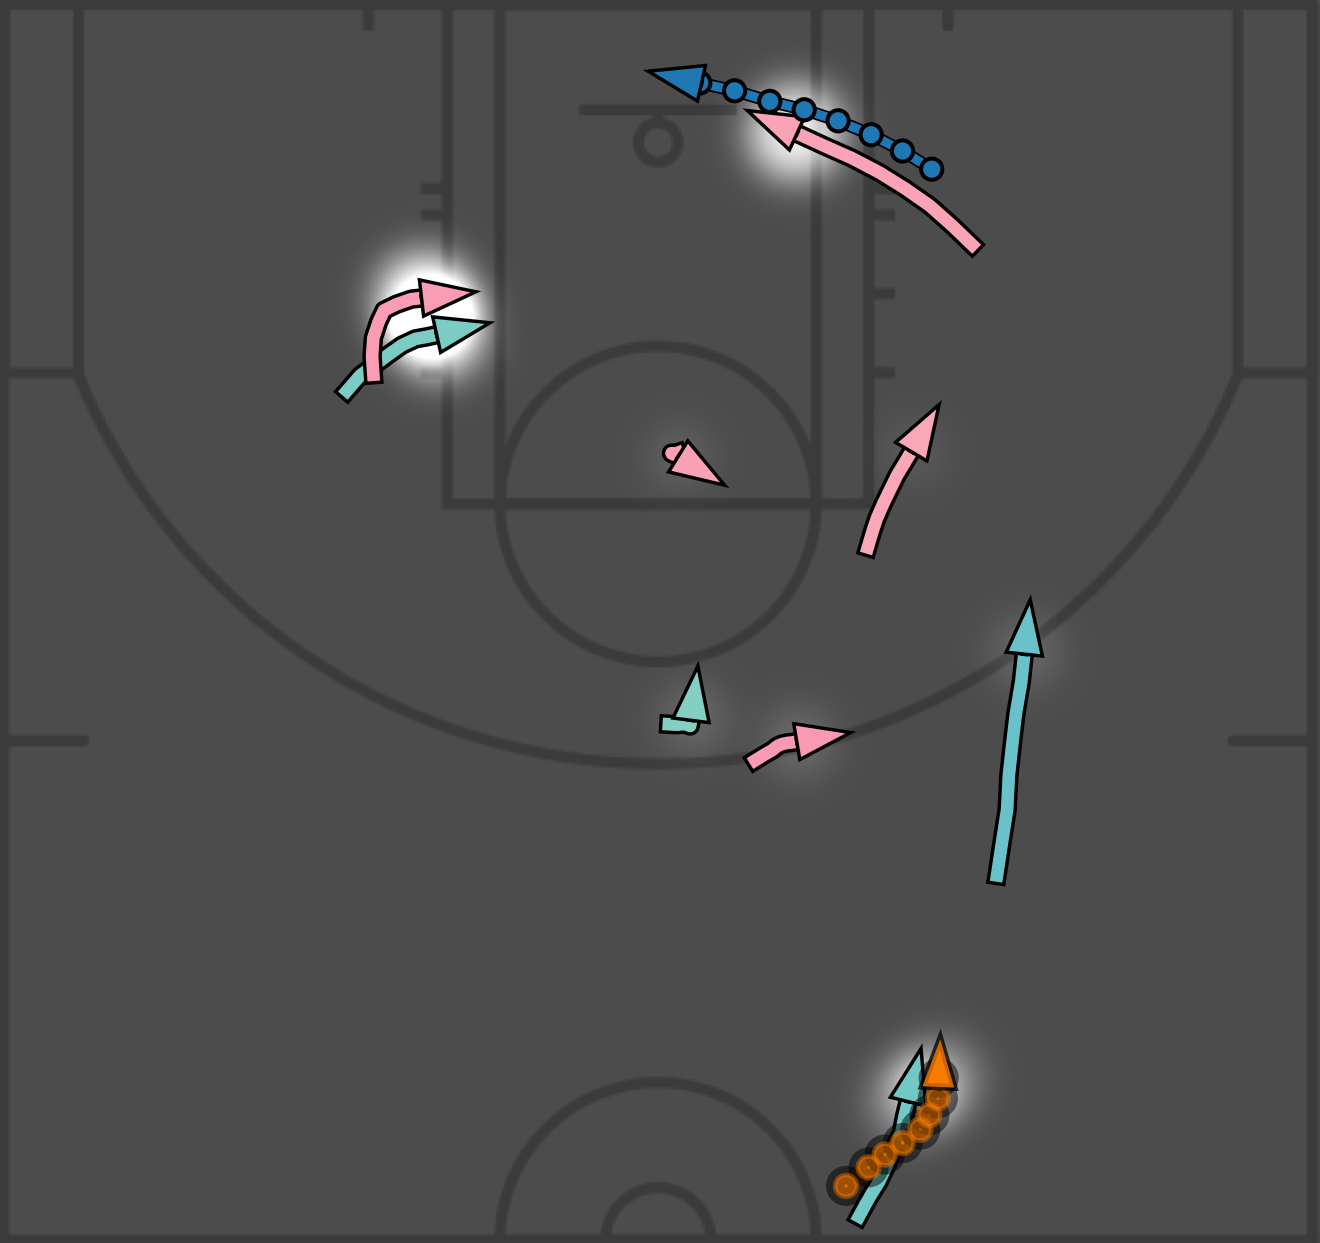
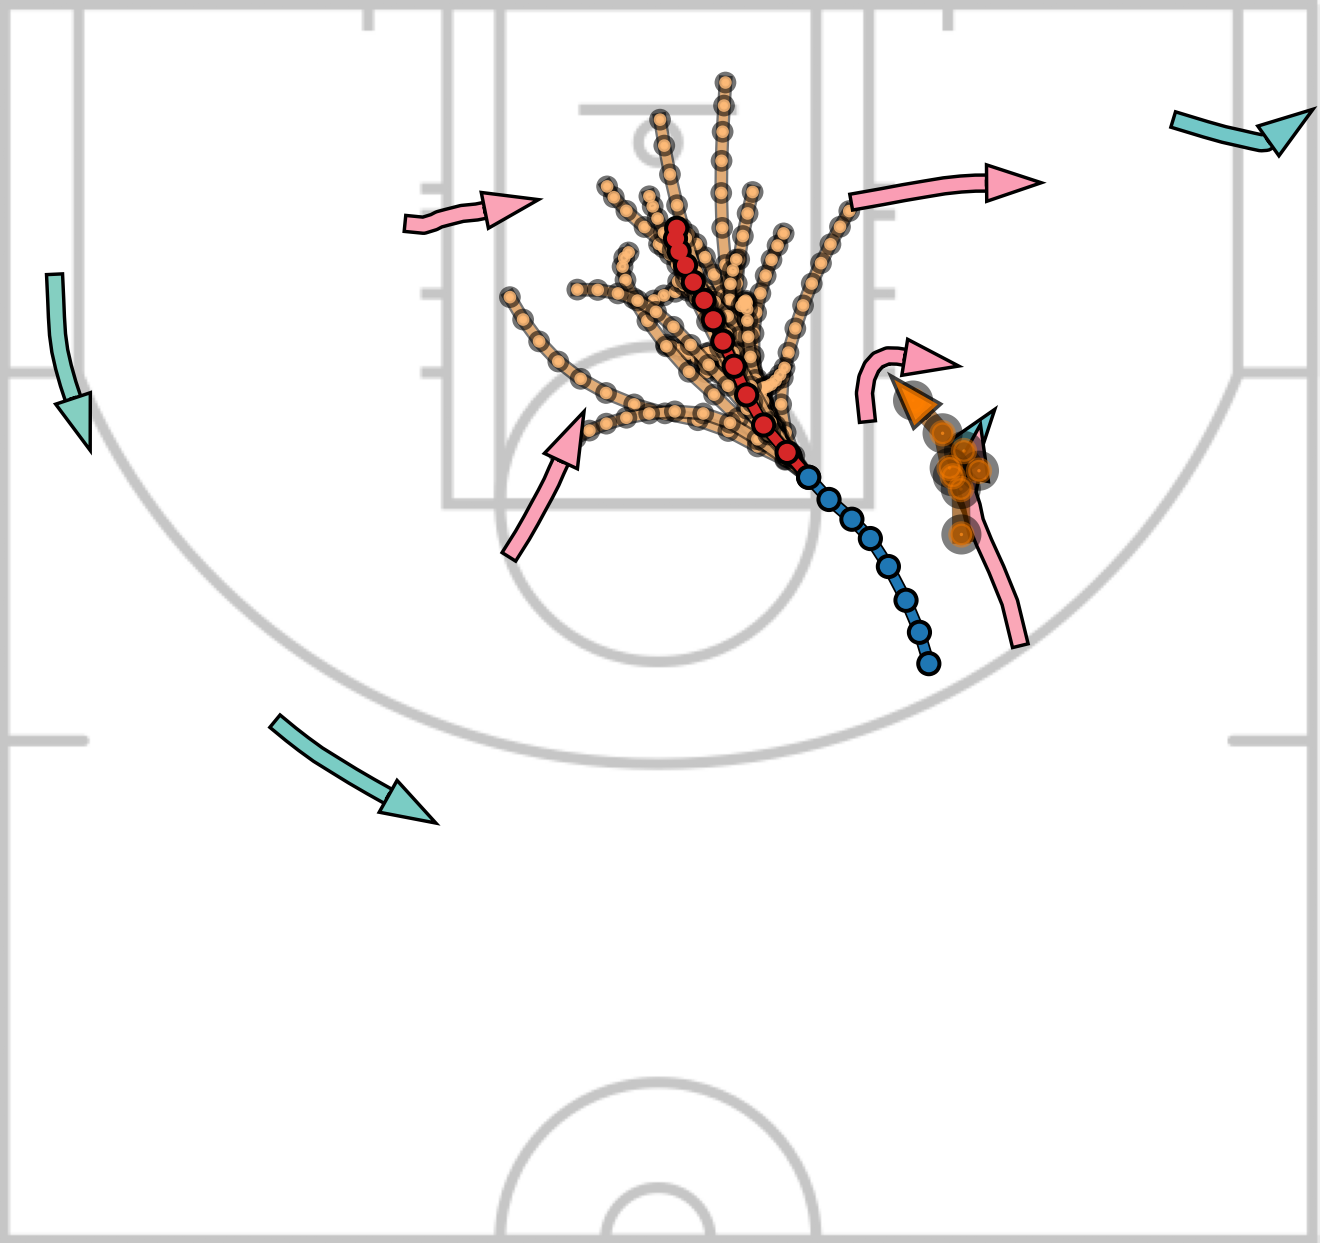
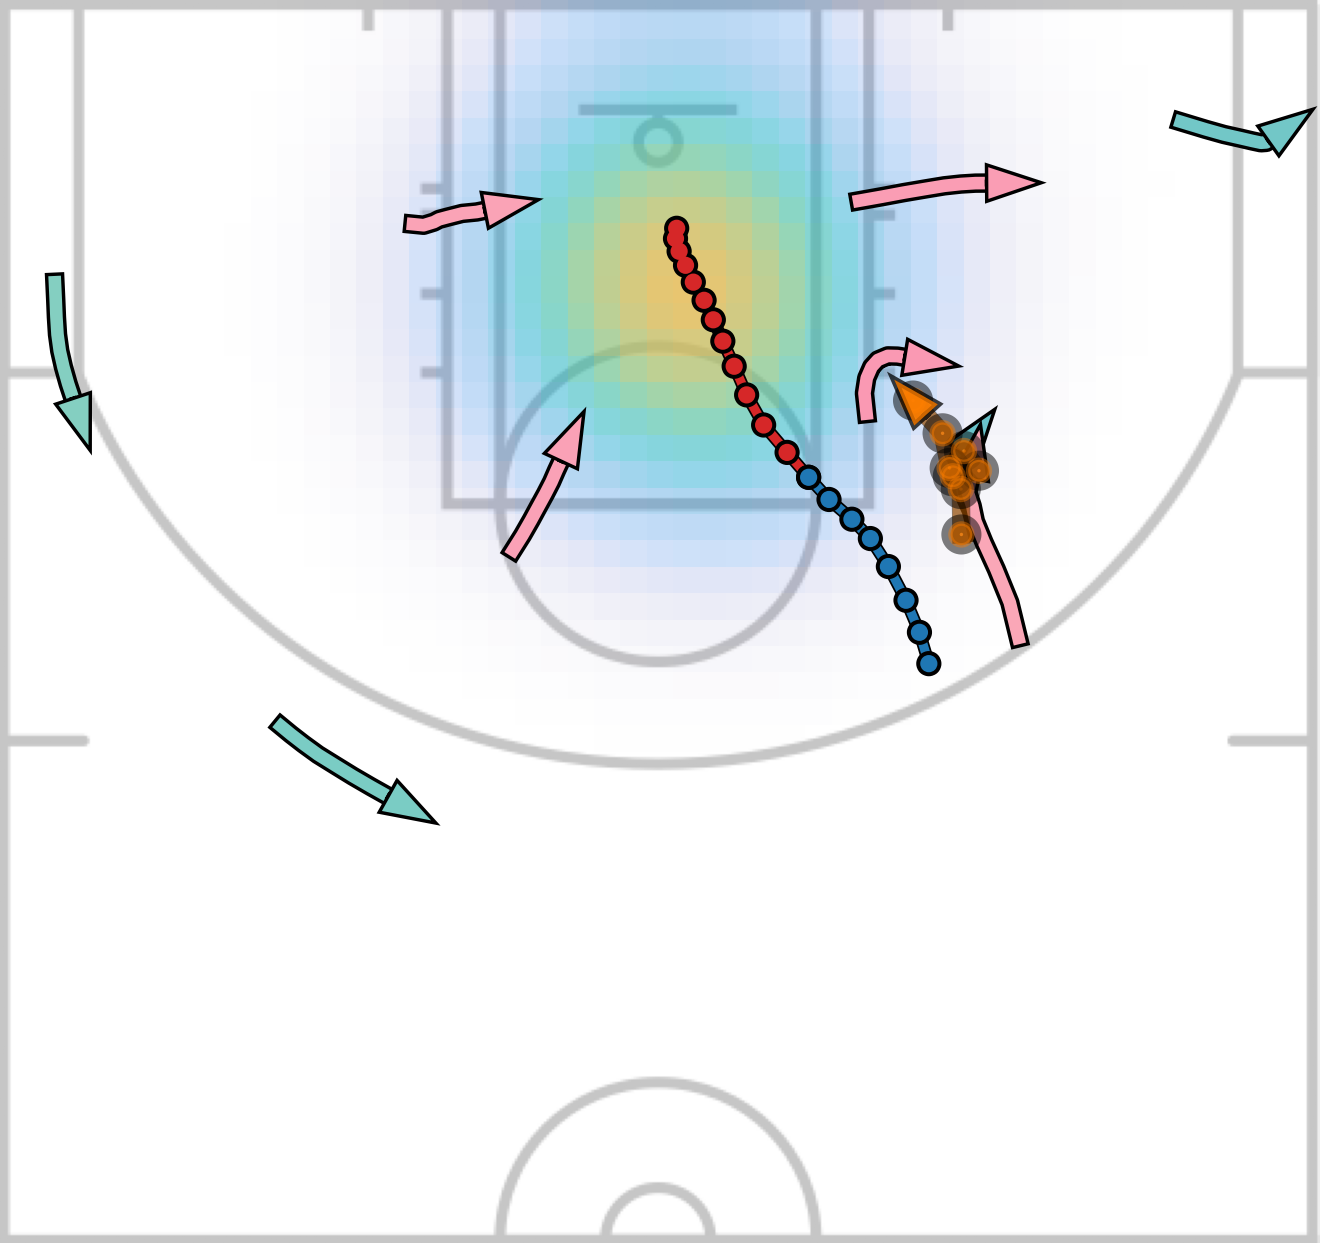
Our approach shows low errors in trajectory prediction on challenging scenarios with complex and intensive human-human interctions. Below we show the prediction of our model for basketball players. We also include our NBA datasets (data/nba) in this repository. Caution: the NBA datasets were recorded in the unit of feet. Please refer to our paper for more details.
| Predictions | Heatmap | Attention |
|---|---|---|
 |
 |
 |
 |
 |
 |
 |
 |
 |
- Pytorch 1.11
- Numpy 1.21
We recommend to install all the requirements through Conda by
$ conda create --name <env> --file requirements.txt -c pytorch -c conda-forge
Command to train a model from scratch:
$ python main.py --train <train_data_dir> --test <test_data_dir> --ckpt <checkpoint_dir> --config <config_file>
We provide the training and testing data in data folder and the configuration files that we used in config folder.
To reproduce the reported results, please run
# ETH/UCY benchmarks
$ python main.py --train data/eth/train --test data/eth/test --ckpt log_eth --config config/eth.py
$ python main.py --train data/hotel/train --test data/hotel/test --ckpt log_hotel --config config/hotel.py
$ python main.py --train data/univ/train --test data/univ/test --ckpt log_univ --config config/univ.py
$ python main.py --train data/zara01/train --test data/zara01/test --ckpt log_zara01 --config config/zara01.py
$ python main.py --train data/zara02/train --test data/zara02/test --ckpt log_zara02 --config config/zara02.py

# SDD benchmark
$ python main.py --train data/sdd/train --test data/sdd/test --ckpt log_sdd --config config/sdd.py

# NBA benchmark
$ python main.py --train data/nba/rebound/train --test data/nba/rebound/test --ckpt log_rebound --config config/nba_rebound.py
$ python main.py --train data/nba/score/train --test data/nba/score/test --ckpt log_score --config config/nba_score.py
Command to evaluate a pre-trained model:
$ python main.py --test <test_data_dir> --ckpt <checkpoint_dir> --config <config_file>
We provide our pretained models in models folder. To evaluate our pre-trained models, please run
# ETH/UCY benchmarks
$ python main.py --test data/eth/test --ckpt models/eth --config config/eth.py
$ python main.py --test data/hotel/test --ckpt models/hotel --config config/hotel.py
$ python main.py --test data/univ/test --ckpt models/univ --config config/univ.py
$ python main.py --test data/zara01/test --ckpt models/zara01 --config config/zara01.py
$ python main.py --test data/zara02/test --ckpt models/zara02 --config config/zara02.py

# SDD benchmark
$ python main.py --test data/sdd/test --ckpt models/sdd --config config/sdd_pixel.py

# NBA benchmark
$ python main.py --test data/nba/rebound/test --ckpt models/nba/rebound --config config/nba_rebound.py
$ python main.py --test data/nba/score/test --ckpt models/nba/score --config config/nba_score.py
Due to the large size of NBA scoring dataset (592,640 trajectories), it may take about 2 hours to perform a full test with FPC. To run the model without FPC for fast testing, please use --no-fpc option.
All our training and testing were done on machines equipped with V100 GPU. The test results may vary a little when the model runs on machines with different hardware or a different version of pytorch/cuda.
Our code supports loading trajectories from multiple files, each of which represent a scene. Just split your data into training and testing sets and put each scene as a txt file into the corresponding folder.
Each line in the data files is in the format of
frame_ID:int agent_ID:int pos_x:float pos_y:float group:str
where frame_ID and agent_ID are integers and pos_x and pos_y are float numbers. The group field is optional to identify the agent type/group such that the model can be trained to perform prediction for specific groups/types of agents. See config/nba_rebound.py for an example where the model is trained to predict the movement of players only and the basketball appears only as a neighbor of other agents.
We provide our config files in config folder, which can be used as reference.
A key hyperparameter that needs to pay attention is NEIGHBOR_RADIUS. In a common scenario with causal human walking, it can be values from 2 to 5. For intensive human movement, it could be 5-10 and even larger.
$ python main.py --train <folder_of_training_data> --test <folder_of_testing_data> --ckpt <checkpoint_folder> --config <config_file>
$ python main.py --test <folder_of_testing_data> --ckpt <checkpoint_folder> --config <config_file>
The script will automatically run FPC hyperparameter finetuning after the training is done. To manually perform the finetuning given an existing model, please run the evaluation command with --fpc_finetune option.