- Download this project
- Open in Unity
- Install DOTween
- No need to explicitly state which character is saying what - if there's no character name, assumes previous
- Example:
Alice: Hi
Hi, Alice is still talking
Bob: Now Bob's talking!
- Example:
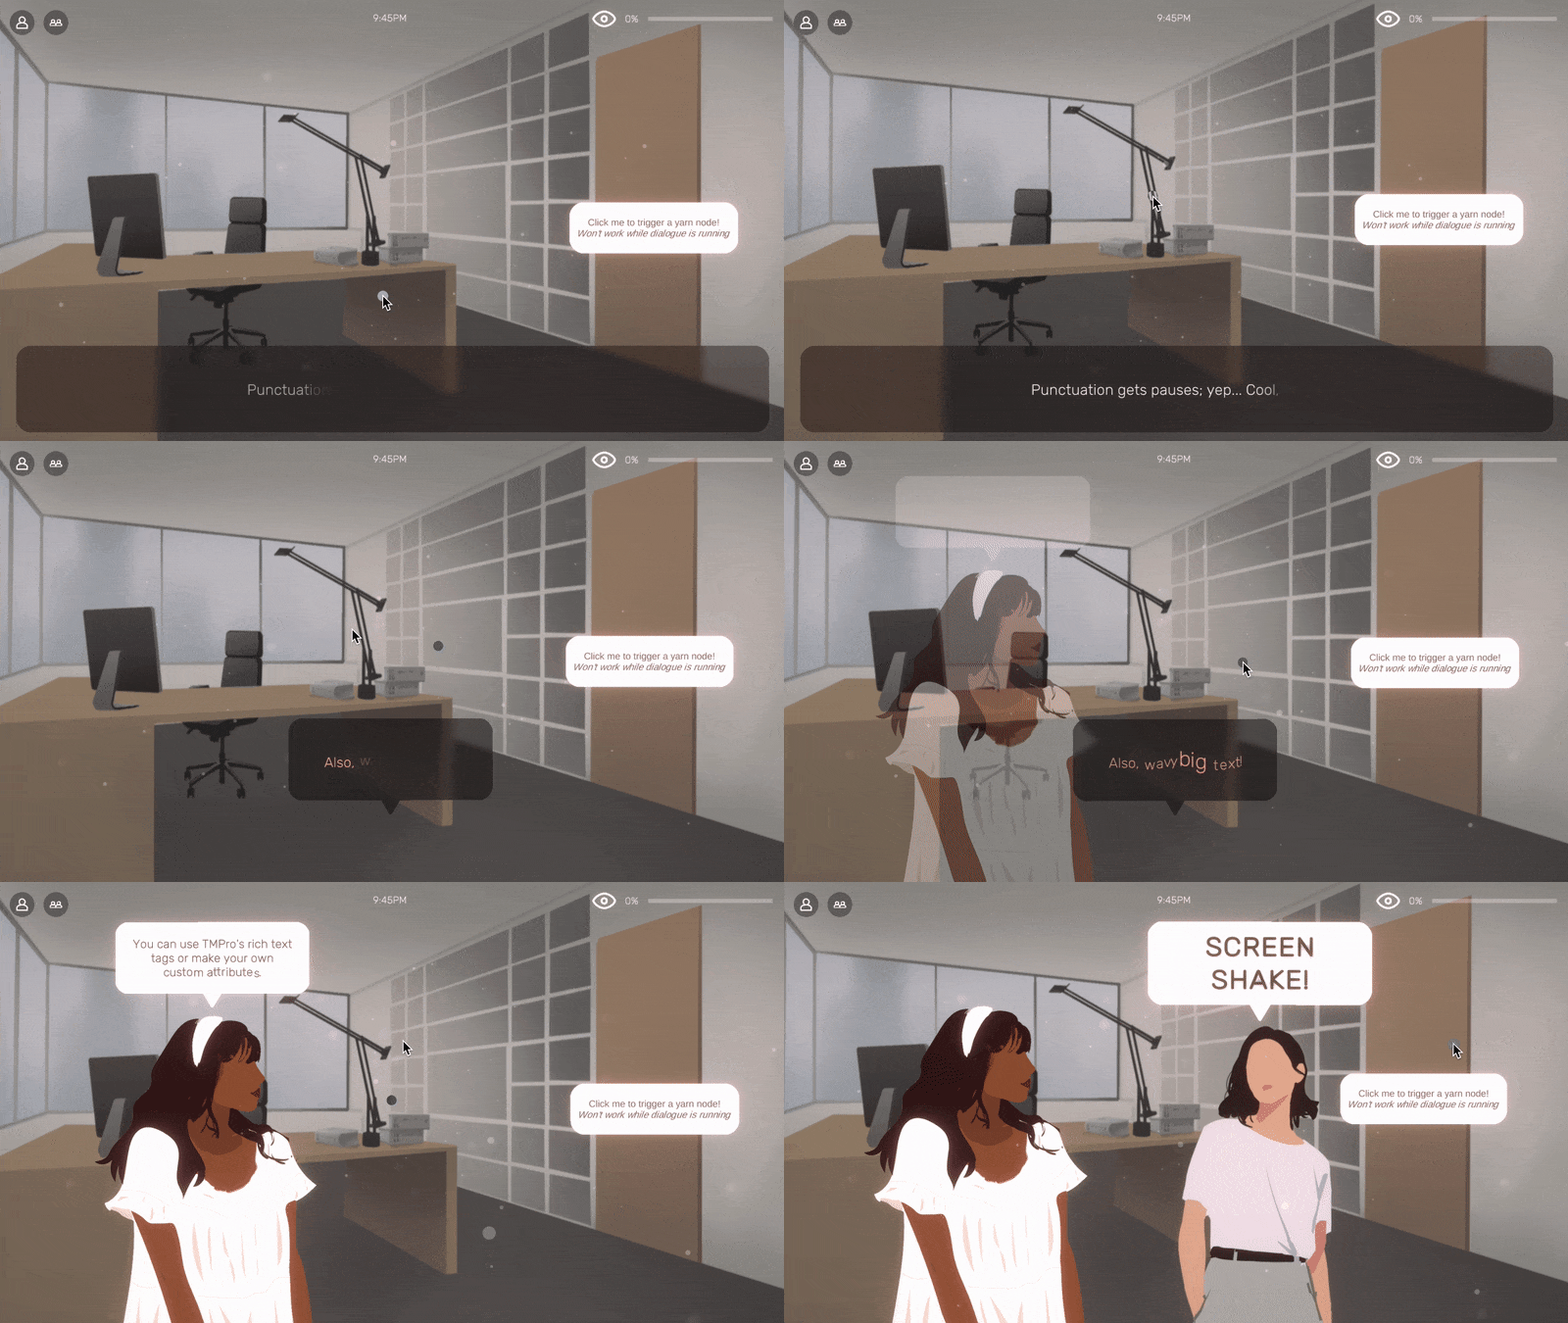
- Attributes mid-dialogue using BBcode-like syntax
- Example:
I'm [shake s=2]shaking[/shake] - See
TextAttributeHandler.cs
- Example:
- Support for Rich Text tags for Text Mesh Pro (except color)
- Example:
Player: Look! <size=150%>Big</size> text!
- Example:
See CustomStorage.cs, SaveData.cs
- Longer pauses on punctuation
- Supports keyboard controls
- Cursor enlargens when hovering over clickable
- Requires
VisualsManager.csin scene loaded withLoadcommand <<View {SPRITE NAME}>>
- Requires
CharacterManager.csin scene loaded withLoadcommand <<Show {CHARACTER NAME} {EXPRESSION}>><<Change {CHARACTER NAME} {EXPRESSION}>><<Hide {CHARACTER NAME}>>
<<Load {SCENE NAME}>>
<<PlayMusic {AUDIOCLIP NAME}>><<StopMusic>>
<<SetTimed false>><<SetTimer 2>>
- See
RelationshipUI.cs,VarUI.cs
<<Take {ITEM} 1>><<Drop {ITEM} 1>><<if has("{ITEM}") is true>>
<<SetTime 9:45PM>><<AddMinutes 100>>
As well as others that are expected, like wait, visited(), etc.
- Create scene with name
{SCENE_NAME} - Add Yarn node with title
{SCENE_NAME}that contains setup commands (e.g.PlayMusic,View, etc) - Add objects/components necessary for your setup commands
See Office scene as example.
- Add
{CHARACTER NAME}toCharacterNameenum - Add to
CustomStorage.defaultVariablesdictionary where key is{CHARACTER NAME} - Have
CharacterManager.csin scene where character will appear - Add
Characterprefab to scene where character will appear - Reference this prefab instance in
CharacterManager.characterUiDictionary - Replace this prefab instance's animator controller with an animator override controller, overriding the
Charactercontroller - In the new override controller, override animations you want
See Ana and Hunter in Office scene as examples.
Note: The new character will appear in the relationships UI. If this is not wanted, you can write logic for that in RelationshipUI.cs.
- Add
{EXPRESSION}toExpressionenum - Add
{EXPRESSION}trigger parameter toCharacter.controller - Have new trigger lead to some animation (I have all the expression animations in Sprite Layer for now)
- For all characters that should show that expression, edit their override controllers
- In
Scripts/Inventory/Itemsfolder, right click, thenCreate/ScriptableObjects/ItemData - Populate fields accordingly. All elements in
yarnValueswill add or subtract to the corresponding yarn variable when added or removed from inventory. Important: All keys in Yarn Values must be keys inCustomStorage.defaultVariablesand represent a numerical yarn variable.
See Headphones as example.
First:
- Update
DialogueTypeenum accordingly - Update
TextAttributeHandler.SetDialogueGivenLine
If new DialogueGroup will show options:
- Duplicate
ThinkDialogueinMainscene. - Edit
CustomDialogueUI.cs.DoRunOptionsto have logic to show the new DialogueGroup.
Else:
- Duplicate
PlayerDialogueinMainscene.
Note: Notice OtherDialogue in Main doesn't have a Canvas component so it can be parented to characters. If that's the intention, perhaps duplicate that DialogueGroup instead.
- Update
TextAttributeHandler attributes - Update
TextAttributeHandler.HandleAttribute
Note: If want to handle attribute before OnLineParsed event is raised, look into CustomDialogueUI.TryParseCharacter logic instead.
Parallax effect can be achieved in several ways:
- Change Z position
- Change scale
- Change camera's field of view via Lens in
CinemachineVirtualCamera
Note: If parallaxing Unity UI, set canvas's Render Mode to World Space and set worldCamera to BgCamera.
All inputs are defined in UIActions.inputactions.
ClosableUI allows for shortcut keys for closing/opening by listening to the action named shortcutActionName.
- In
Scripts/Inventory/Itemsfolder, right click, thenCreate/ScriptableObjects/TooltipData - Populate fields. If the
titlefield corresponds to anUIActionaction name, then the stringified action for the current input scheme will be displayed.
SaveData.cs contains all save data, and is serialized every time DialogueRunner.onDialogueComplete is raised.
CustomStorage.cs contains the logic for saving/loading SaveData.
To modify:
- Edit
SaveData.cs - Load data in either
UseSaveDataorUseSaveDataOnPlay - Save data in either
SaveDataListeners,SaveDataListenersOnPlay, orPrepareSaveData
- CharTween can tween at max 200 characters due to DOTween's max capacity. Thus either limit all dialogue lines to <=200 characters or refactor to have effects without CharTween
OptionsTimed.animmust be around 1 second- Inline expressions don't work (see open issue)
- Option buttons must have tag "Options"
- UI, not part of a DialogueGroup, must have tag "UI"
- Background, middleground, and foreground cameras must be tagged accordingly, with the camera showing UI tagged as "MainCamera"
- For the cursor-enlargening-over-clickables effect to work, make sure only clickables are raycast targets
Thanks to @radiatoryang's examples, @Michsky's lomenui, and the Yarn Spinner team! I've wanted a dialogue framework that's thin and expandable yet still powerful for awhile now.
All scripts, shaders, and scene files are distributed under the MIT license.
All art assets are under exclusive copyright; they'll be used for future games. If they're used/sold, I will find you 👀
- setup:
- download alll dependenies (with chartween modifications)

