This repo contains the code for this paper.
This website contains a breif introduction to our paper.
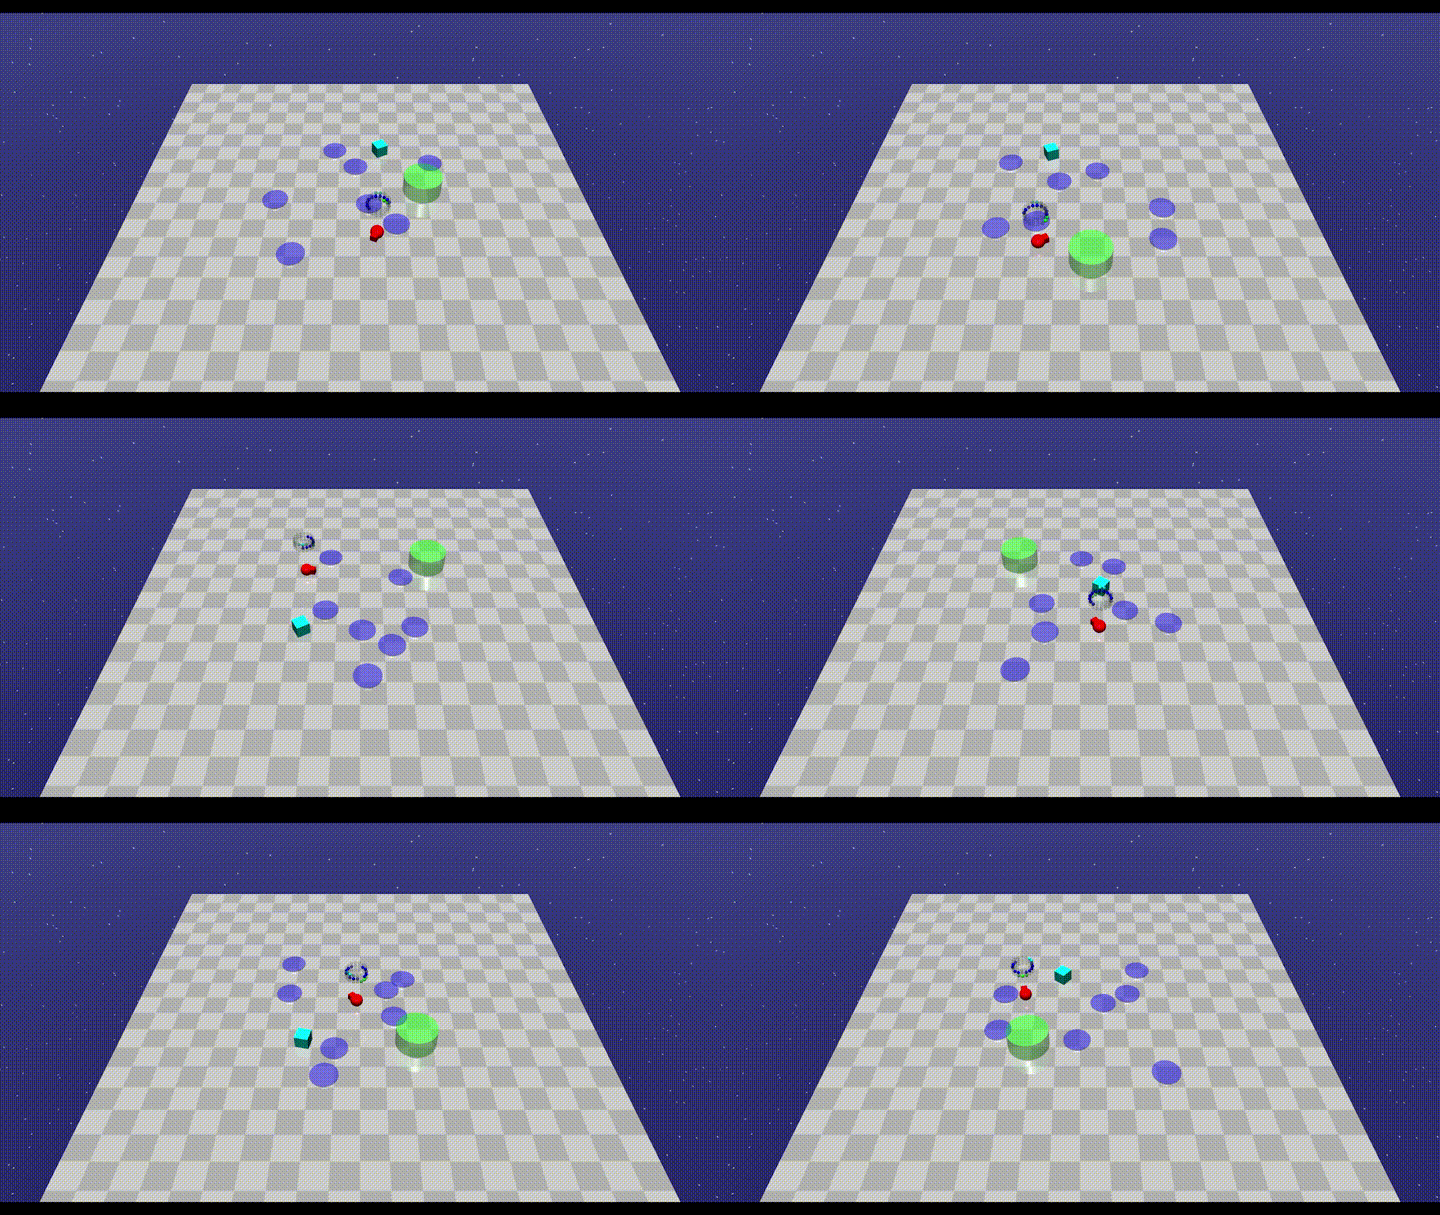
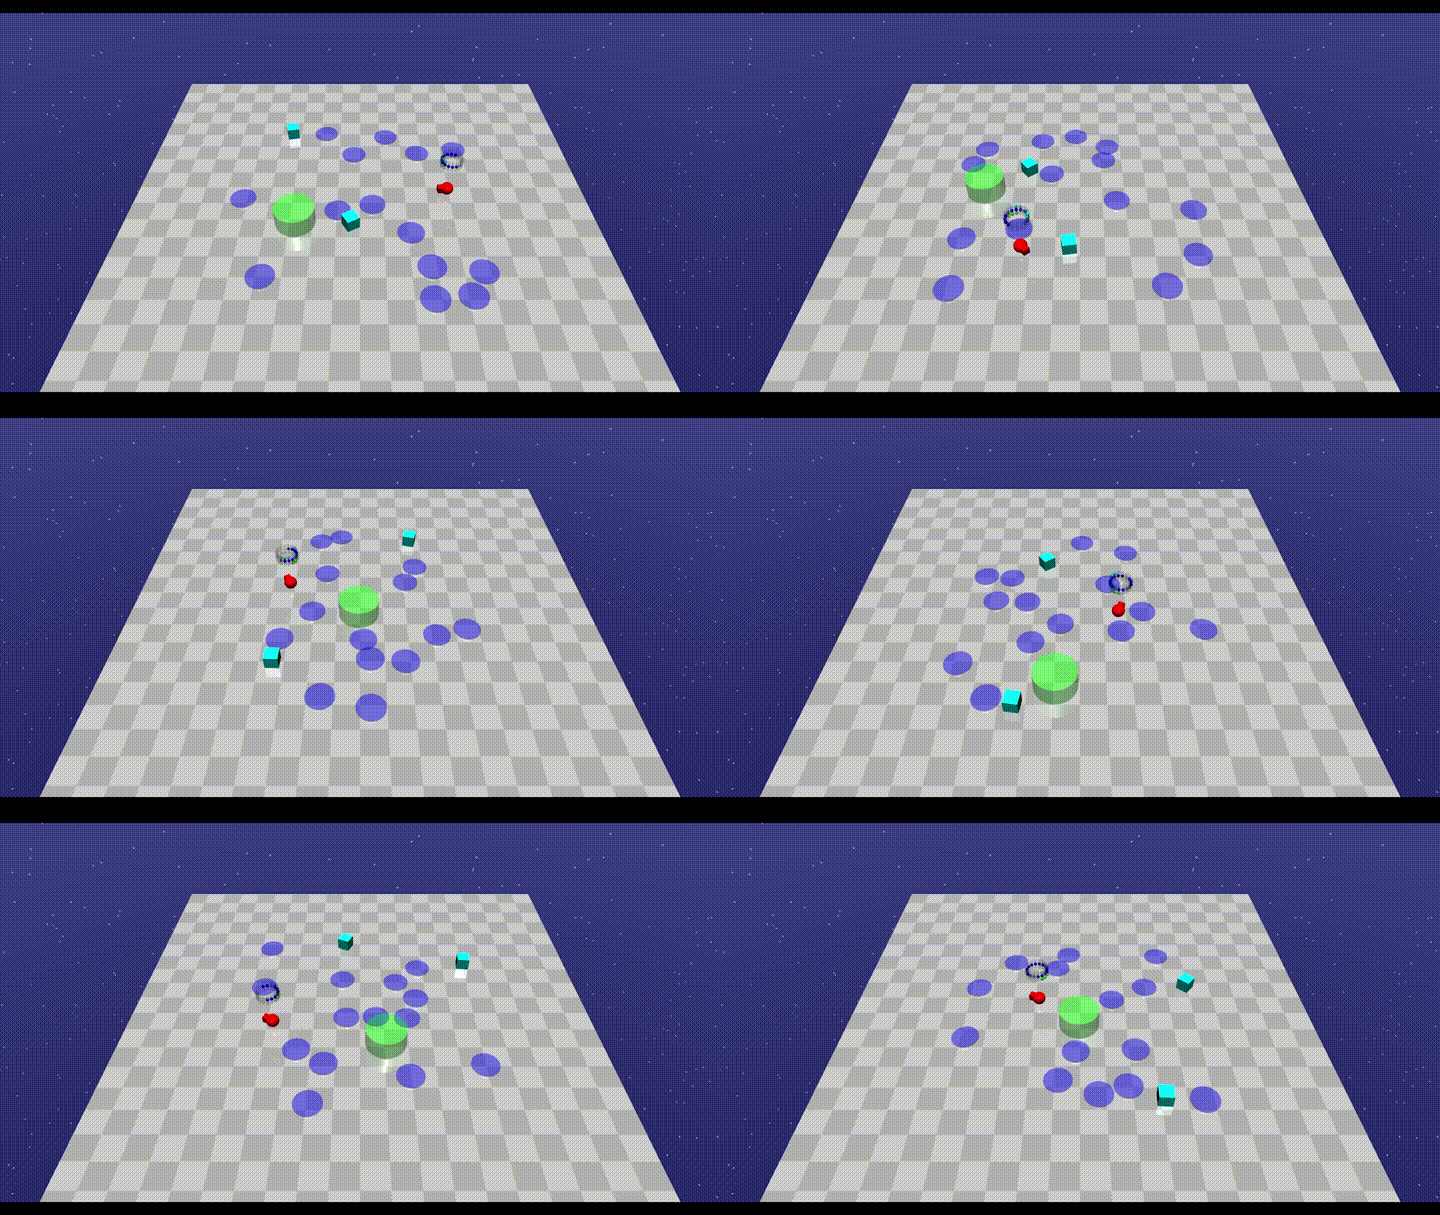
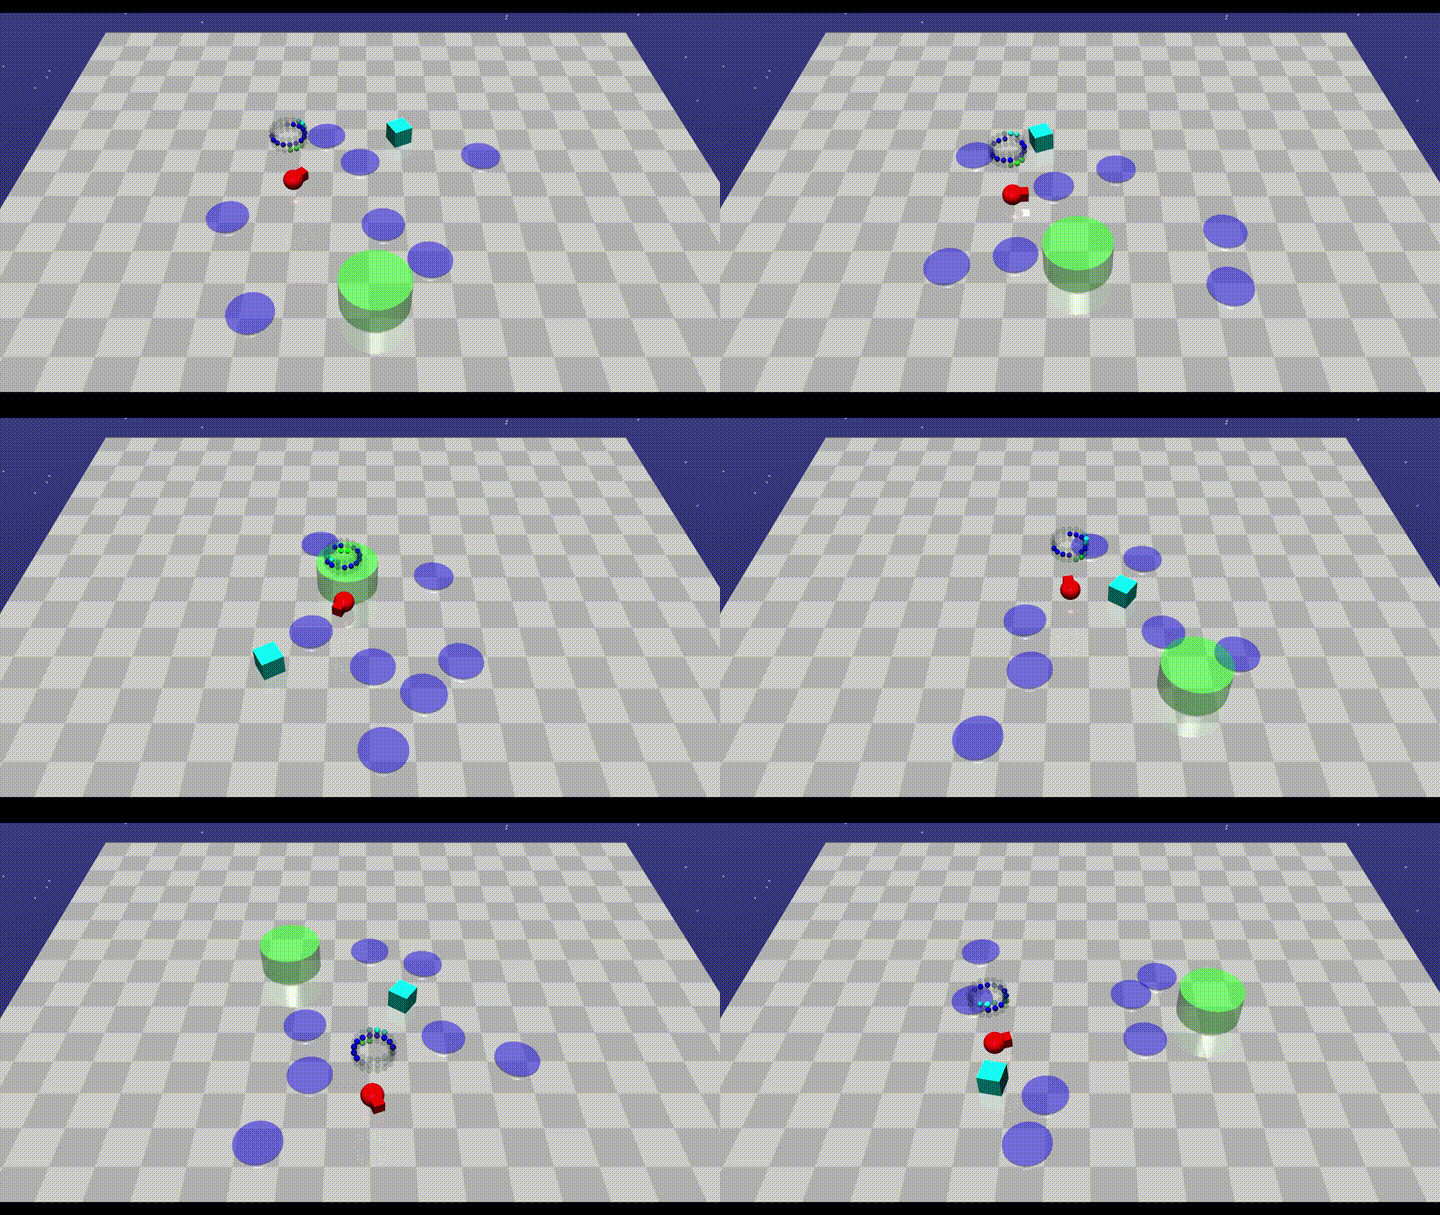
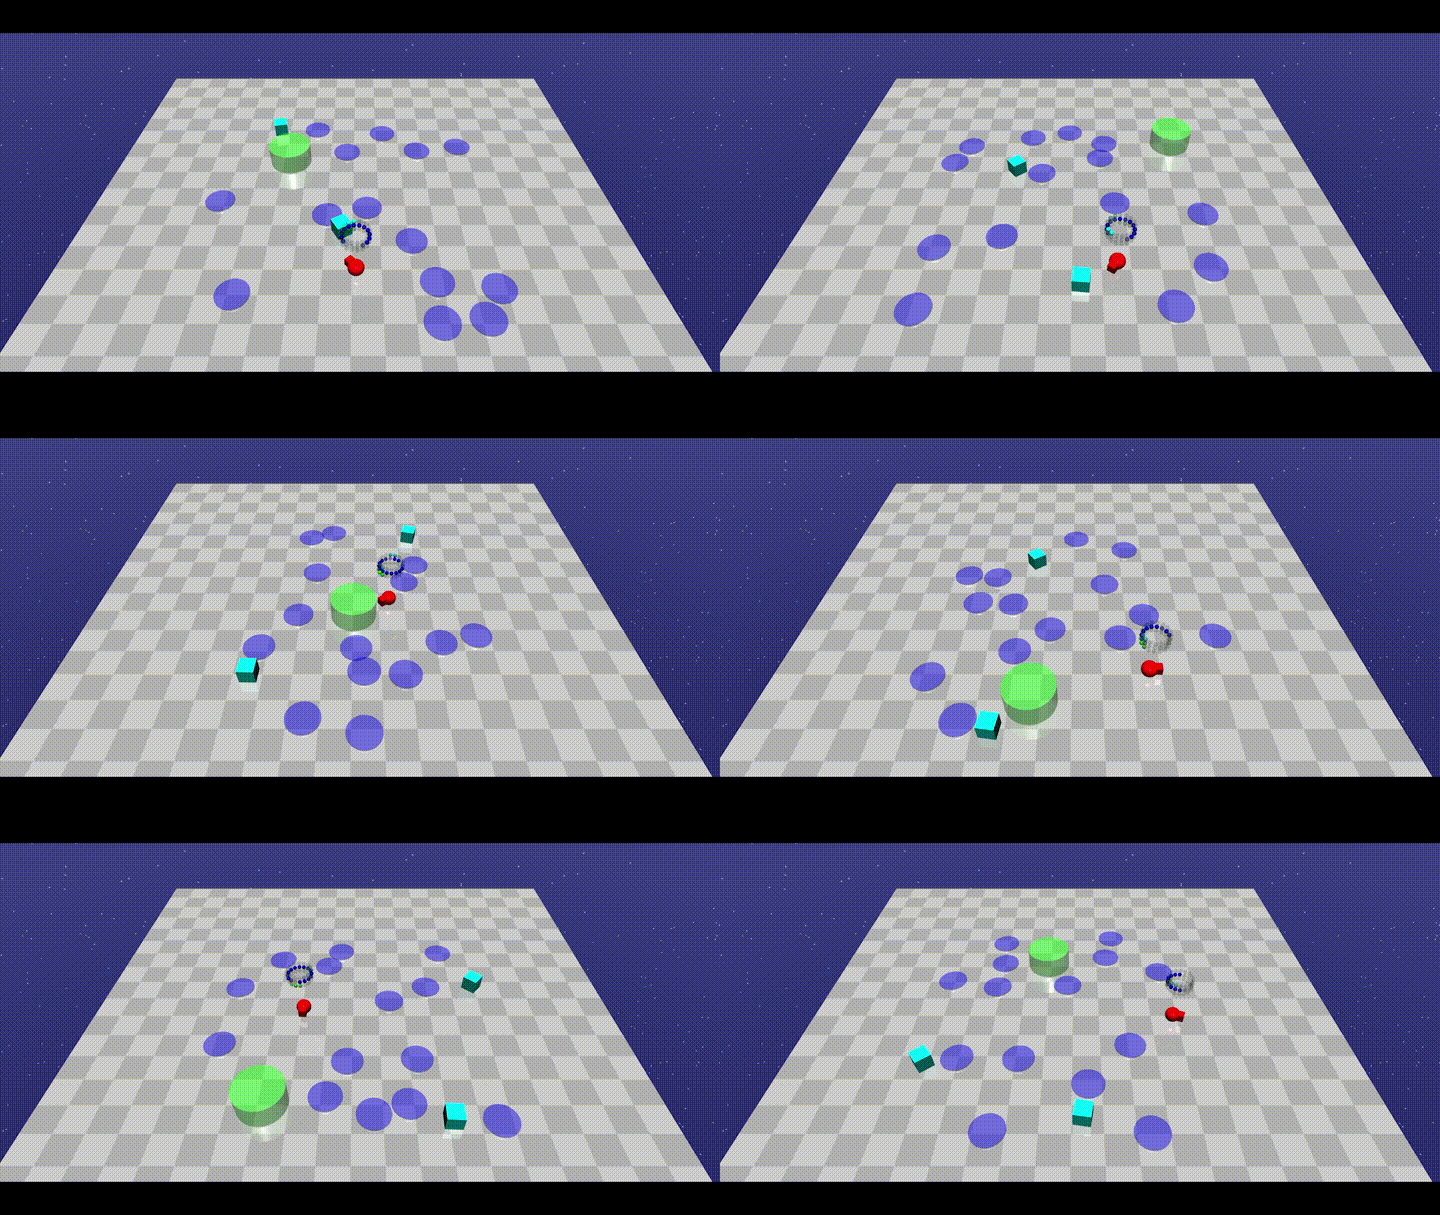
This paper studies the constrained reinforcement learning (RL) problem without assumptions about prior knowledge of the system dynamics and the constraint function. We employ an uncertainty-aware neural network ensemble model to learn the dynamics, and we infer the unknown constraint function through indicator constraint violation signals. We use model predictive control (MPC) as the basic control framework and propose the robust cross-entropy method (RCE) to optimize the control sequence considering the model uncertainty and constraints. We evaluate our methods in the Safety Gym environment. The results show that our approach achieves better constraint satisfaction than baseline safe RL methods while maintaining good task performance. Additionally, we are able to achieve several orders of magnitude better sample efficiency when compared to constrained model-free RL approaches.
This repo has been tested on Ubuntu 18.04 LTS, and is probably fine for most recent Mac and Linux operating systems.
Our experiment environments are modified from Safety Gym, which depends heavily on mujoco_py.
The first step is to install MuJoCo-200: download binaries, put license file inside, and add path to ~/.bashrc.
Then, install mujoco_py. See the mujoco_py documentation for details. Note that mujoco_py requires Python 3.6 or greater, so our simulation environments do as well.
Afterwards, simply install our modified Safety Gym environments by:
cd env

pip install -e .
If you encouter any problems during the simulation environment installation, please see the troubleshooting section.
- PyTorch-1.4.0
- gym-0.15
- CUDA-10.0 (recommended if you want GPU acceleration)
- CUDNN-7.6 (recommended if you want GPU acceleration)
To installing other dependencies (tqdm, pyyaml, mpi4py, psutil, matplotlib, seaborn), simply run:
pip install --upgrade pip
pip install -r requirements.txtOur method depends on LightGBM model; we recommend to install LightGBM package through pip or conda:
pip install lightgbm
or
conda install -c conda-forge lightgbm
We suggest you install pytorch first as there might be package conflicts if installing lightgbm first.
If you want to install GPU-version of LightGBM, please refer to their documentation.
The structure of this repo is as follows:
safe-mbrl
├── baseline  # stores the model-free baseline methods used in our paper.
├── data  # stores the training data (weights, recorded variables, training config etc).
├── env  # stores the modified safety gym simulation environment (update the car robot model).
├── mbrl  # stores the safe model-based RL approach proposed by our paper.
│   ├── controllers # we use the safe_mpc_controller.py as the basic control framework.
│   ├── models # implementation of the dynamics model and the constraint model.
│   ├── optimizers # implementation of our RCE method as well as CEM and random shooting.
├── script # stores the scripts to plot and analyze the saved training data
├── utils # stores some useful functions and tools
├── config.yml # stores some hyper-parameters for mpc, dynamics model, and cost model.
├── run.py # the training and testing script to reproduce our experiment results.
Here we provide some examples about how to train the agent. Note that the training procedure may take several hours to converge depending on your computer configuration.
- Train MPC + RCE agent in the PointGoal1 environment:
python run.py --robot point --level 1 --dir data/pg1 -n test-rce -o rce --epoch 25 --c config.yml- Train MPC + random agent in the PointGoal2 environment:
python run.py --robot point --level 2 --dir data/pg2 -n test-random -o random --epoch 70 --c config.yml- Train MPC + CEM agent in the CarGoal1 environment:
python run.py --robot car --level 1 --dir data/cg1 -n test-cem -o cem --epoch 40 --c config.yml| Flags and Parameters | Description |
|---|---|
--robot |
robot model, selected from point or car |
--level |
environment difficulty, selected from 1 or 2, where 2 would be more difficult than 1 |
--epoch |
maximum epochs to train |
--episode |
determines how many episodes data to collect for each epoch |
--render,-r |
render the environment |
--test,-t |
test the performance of pretrained models without training |
--seed,-s |
seed for Gym, PyTorch and Numpy |
--dir, -d |
directory to save the logging information |
--name, -n |
name of the experiment, used to save data in a folder named by this parameter |
--save |
save the trained dynamic model, data buffer, and cost model |
--load |
load the trained dynamic model, data buffer, and cost model from a specified directory |
--ensemble |
number of model ensembles |
--optimizer, -o |
determine the optimizer, selected from rce, cem, or random |
--config |
specify the path to the configuation file of the models |
More hyper-parameters for the models and optimizers can be found in the config.yml file.
- Test with the trained model in the PointGoal1 environment:
python run.py --robot point --level 1 -o rce --c config.yml -r -t --load data/pg1/weights/- To test with some pretrained models, please download the data from this link, unzip it, and replace the
datafolder with the unzipped one.
We name each environment with the first letter of robot (car or point) + g (represent the Goal task) + difficulty level. For example, the pg2 folder stores the experiment results for the PointGoal2 task. The trained dynamics model, data buffer, and cost model weights are stored in the weights folder within each environment folder. Other folders store the rewards and costs data for each method during training (the learning curves plots in the paper come from these data).
To plot a single figure from saved progress data, specify the directory and run:
python script/plot.py path/to/stored/result -y Cost --smooth 30
The script will parse all the sub directories in the path/to/stored/ that contain result in the folder name.

Horizontal lines can be used as convergence values for model-free methods, as recalled from the proposed paper. Simply run:
python script/plot.py data/pg1/ensemble-rce data/pg1/ensemble-cem --hline 14 15 --linename Test1 Test2
The script does not yet support reading a combination of model-free and model-based data as their data length vary a lot. As a result, the plot may only show the curves for the model-free methods. Be careful when selecing the paths to files.
| Flags and Parameters | Description |
|---|---|
| Mandatory argument | list of paths to data progress.txt; all sub-directories of the paths will be scanned. |
--xaxis |
the data that will be plotted as the x-axis. e.g. TotalEnvInteracts, Episode |
--yaxis |
the data that will be plotted as the y-axis. e.g. EpRet is the reward in 1 episode; EpCost is the cost in 1 episode |
--condition |
how to categorize the plotted lines; select Method to group data by method of experiment, BySeed to separate individual trials |
--smooth |
determines how much smoothening is done while plotting; larger value means more smoothening; default 50; input 0 to turn off |
--cut |
determines how to shorten the datasets for alignment; select 2 for no action, 1 to align each group of data, 0 for global shortest alignment |
--hline |
(Optional) the y coordinates where horizontal dotted lines will be plotted; input a list of numbers |
--linename |
(Optional) a list of strings that are the labels to the above horizontal lines, respectively |
As used in Table 1 in the proposed paper, mean and sum of data can be taken using the following method:
python script/count.py data/cg1/ensemble-rce data/cg1/ensemble-cem --sum 100
Mean value of the targetted label is taken across a group; e.g. mean cost for RCE method. The first N mean values are then summed for each group.
The output format follows: {Group name: Sum of N mean values}
| Flags and Parameters | Description |
|---|---|
| Mandatory argument | list of paths to data progress.txt; all sub-directories of the paths will be scanned. |
--target |
the targetted label. e.g. EpRet, EpCost |
--condition |
how to categorize the plotted lines; select Method to group data by method of experiment, BySeed to separate individual trials |
--cut |
determines how to shorten the datasets for alignment; select 2 for no action, 1 to align each group of data, 0 for global shortest alignment |
--sum |
N, sum the first N elements |
For complete guidance on baseline models, please refer the repo of the paper "Benchmarking Safe Exploration in Deep Reinforcement Learning."(https://github.com/openai/safety-starter-agents)
To install the baseline method:
cd baseline

pip install -e .
- Train agent with baseline model(PPO, PPO-Lagrangian, TRPO, TRPO-Lagrangian, CPO) in PointGoal1 Environment:
python baseline/scripts/experiment.py --robot point --task Goal1 --algo trpo| Flags and Parameters | Description |
|---|---|
--robot |
robot model, selected from point or car |
--task |
environment task, selected from Goal1 or Goal2, where 2 would be more difficult than 1 |
--algo |
algorithm, selected from 'ppo', 'ppo_lagrangian', 'trpo', 'trpo_lagrangian', 'cpo' |
--seed |
seed for Gym, PyTorch and Numpy |
- Test with the trained model in the PointGoal1 environment:
python baseline/scripts/test_policy.py data/path/to/experimentThis section is reported based on Ubuntu 18.04.4 LTS.
Listed below are some of the errors we encountered during installation on our virtual environment:
- Missing
patchelf
  error: [Errno 2] No such file or directory: 'patchelf'
  ----------------------------------------
  ERROR: Failed building wheel for mujoco-py
Failed to build mujoco-py
ERROR: Could not build wheels for mujoco-py which use PEP 517 and cannot be installed directly
To install and configure this dependency:
sudo -s
curl -o /usr/local/bin/patchelf https://s3-us-west-2.amazonaws.com/openai-sci-artifacts/manual-builds/patchelf_0.9_amd64.elf
chmod +x /usr/local/bin/patchelf
For other errors that are already recorded by mujoco-py, please refer to their official troubleshooting section.
Similar to an error outlined in mujoco-py's official site, another error may appear during execution of the program:
ERROR: GLEW initalization error: Missing GL version
To install:
sudo apt install libglew-devTo configure:
Add the following to .bashrc or directly run the line on terminal
export LD_PRELOAD=/usr/lib/x86_64-linux-gnu/libGLEW.so
or
export LD_PRELOAD=/usr/lib/x86_64-linux-gnu/libGLEW.so:/usr/lib/x86_64-linux-gnu/libGL.so
Note: Don't forget to source the .bashrc file after modification.


