|
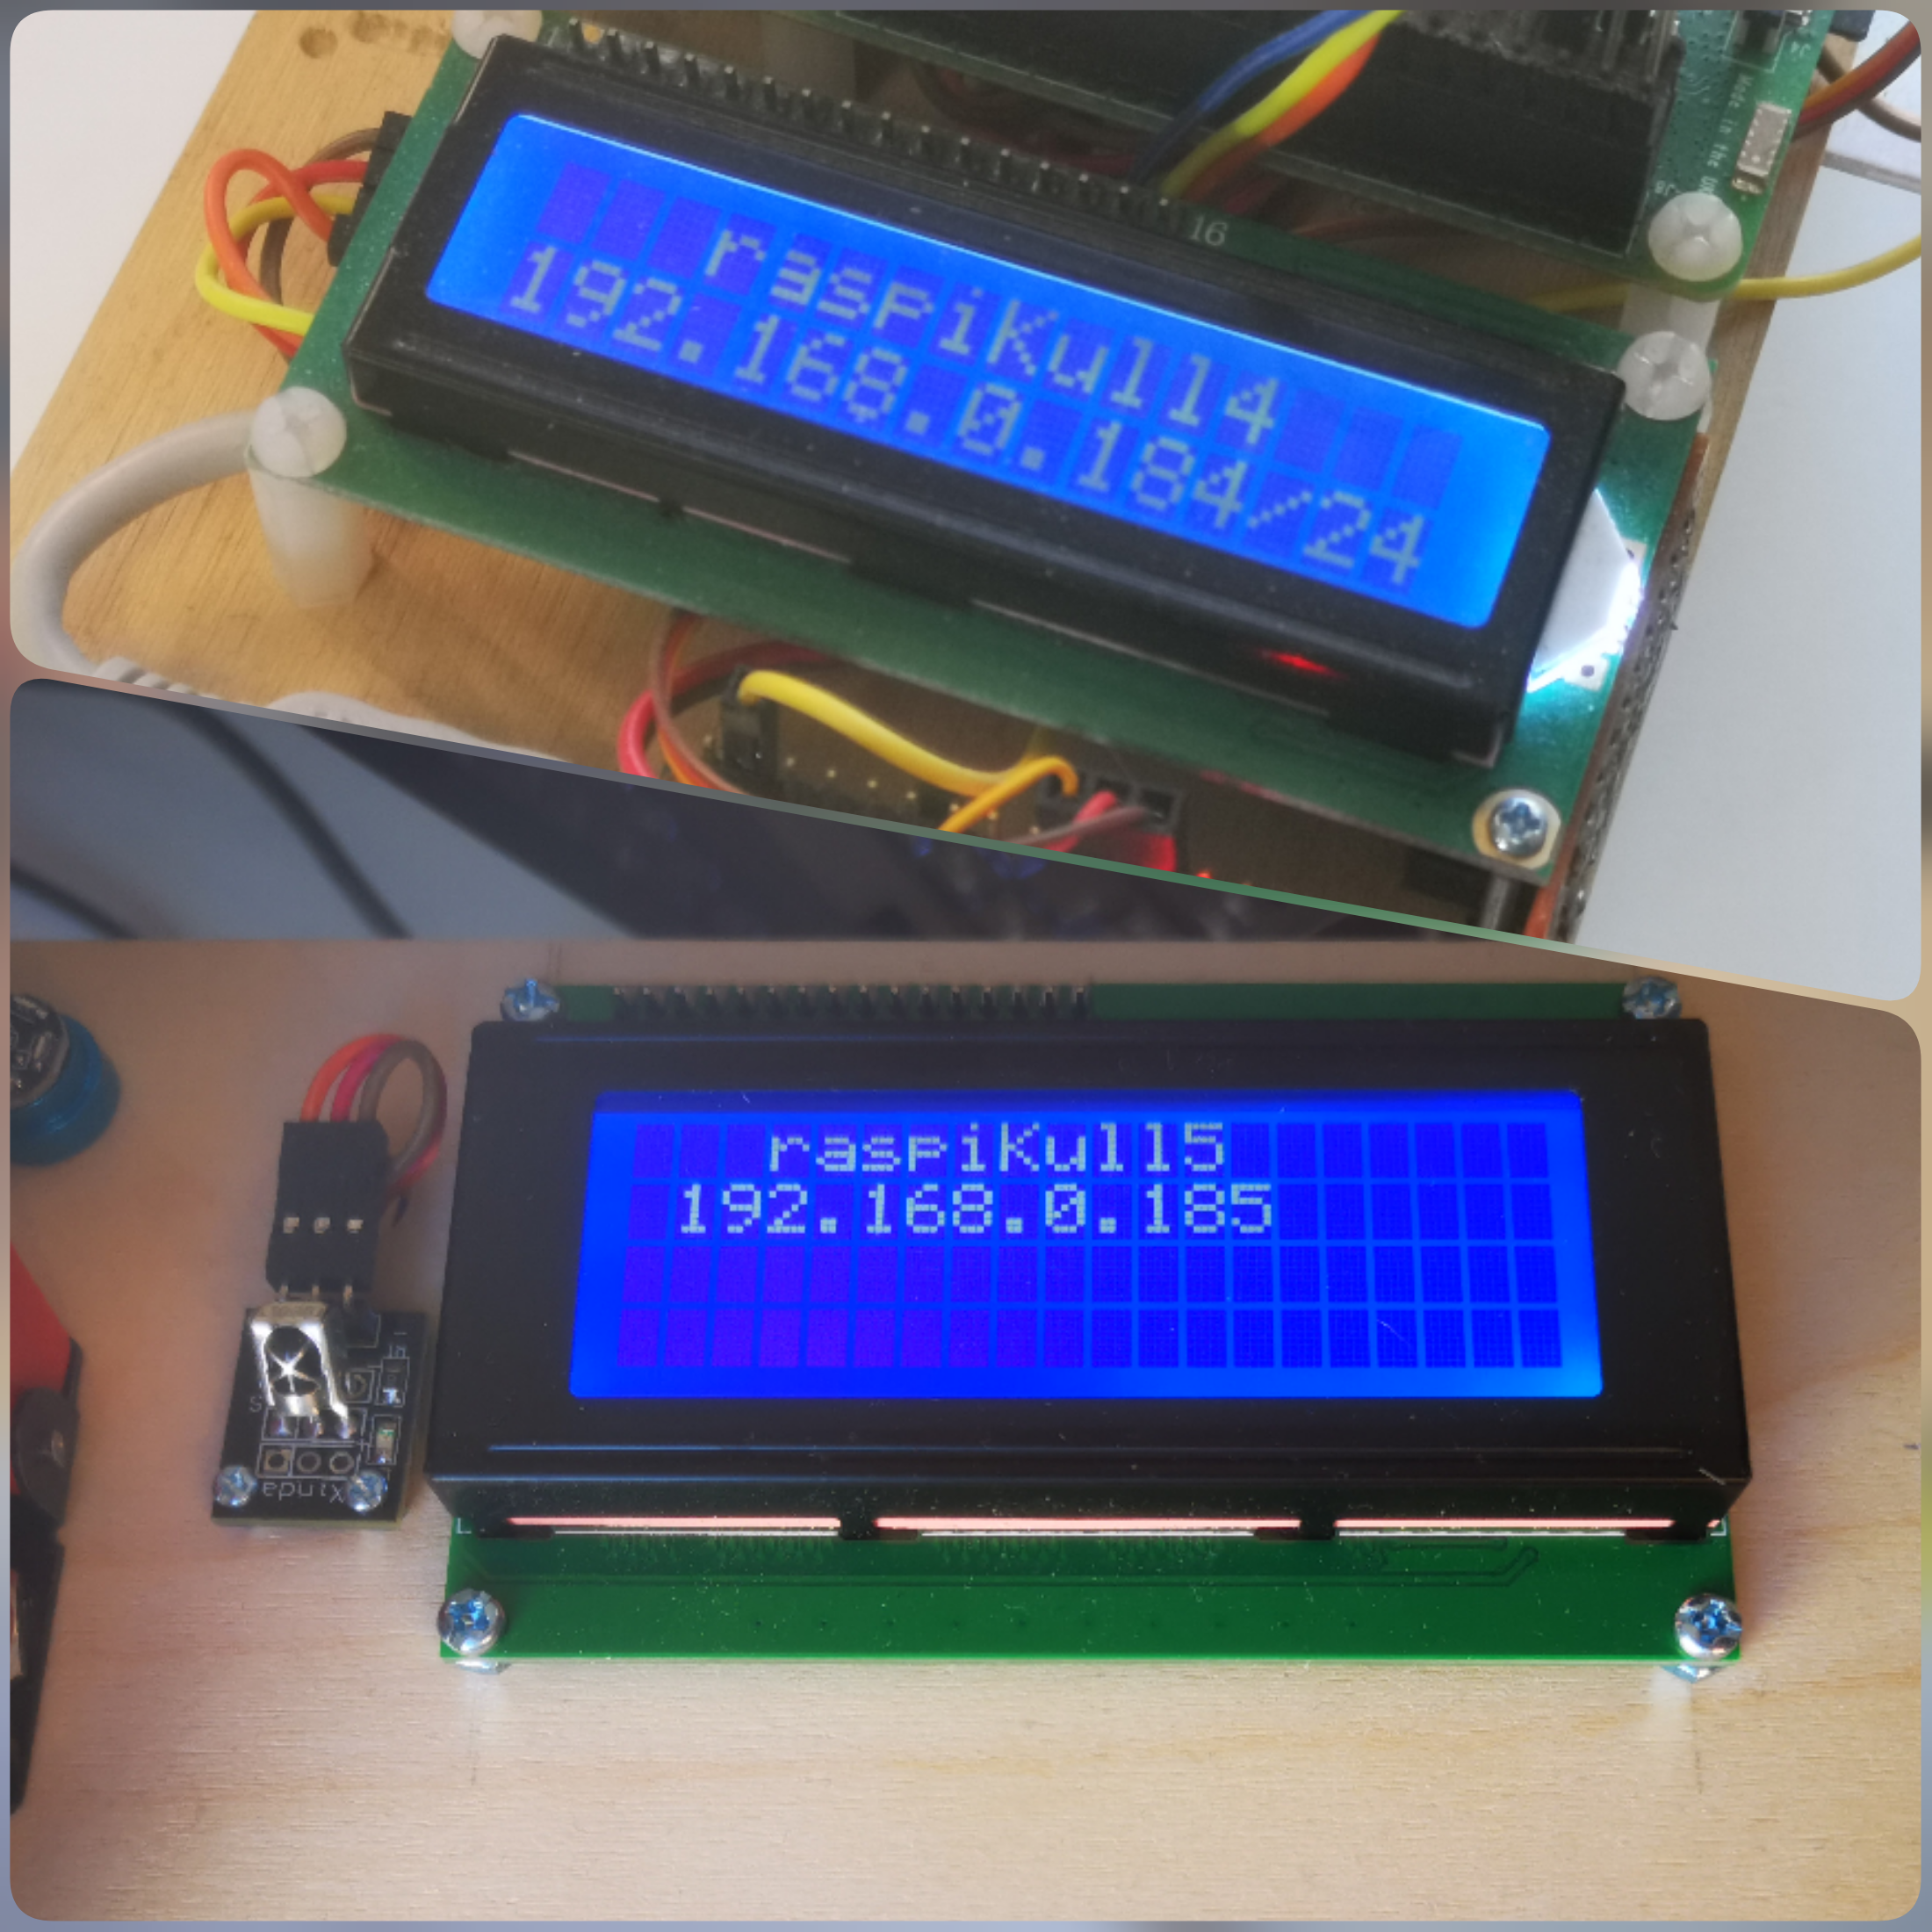
ROS2 repository in the © https://github.com/Pet-Series Git-Organizations. ▪ Containing a ROS2-package. ROS2-package that publish text, via ROS2-topics, on an physical I²C-connected display. This packages also contains a ROS2 test publisher. ▪ LCD1604 (16chr x 2row) with a PC8574 'piggyback' ▪ LCD2004 (20chr x 4row) with a PC8574 'piggyback' For a ROS1 version - Please see https://github.com/Pet-Series/ros_lcd_driver.git |
|
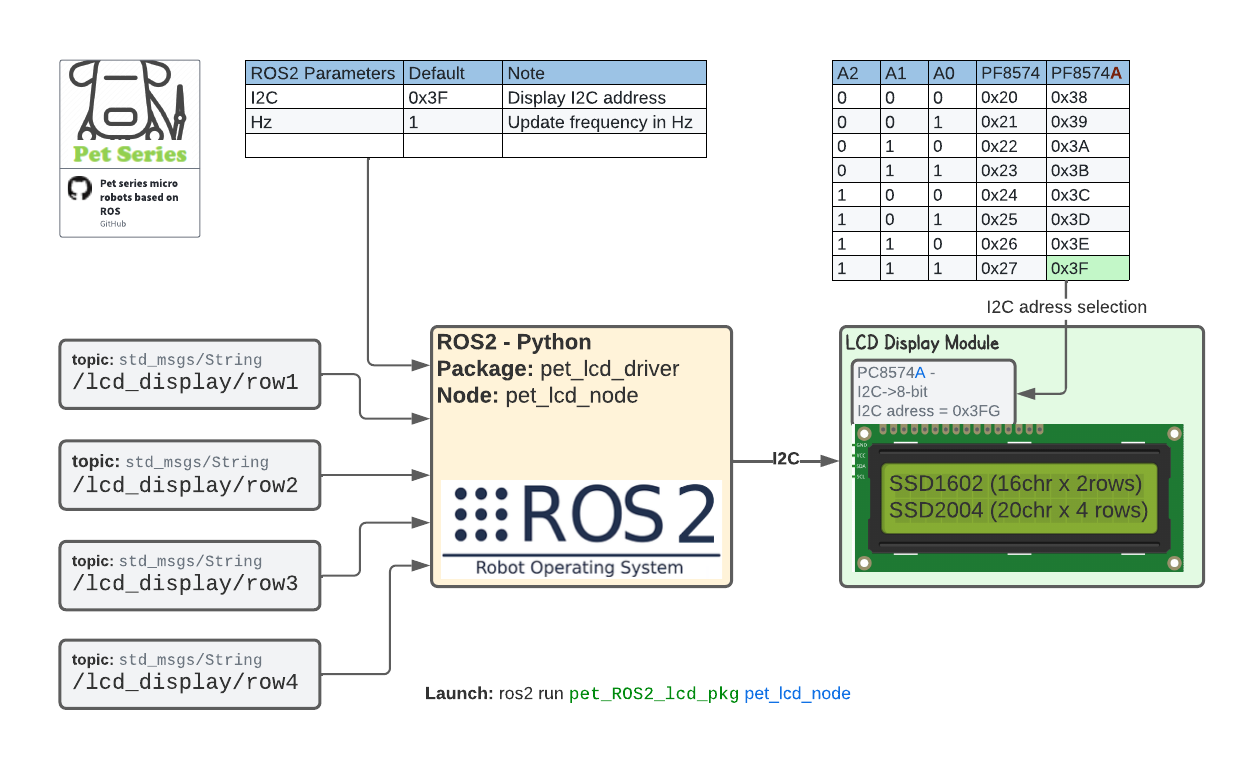
Input: 4x topics lcd_display/row1...lcd_display/row1
Input: Parameter 'lcd_i2c_address' with default address <0x3F>.
Output: i2c connected display using a PC8574A-interface
|
- Once: Read ROS2 Parameters for I²C-address.
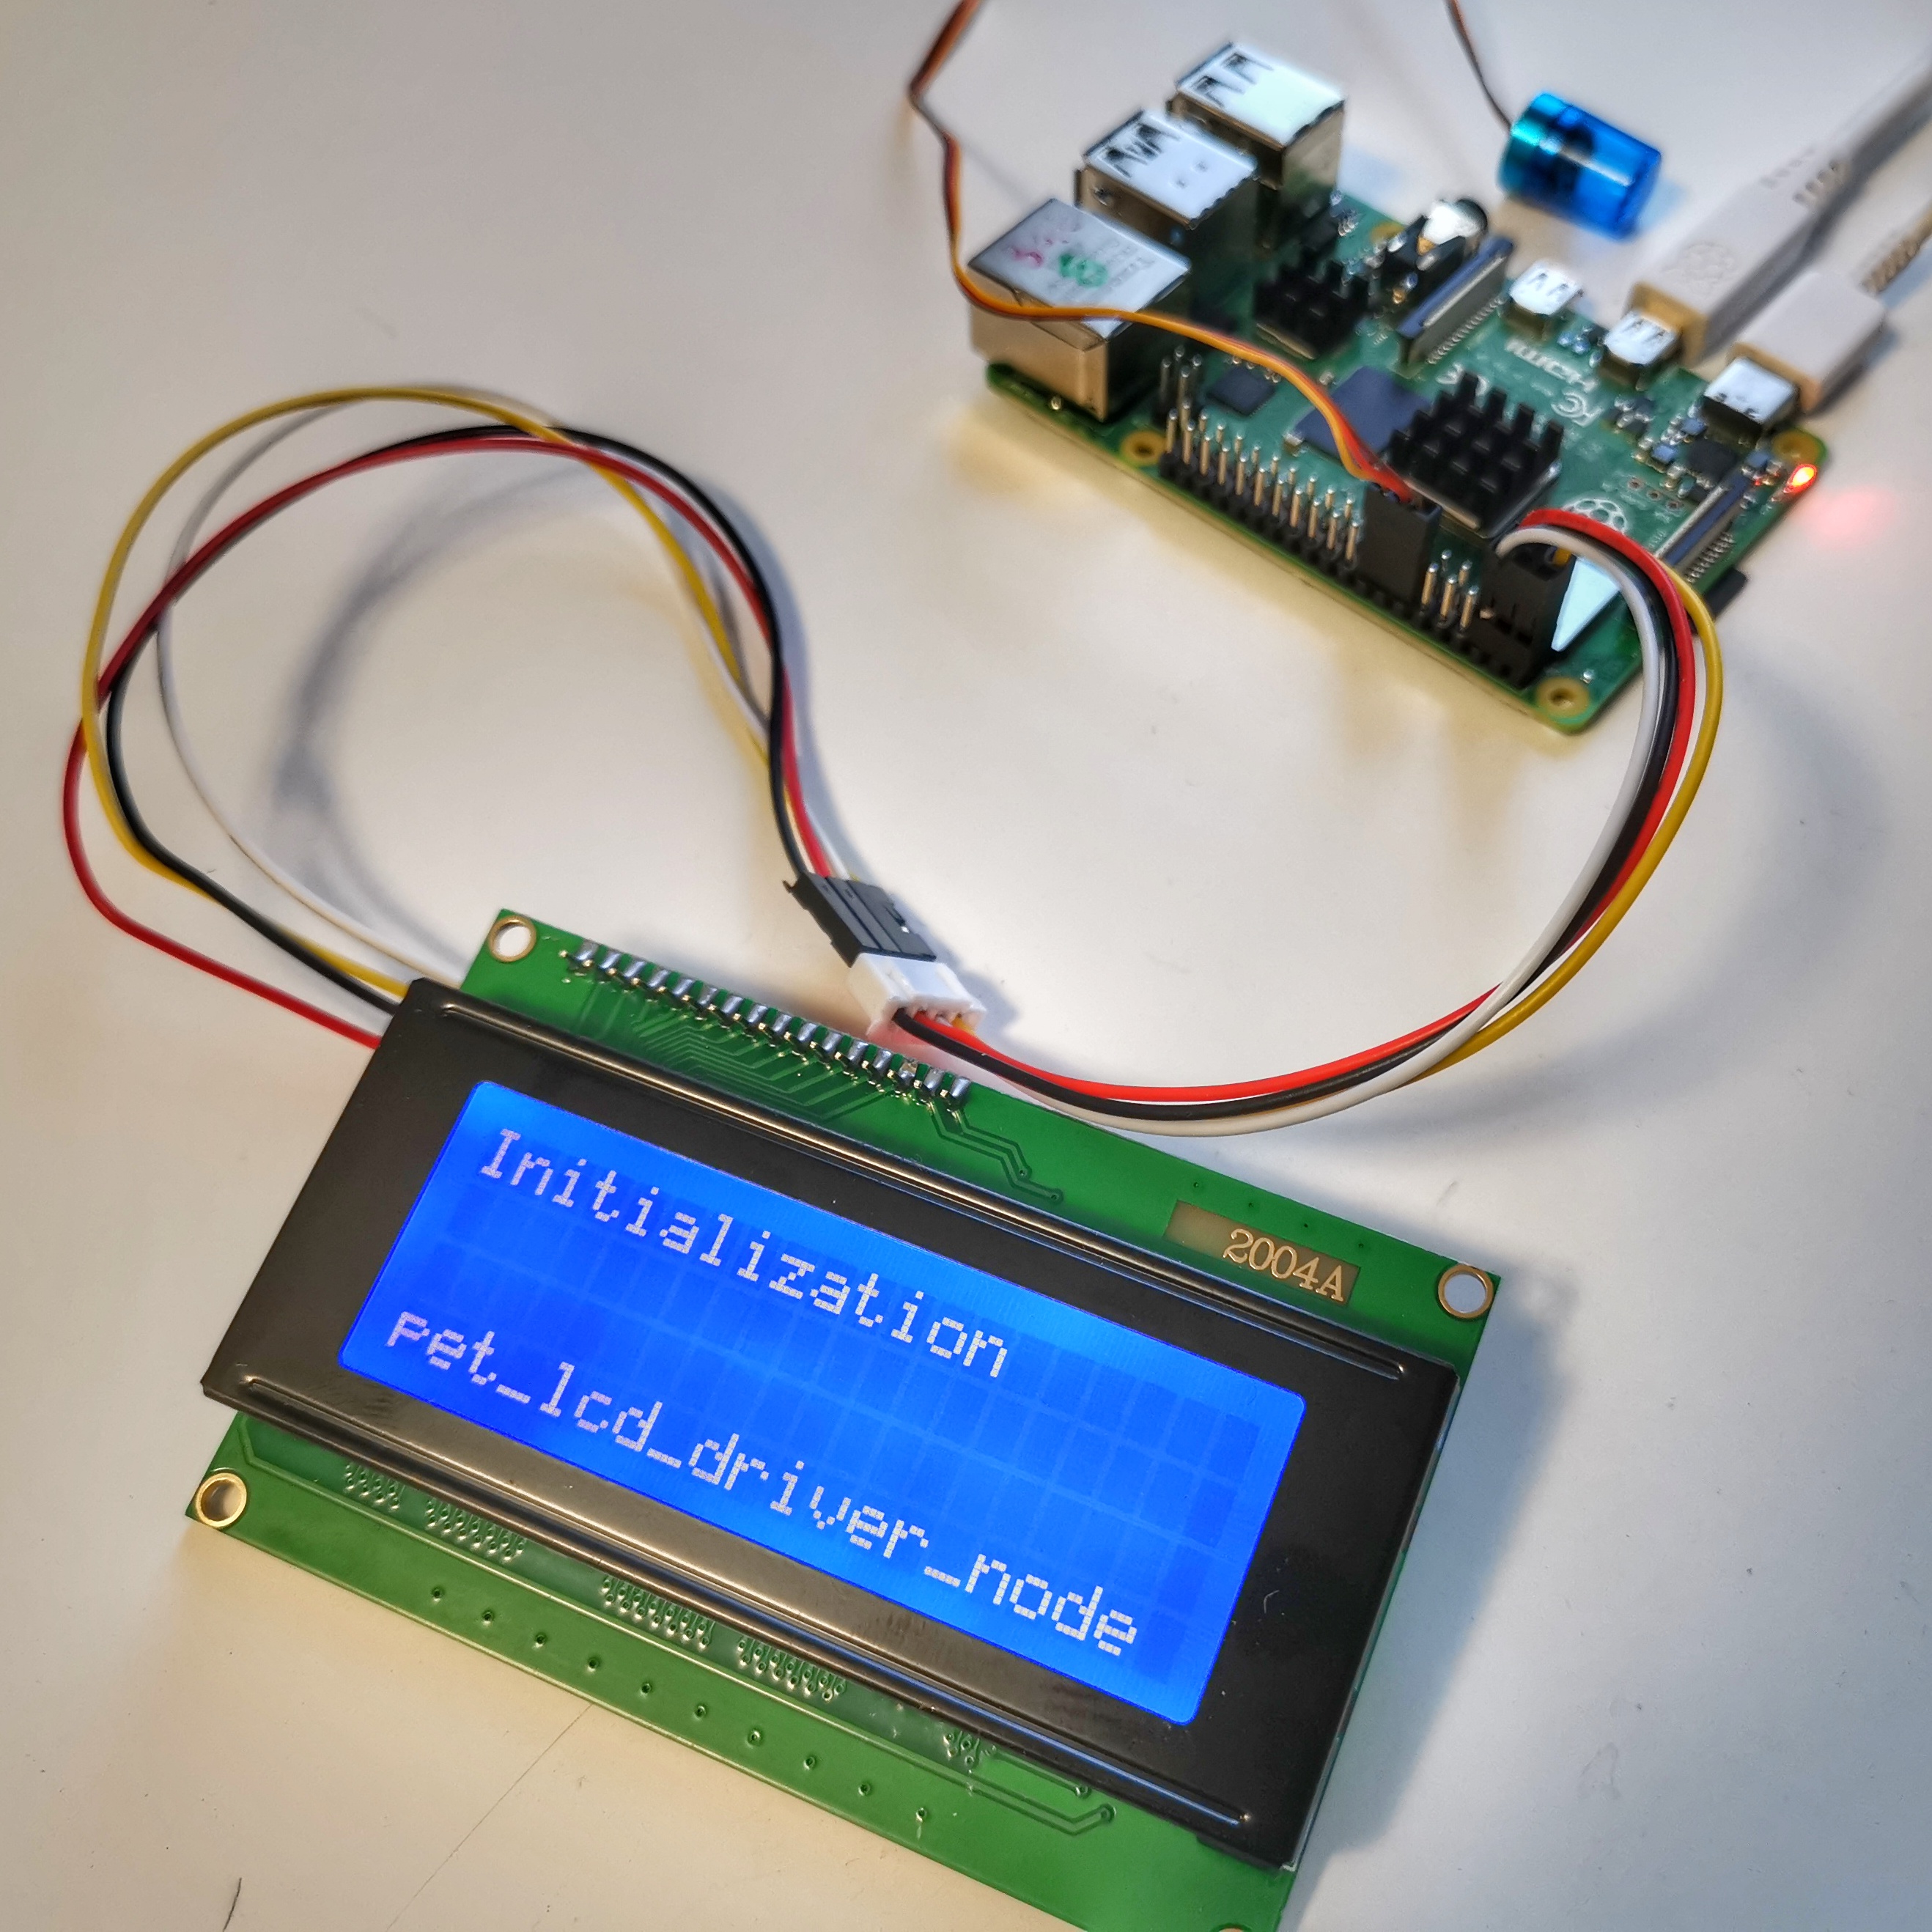
- Once: Power up initialization. Update LCD row1='initialization'
- Repeatedly: Subscripe on topics
- Repeatedly: Update LCD-screen
graph TD
    S(Start) --> A
    A(Read Parameters) -->|I2C-address| B
    B(far:fa-lightbulb Power up initialization) --> C
    C(Wait for topic) --> |String| D
    D(Update LCD-display) --> C
    E(ROS2 topic input) --> C
- Single Board Computer(SBC): Raspberry Pi 3/4
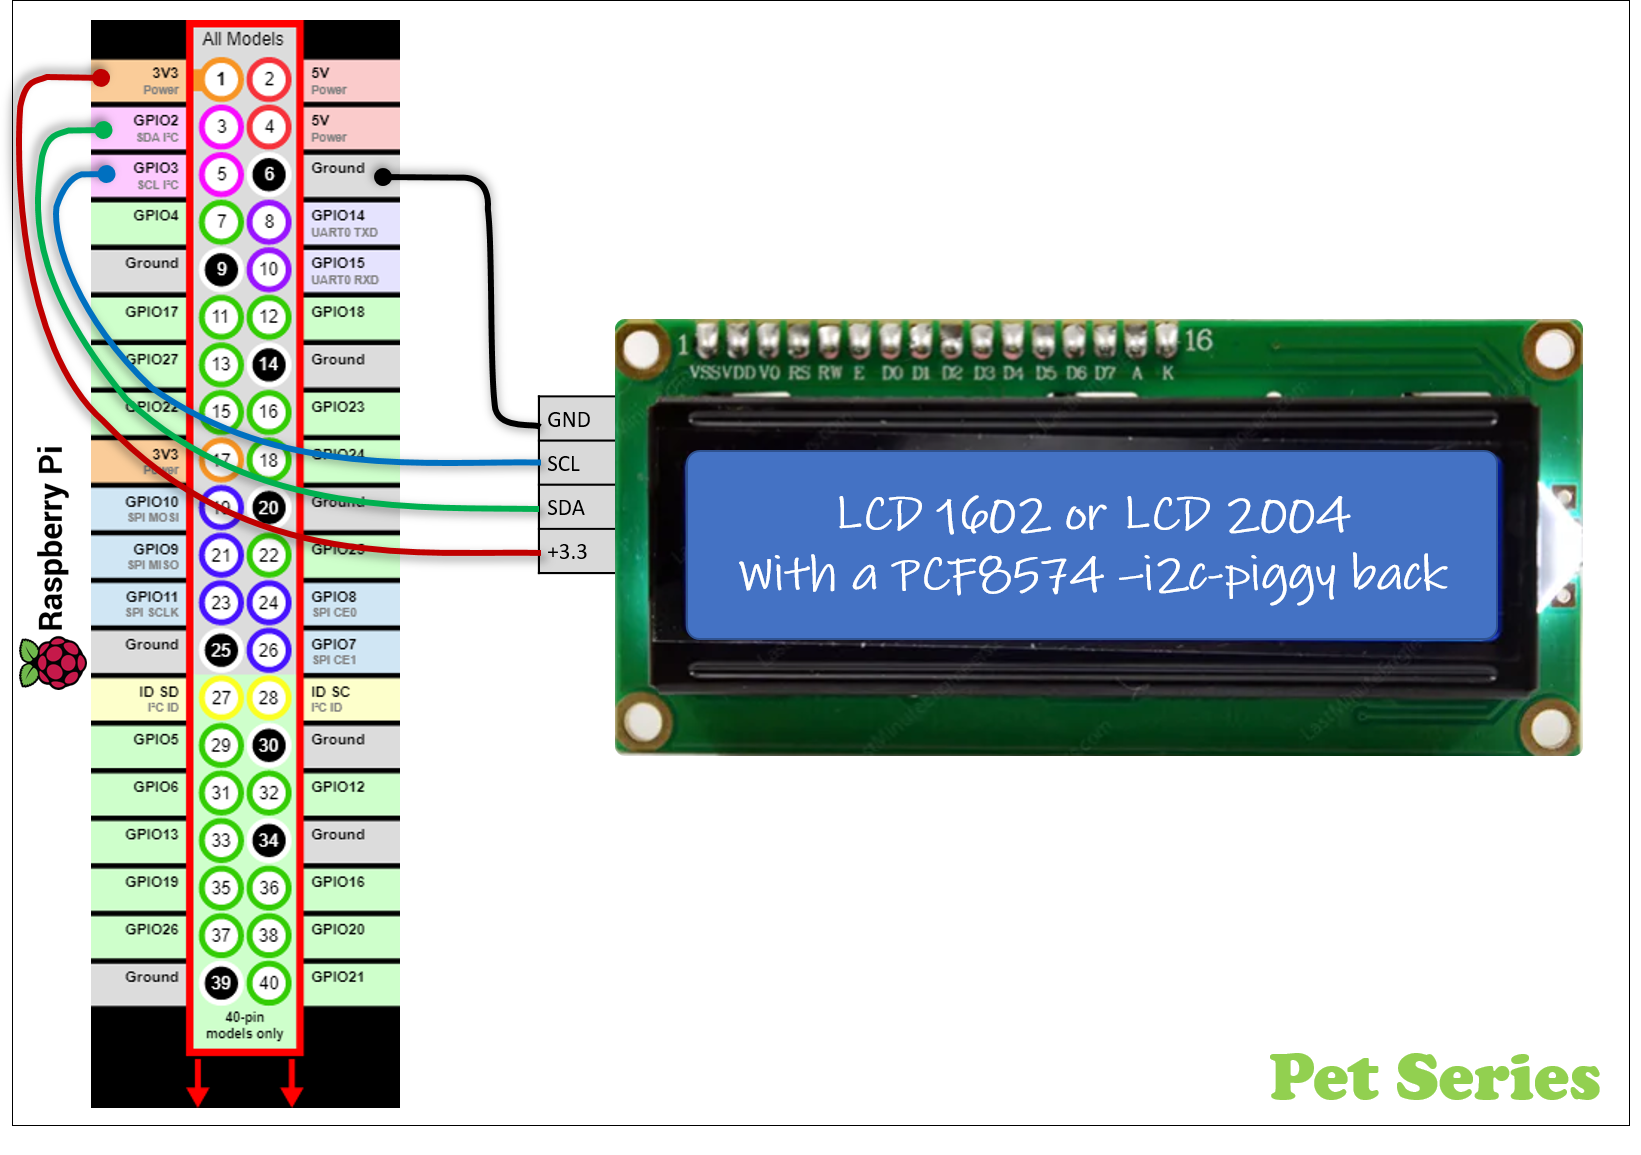
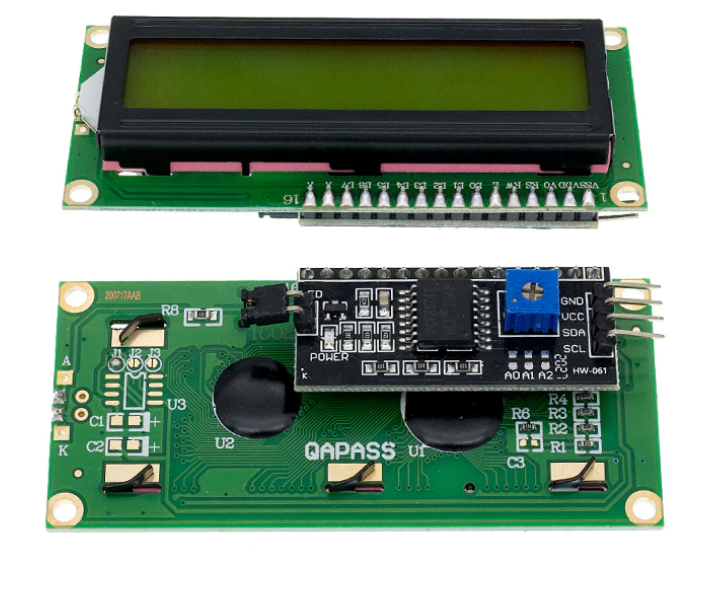
- LCD-display LCD1620 or LCD2004 with a PC8574-I²C-interface (default I2C adr.=
0x3F)
🌐Google tips to find/order display on eBay/AliExpress/Wish/Amazon/...
1) "lcd1602 PC8574"
2) "lcd2004 PC8574"
|
|
Prepared by adding additional, I²C communication, Linux-software-packages. That allow Python3 script to access I/O-ports.
Ubuntu Shell
~$ sudo apt install i2c-tools
~$ sudo apt install python3-pip
~$ sudo pip3 install smbus2
~$ sudo pip3 install adafruit-ads1x15
~$ sudo i2cdetect -y 1
        0  1  2  3  4  5  6  7  8  9  a  b  c  d  e  f
   00:          -- -- -- -- -- -- -- -- -- -- -- -- --
   10: -- -- -- -- -- -- -- -- -- -- -- -- -- -- -- --
   20: -- -- -- -- -- -- -- -- -- -- -- -- -- -- -- --
   30: -- -- -- -- -- -- -- -- -- -- -- -- -- -- -- 3F
   40: -- -- -- -- -- -- -- -- -- -- -- -- -- -- -- --
   50: -- -- -- -- -- -- -- -- -- -- -- -- -- -- -- --
   60: -- -- -- -- -- -- -- -- -- -- -- -- -- -- -- --
   70: -- -- -- -- -- -- -- --
$ sudo chmod a+rw /dev/i2c-1
Create a ROS2 workspace (in my exampel '~/ws_ros2/')
Dowload ROS2 package by using 'git clone'
🤔There is probably better tutorials how to do this...
...but here is how I made it.
Ubuntu Shell
~$ mkdir -p ~/ws_ros2/src
~$ cd ~/ws_ros2/src
~/ws_ros2/src$ git clone https://github.com/Pet-Series/pet_ros2_lcd_pkg.git
~/ws_ros2/src$ cd ..
~/ws_ros2$ colcon build --symlink-install
~/ws_ros2$ source /opt/ros/galactic/setup.bash
~/ws_ros2$ source ./install/setup.bash
Ubuntu Shell(Terminal#1)
$ ros2 run pet_ros2_lcd_pkg pet_lcd_driver_node
  [INFO] [1646496266.966962625] [pet_lcd_driver_node]: pet_lcd_driver_node has started
  [INFO] [1646496266.969430757] [pet_lcd_driver_node]: - I2C: 0x3F
|
ROS2 RQT Node Graph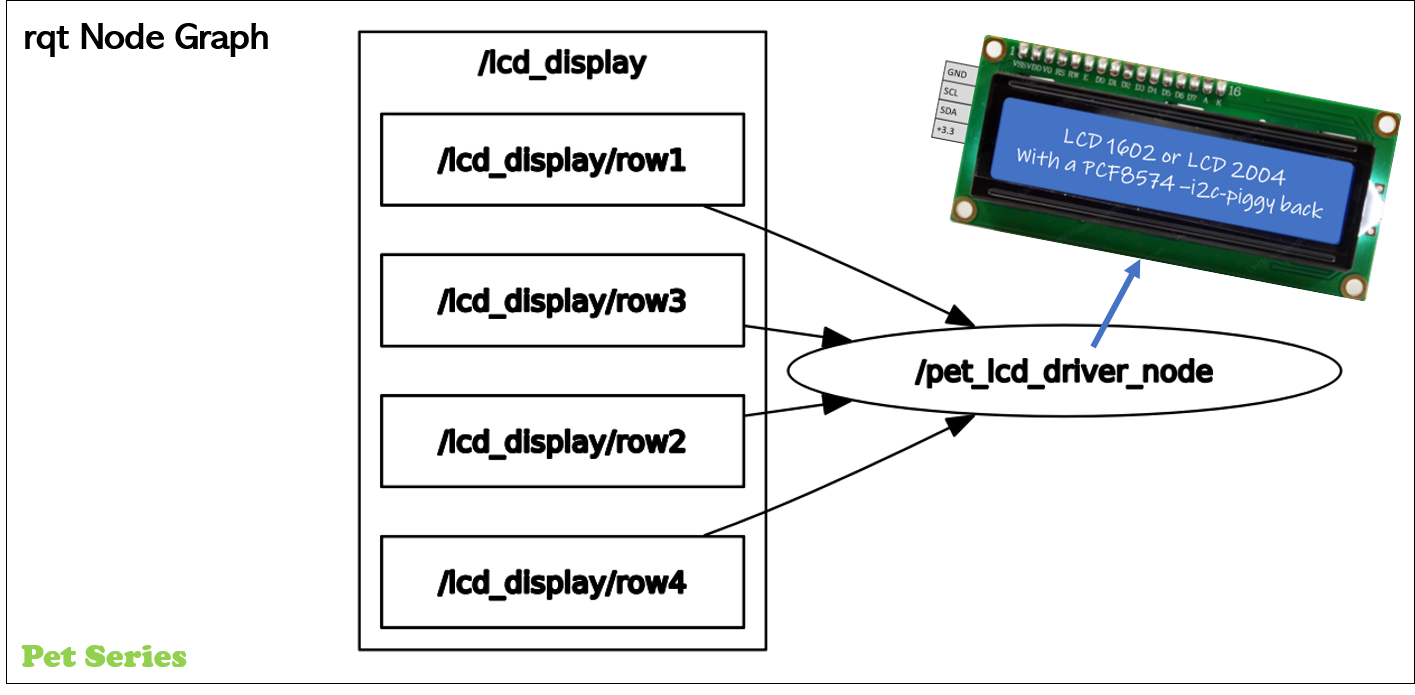
|
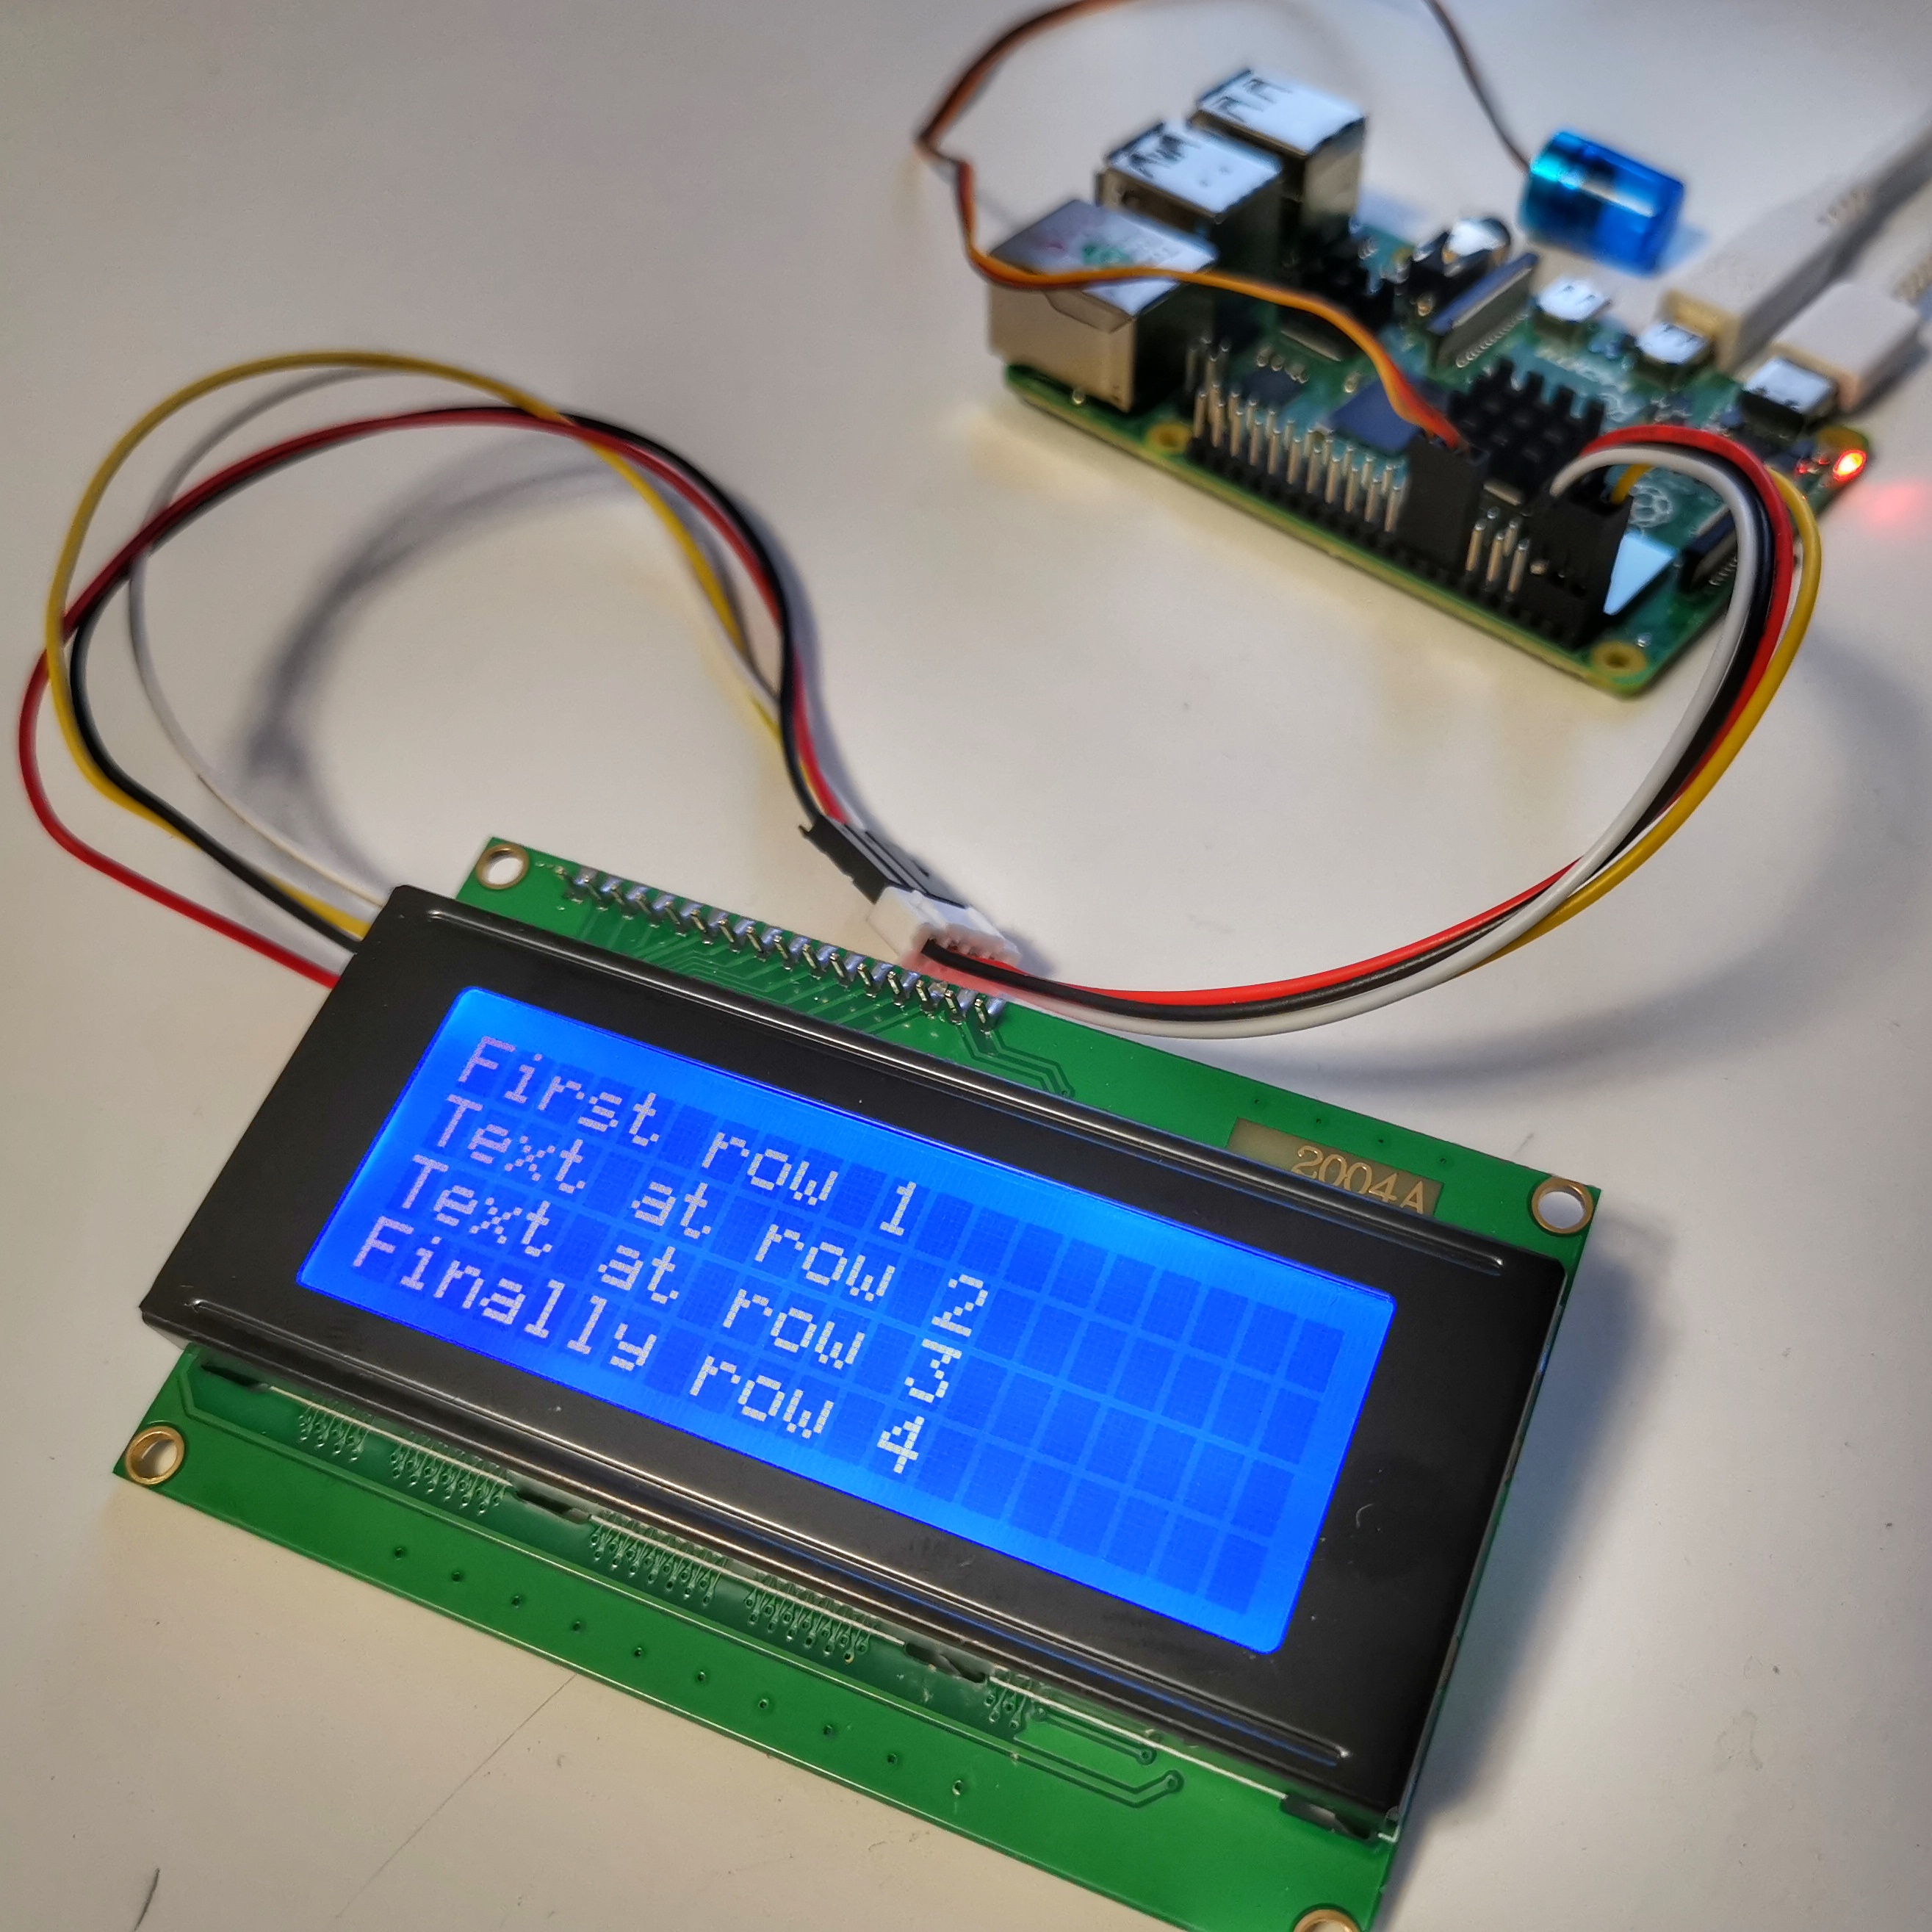
Manually update each row on display with the following commands.
Ubuntu Shell(Terminal#2)
$ ros2 topic pub /lcd_display/row1 std_msgs/msg/String "data: First row 1" -1
$ ros2 topic pub /lcd_display/row2 std_msgs/msg/String "data: Text at row 2" -1
$ ros2 topic pub /lcd_display/row3 std_msgs/msg/String "data: Text at row 3" -1
$ ros2 topic pub /lcd_display/row4 std_msgs/msg/String "data: Finally row 4" -1
|
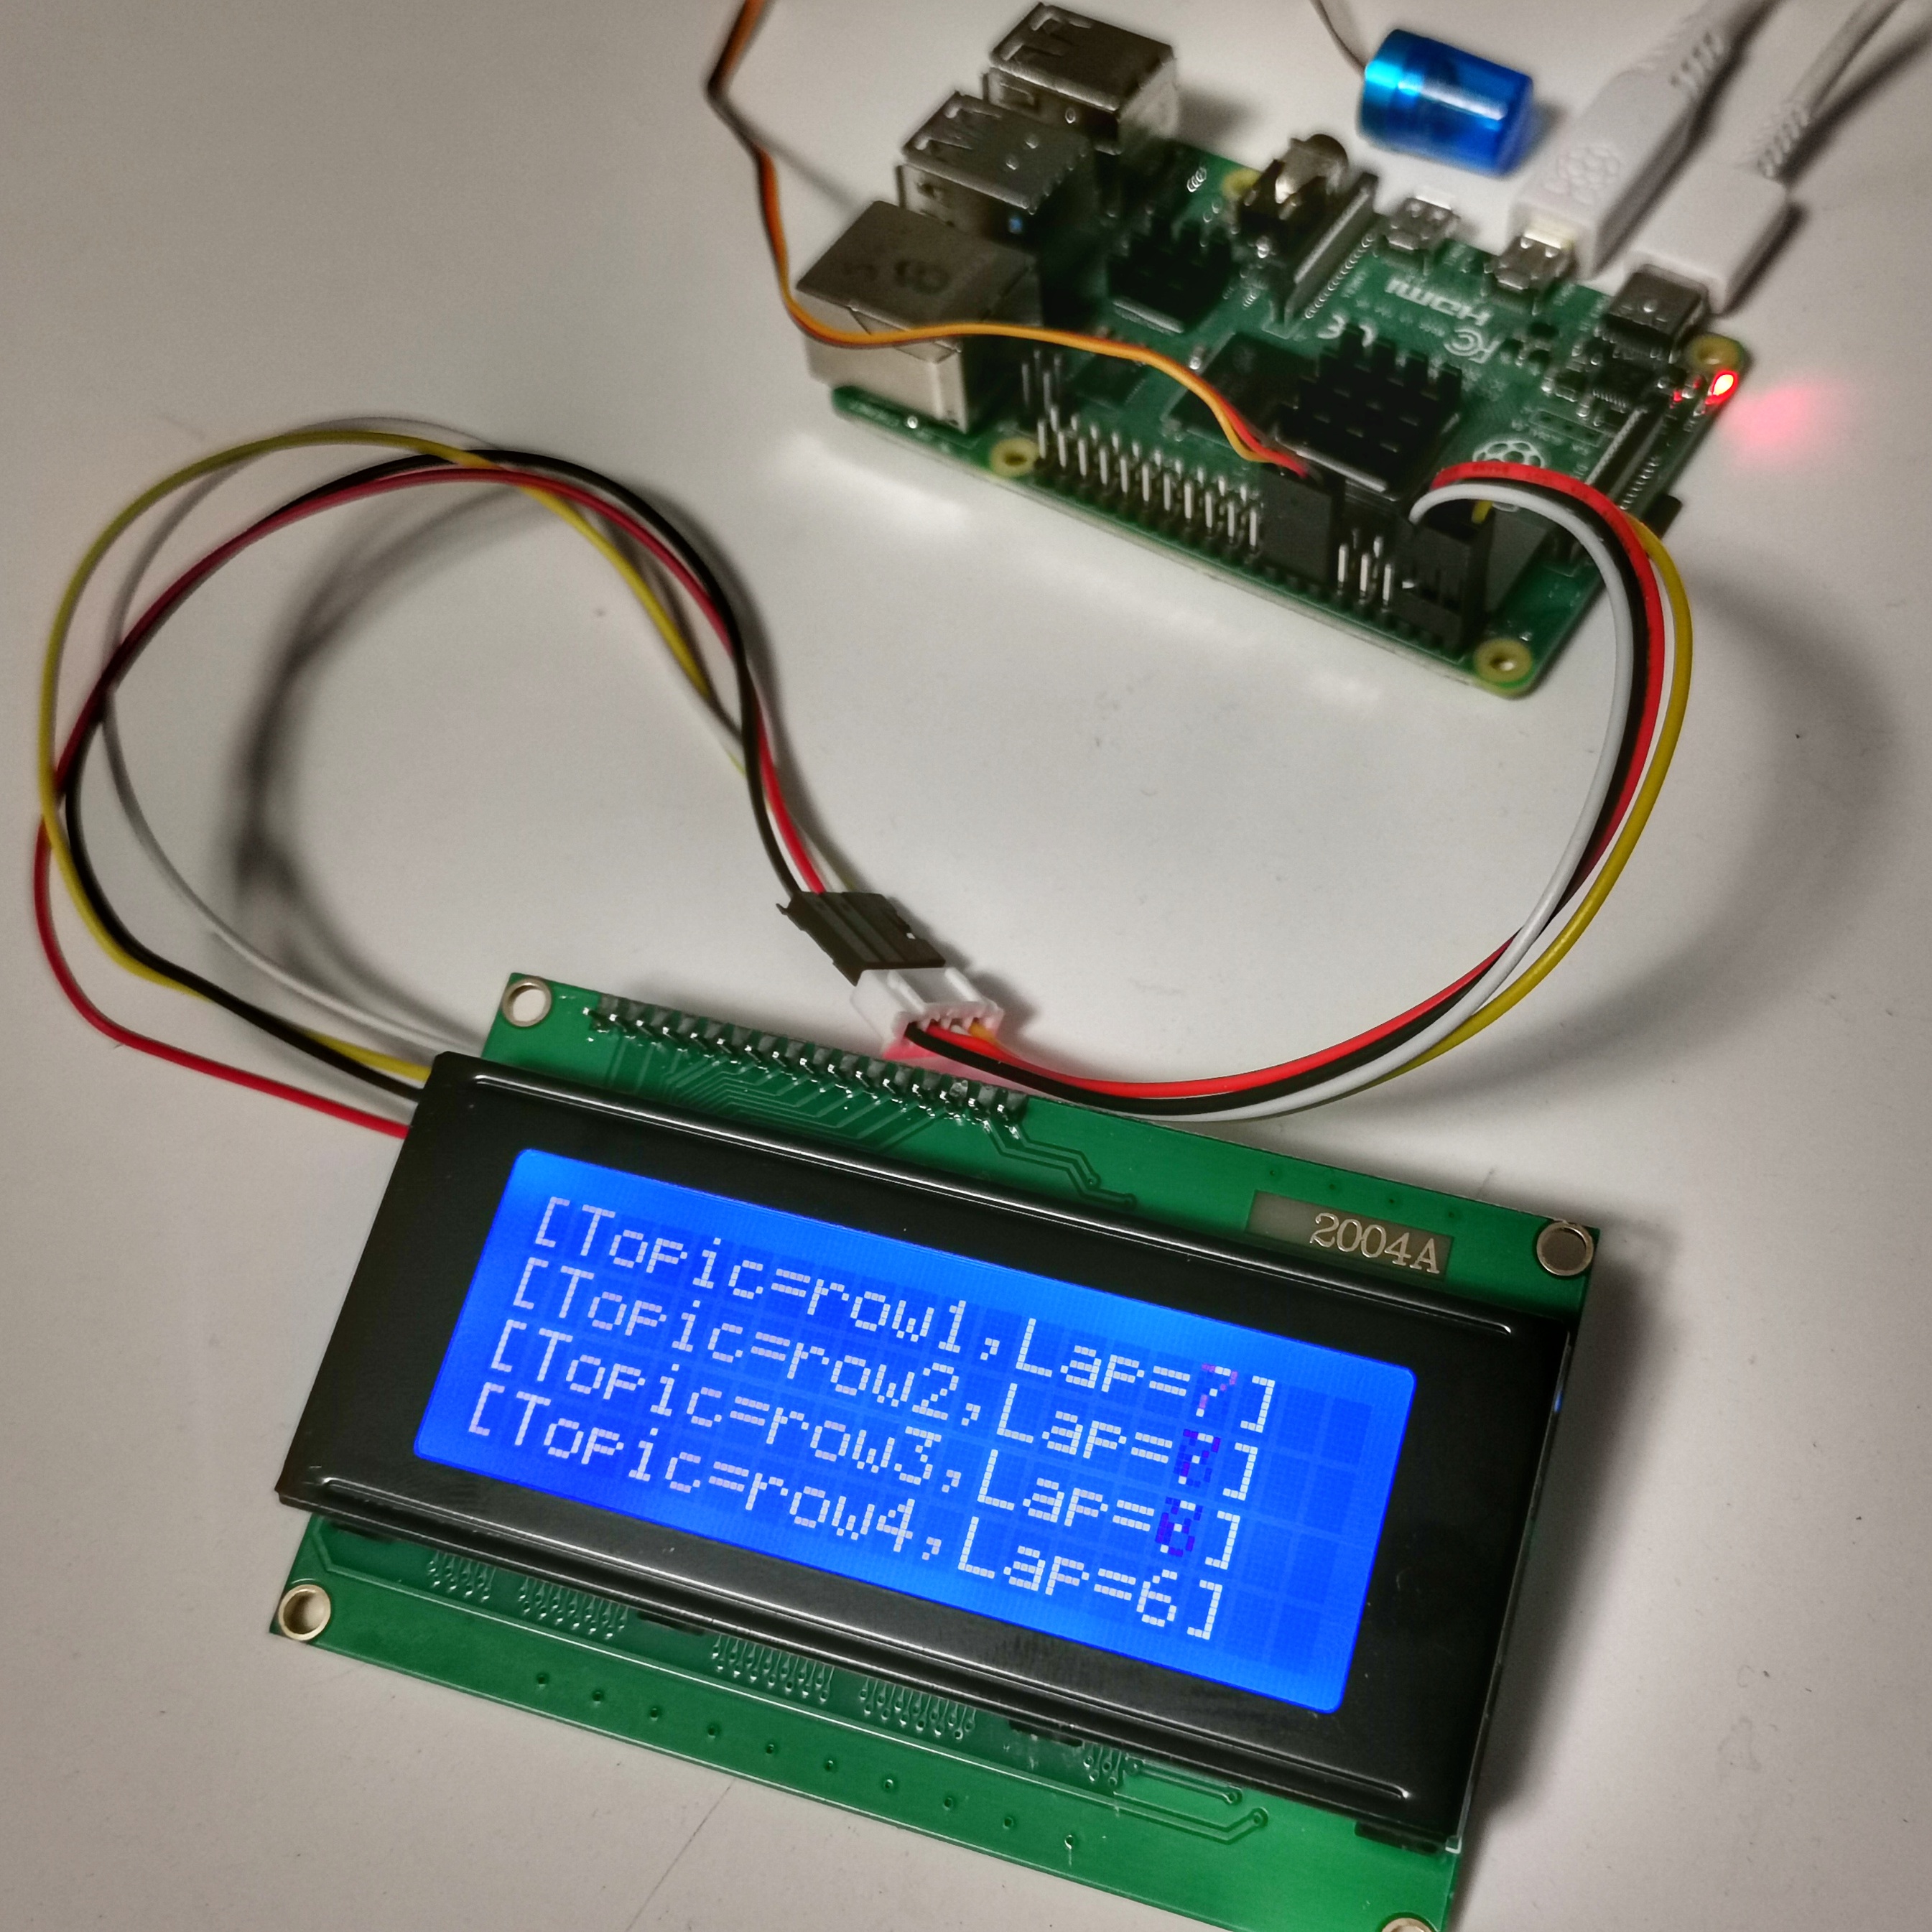
Launch the included "LCD-spammer" :-)
Ubuntu Shell(Terminal#2)
$ ros2 run pet_ros2_lcd_pkg display_publish_node
|
ROS2 RQT Node Graph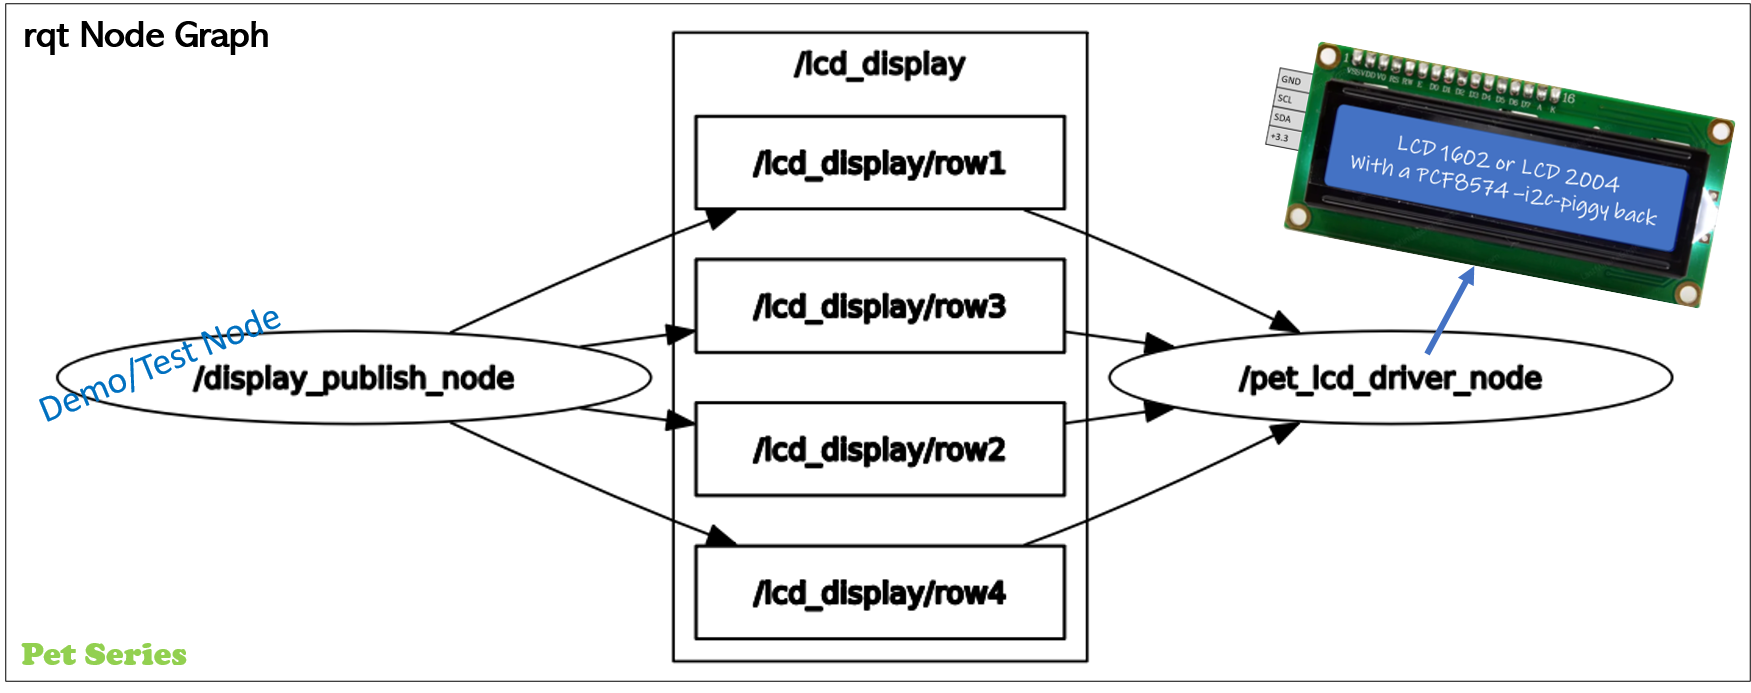
|