Towards Explainable AI Systems for Traffic Sign Recognition and Deployment in a Simulated Environment (Fall 2020)
Instructors:
- Prof. Dr. Visvanathan Ramesh, email: V.Ramesh@em.uni-frankfurt.de
- Dr. Michael Rammensee, email: M.Rammensee@em.uni-frankfurt.de
Institutions:
Project team (A-Z):
- Pascal Fischer
- Alen Smajic
- ResearchGate
- YouTube
- Here you can download the full version of the simulation
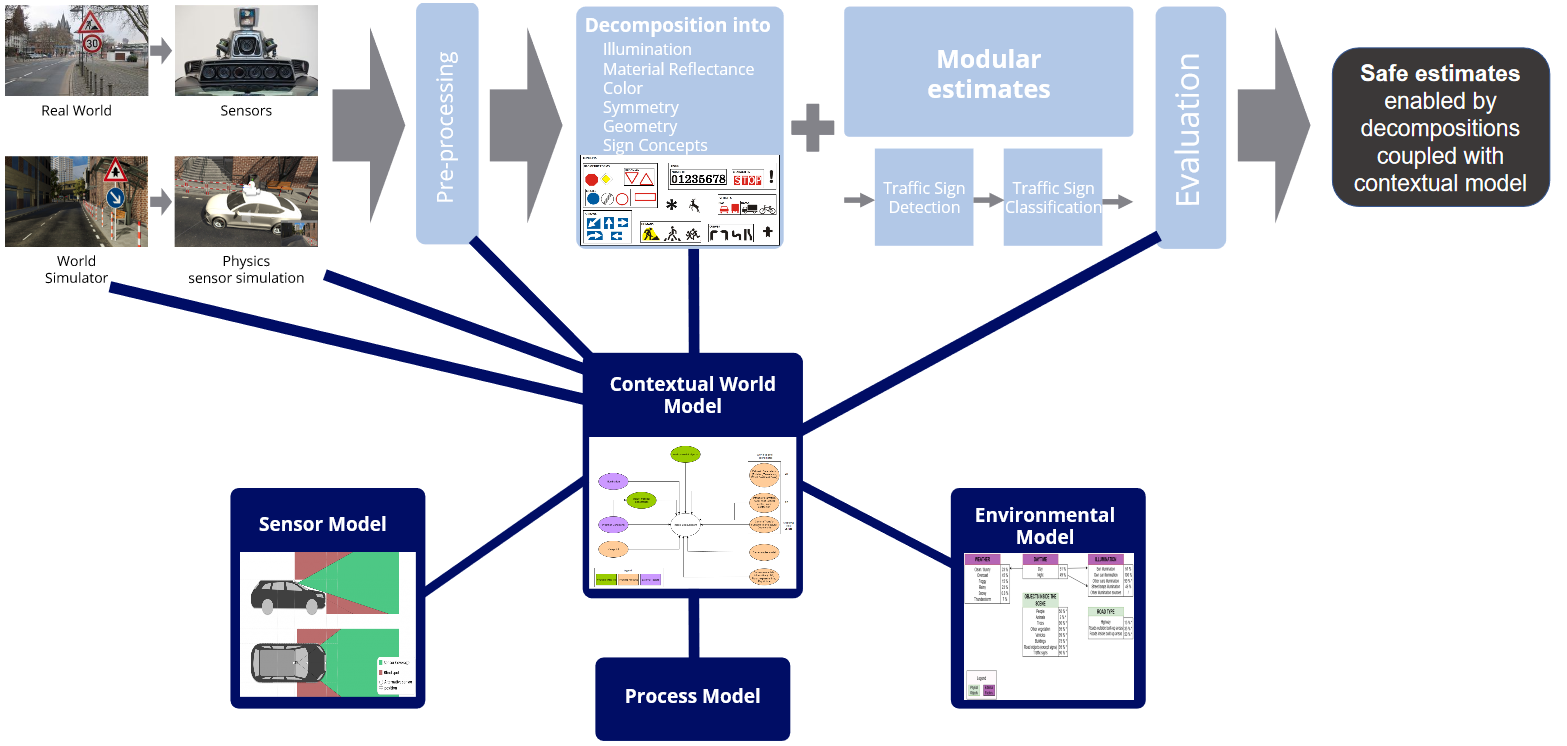
Recent advances in Machine Learning are pushing the boundaries of real world AI applications and are becoming more and more integrated in our daily lives. As research advances, the long-term goal of autonomous driving becomes rather reality than fiction, but brings with it numerous challenges for our society and the system engineers. Topics like ethical AI, privacy and transparency are becoming increasingly relevant and have to be considered when designing AI systems with real world applications. In this project we present our first attempt at tackling the problem of traffic sign recognition by taking a systems engineering approach. We focus on the development of an explainable and transparent system with the use of concept whitening layers inside our deep learning models, which allow us to train our models with handcrafted features and make predictions based on predefined concepts. We also introduce a simulation environment for traffic sign recognition, which can be used for model deployment, performance benchmarking, data generation and further domain model research.
To use the simulation, please download first the .zip folder from this google drive link.
Once the download has finished, please extract the .zip folder. To start the simulation, please execute the file Simulation-based Traffic Sign Recognition Benchmark.exe, which is located inside the STSRB - Executable File folder.
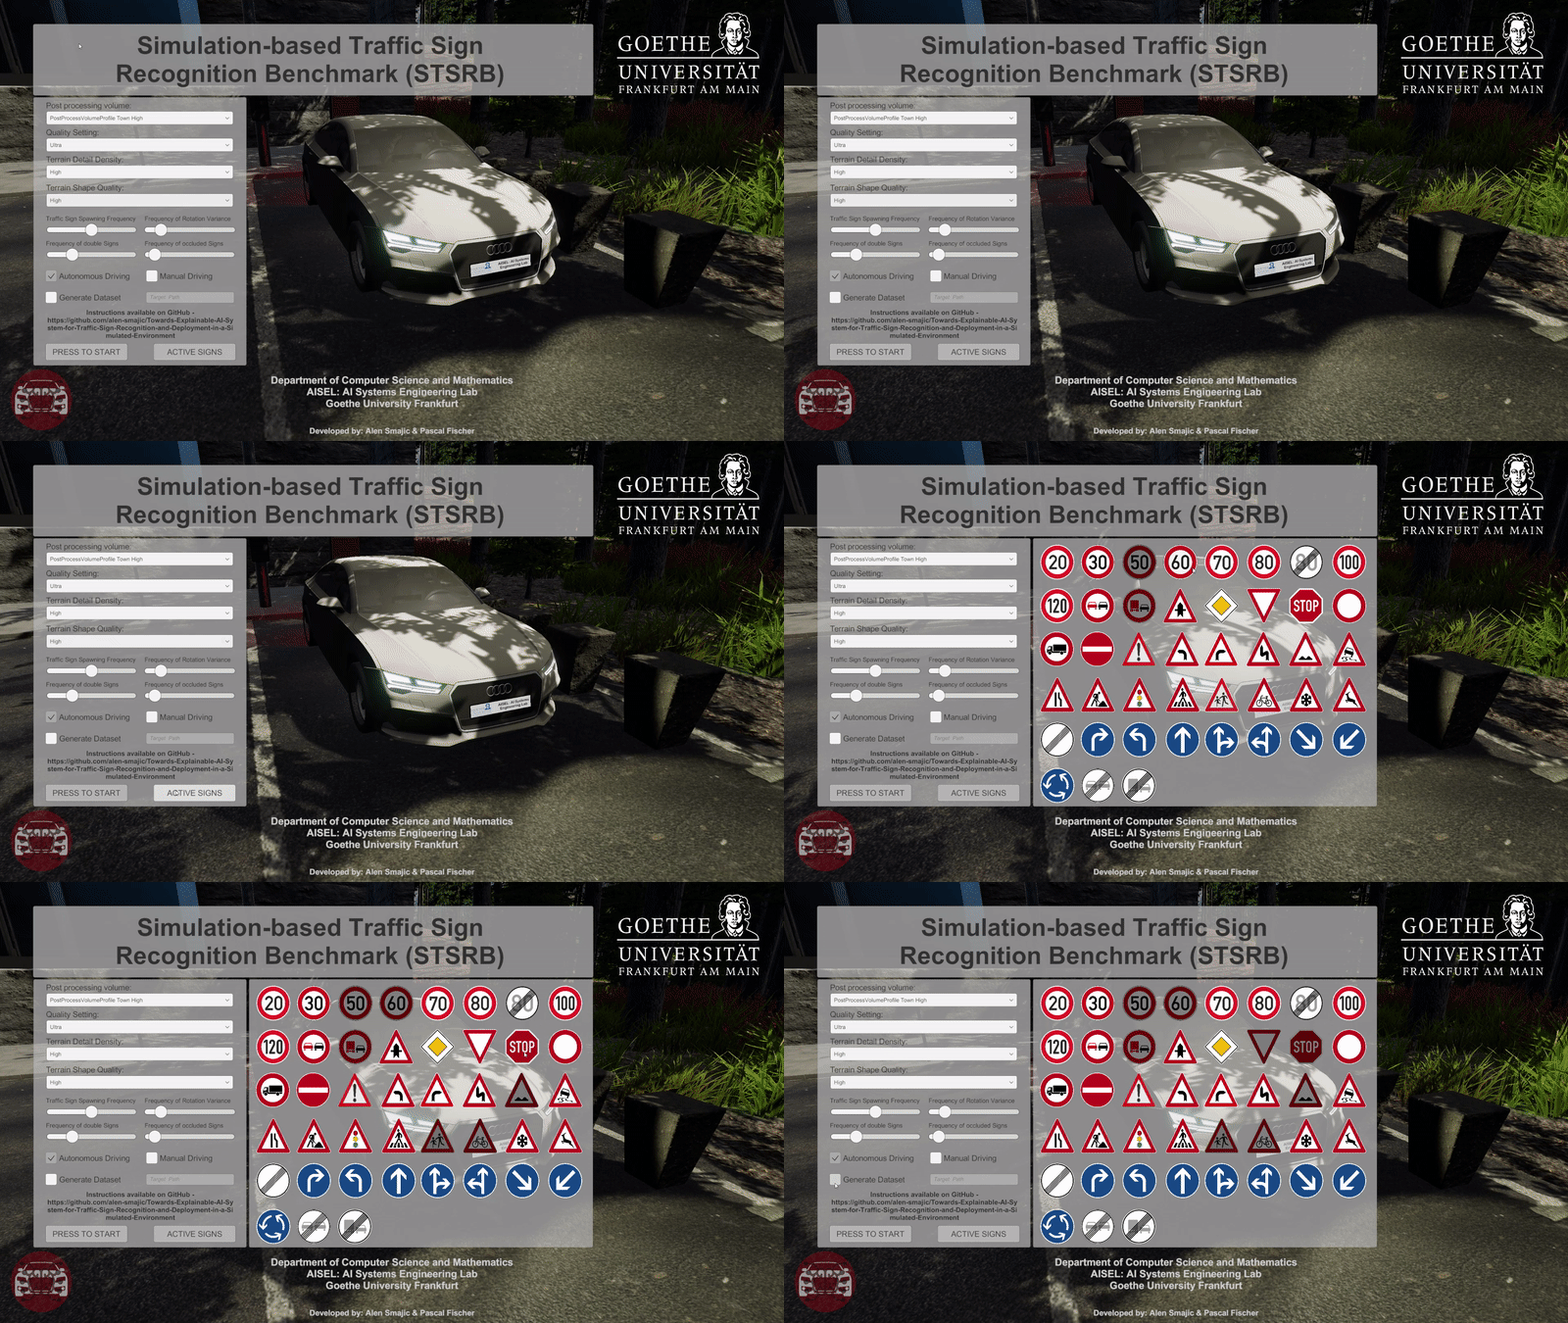
Graphical Settings:
Post processing volume
Quality Settings
Terrain Detail Density
Terrain Shape Quality
Traffic Sign Settings:
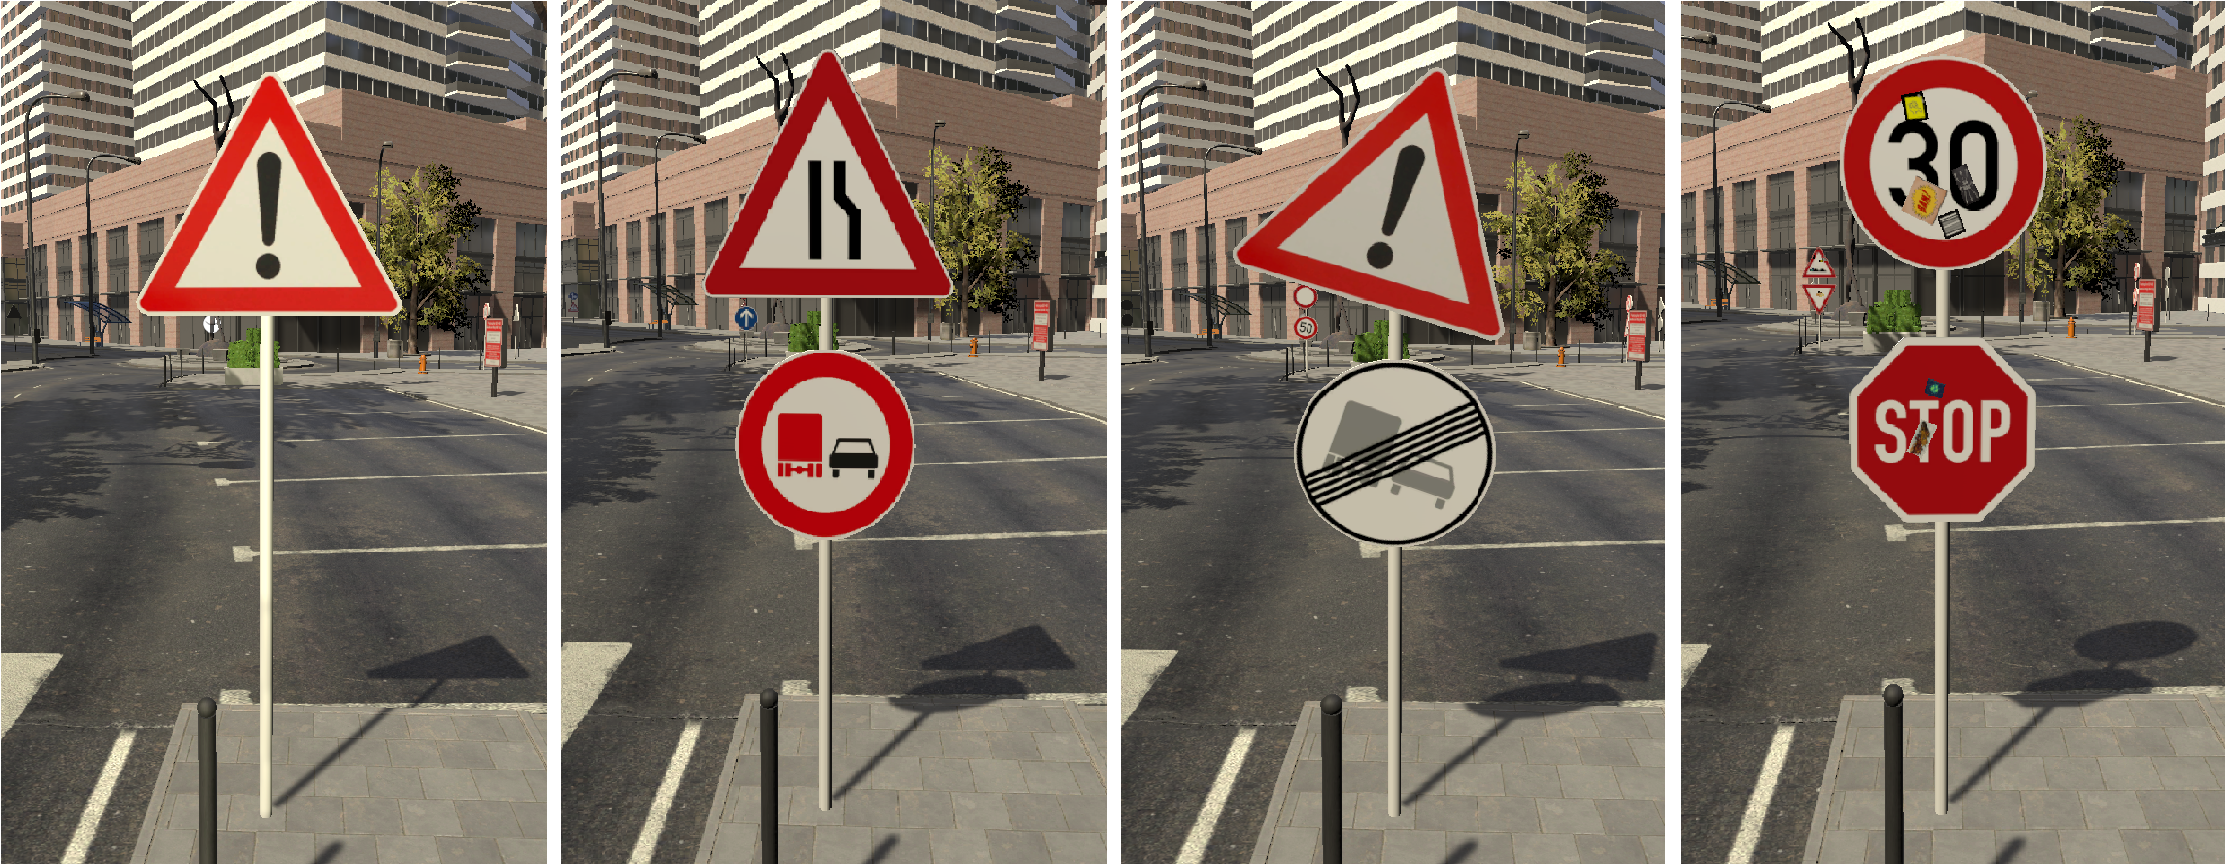
Traffic Sign Spawning Frequency Value between 0 and 1, which specifies the probability that a spawn point will contain a traffic sign (469 possible spawn points). Defines the proportion of traffic signs that are spawned within the scene.
Frequency of double Signs Value between 0 and 1, which specifies the probability that an active spawn point will contain two traffic signs. Defines the proportion of traffic sign poles that will contain two traffic signs.
Frequency of Rotation Variance Value between 0 and 1, which specifies the probability that an active traffic sign will contain some rotation around the z-axis. The rotation will be applied randomly in either direction to a maximum of 30°.
Frequency of occluded Signs Value between 0 and 1, which specifies the probability that an active traffic sign contains sticker objects on its surface. The algorithm spawns between 1 and 5 sticker objects and applies random scale, rotation and textures to the stickers.
Driving Modes:
Autonomous Driving Makes the car follow a predefined path that was handmade.
Manual Driving Makes the car drivable by the user himself.
Generate Dataset:
Generate Dataset If this checkbox is active, the simulation will be used to generate a dataset. Please specify a system path, where you want to store the dataset (e.g. C:\Users\alens\Desktop).
Image Width Specifies the width dimension for the generated dataset.
Image Height Specifies the height dimension for the generated dataset.
Screenshot rate Specifies the rate in seconds in which the simulation makes a screenshot of the environmental scene.
PRESS TO START:
Use this button to start the simulation.
ACTIVE SIGNS:
Use this button to open a new menu window, where you can specify which traffic signs should be spawned inside the simulation.
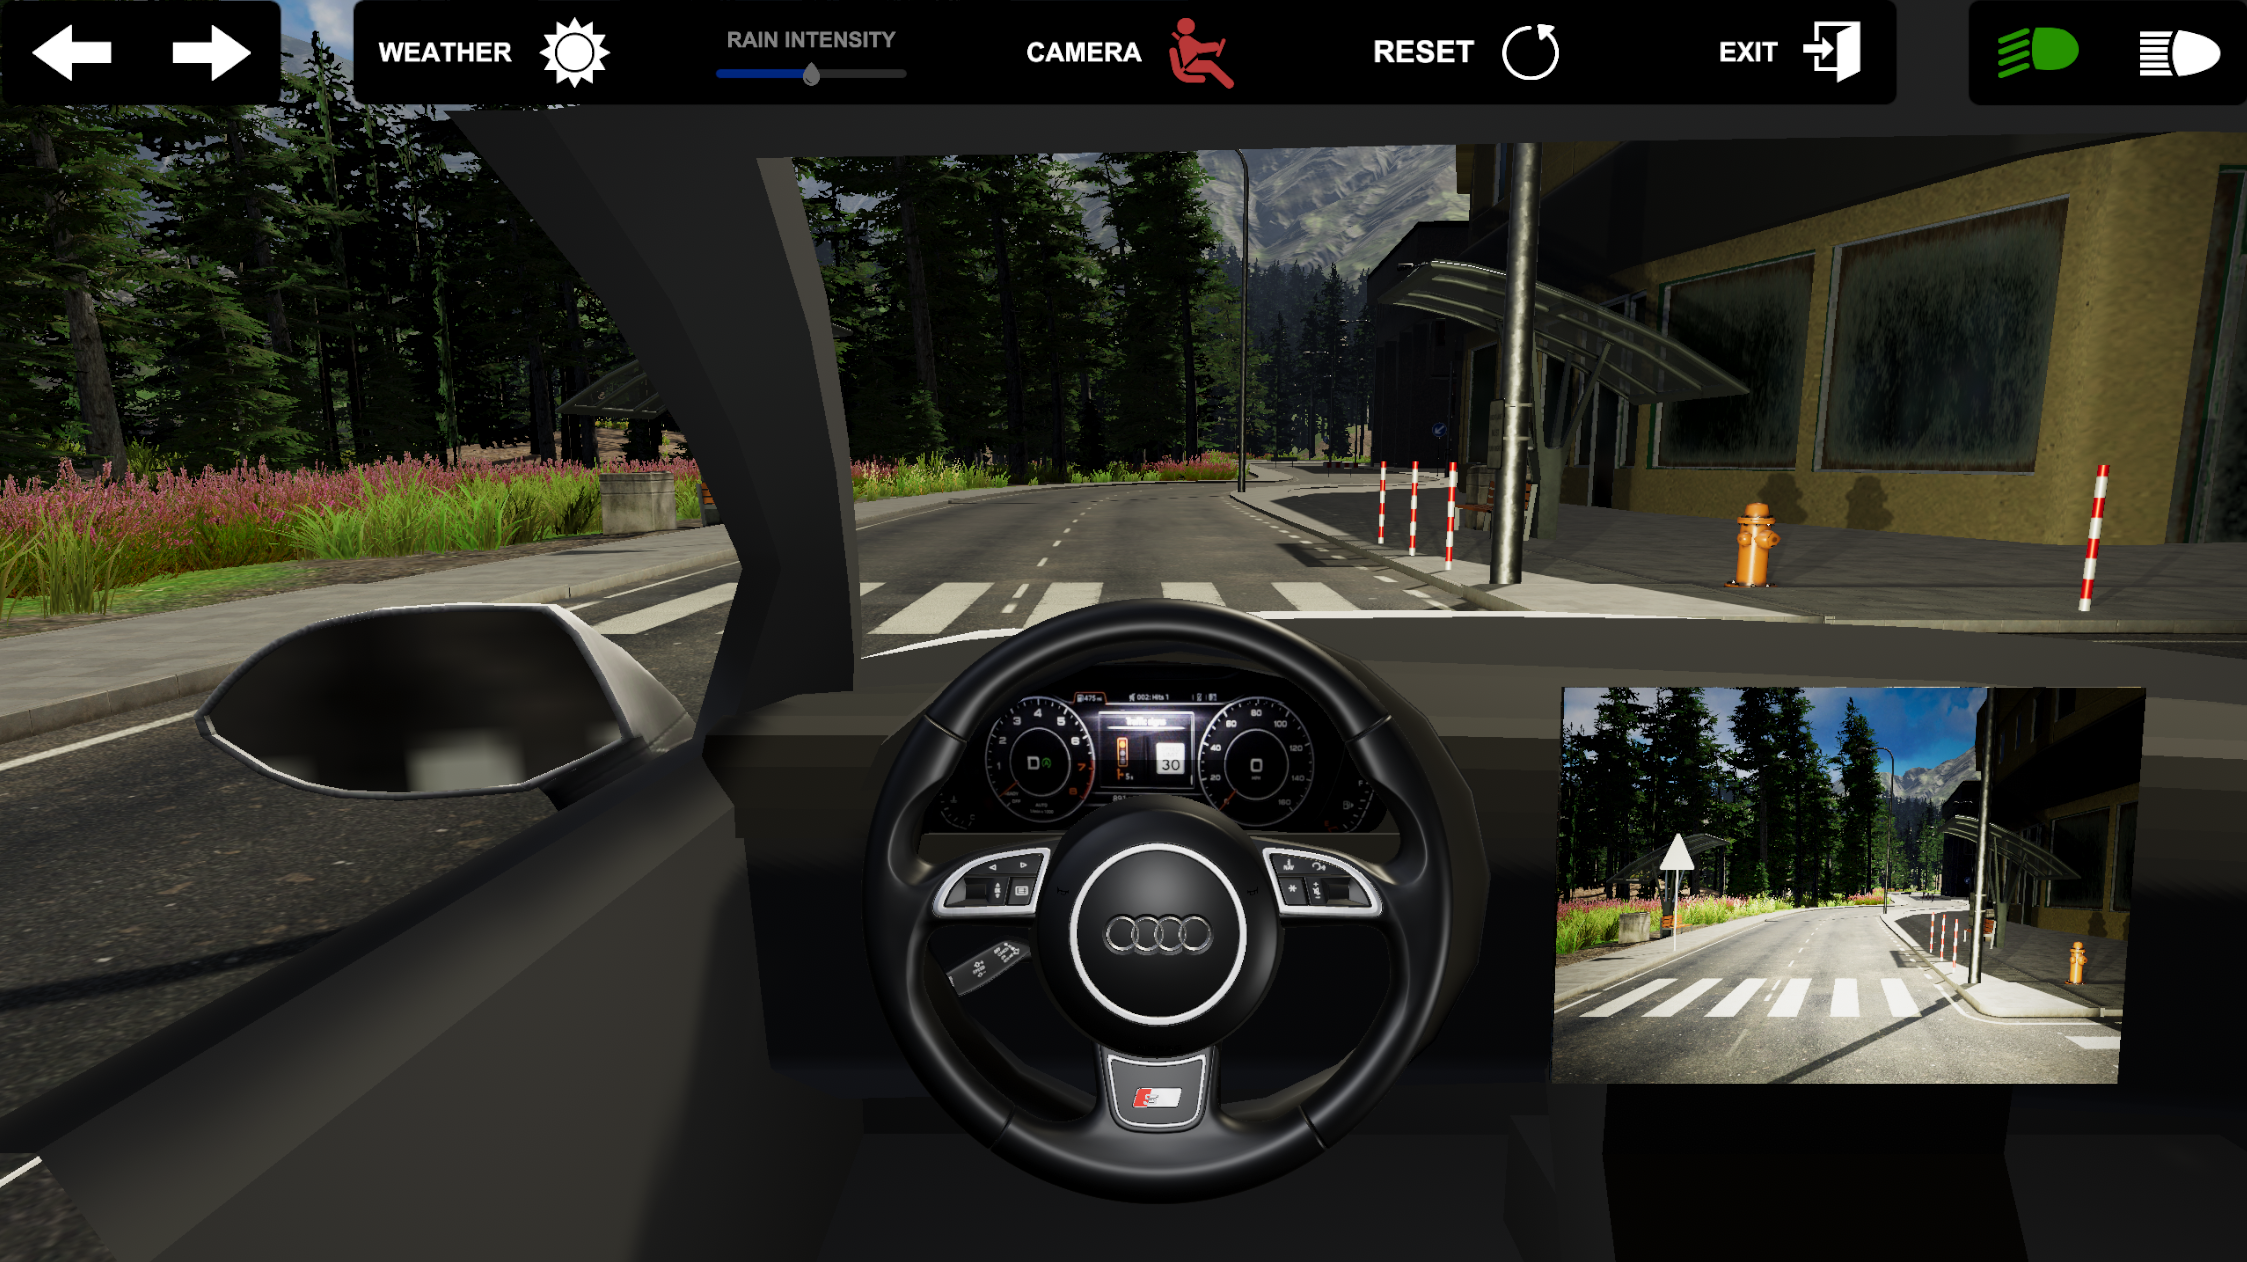
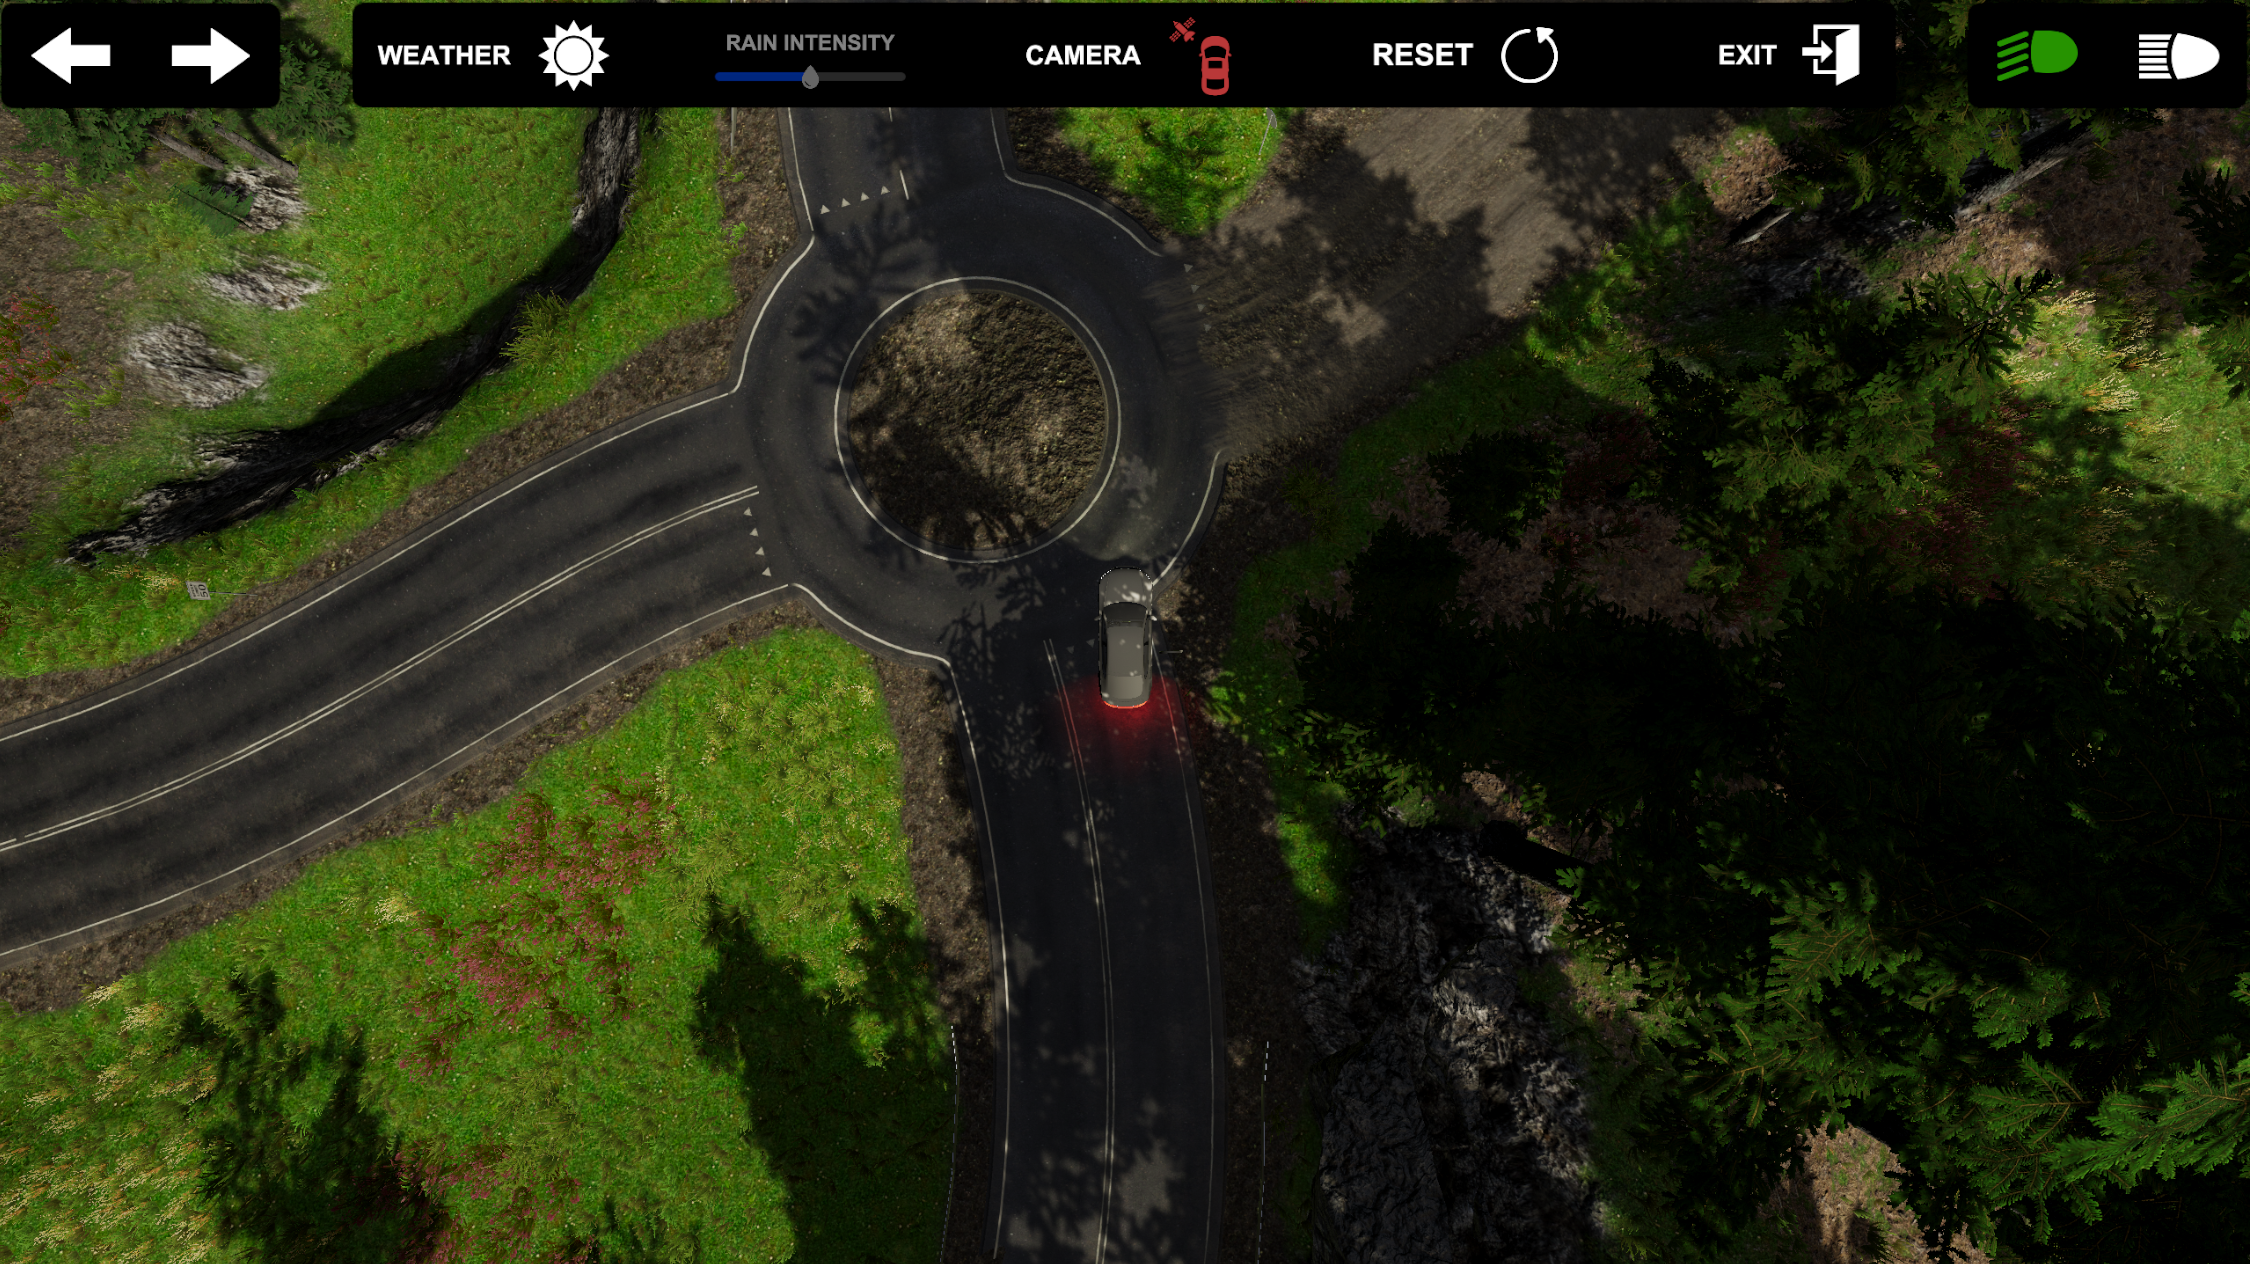
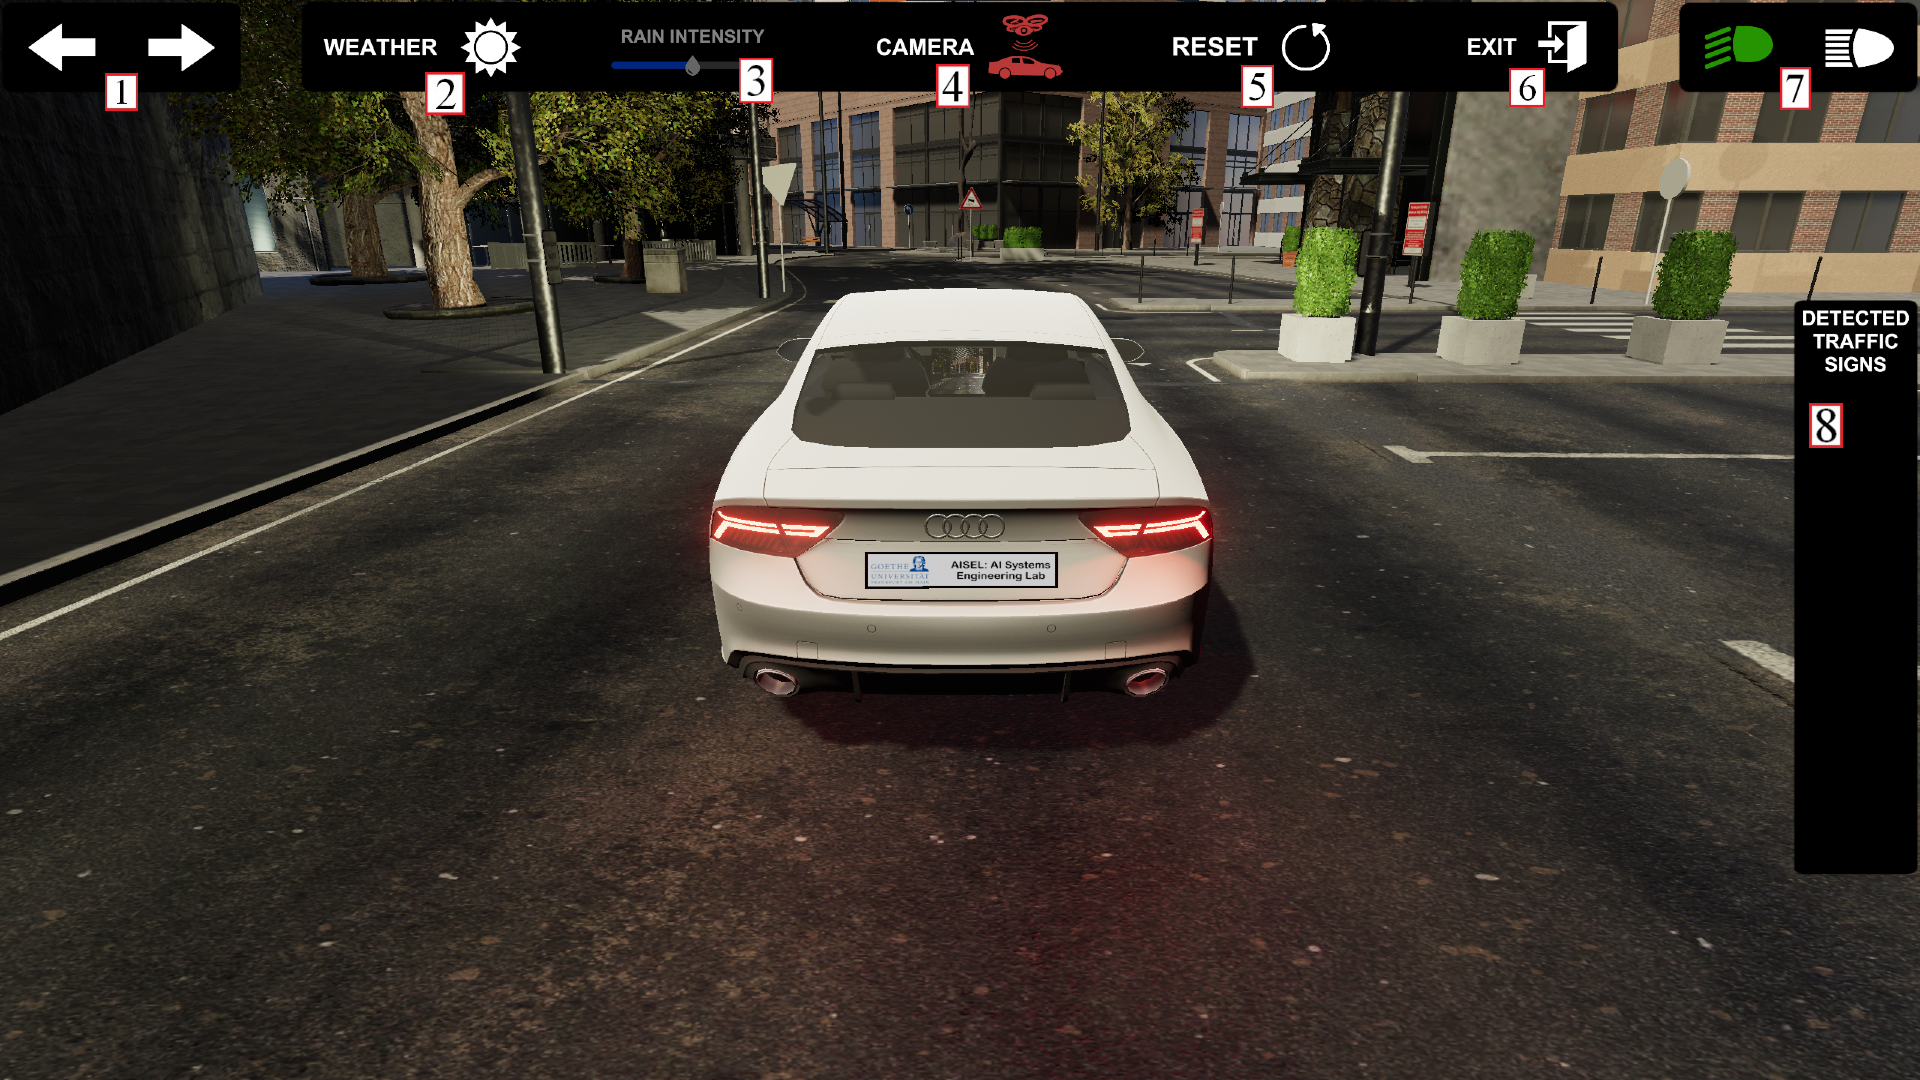
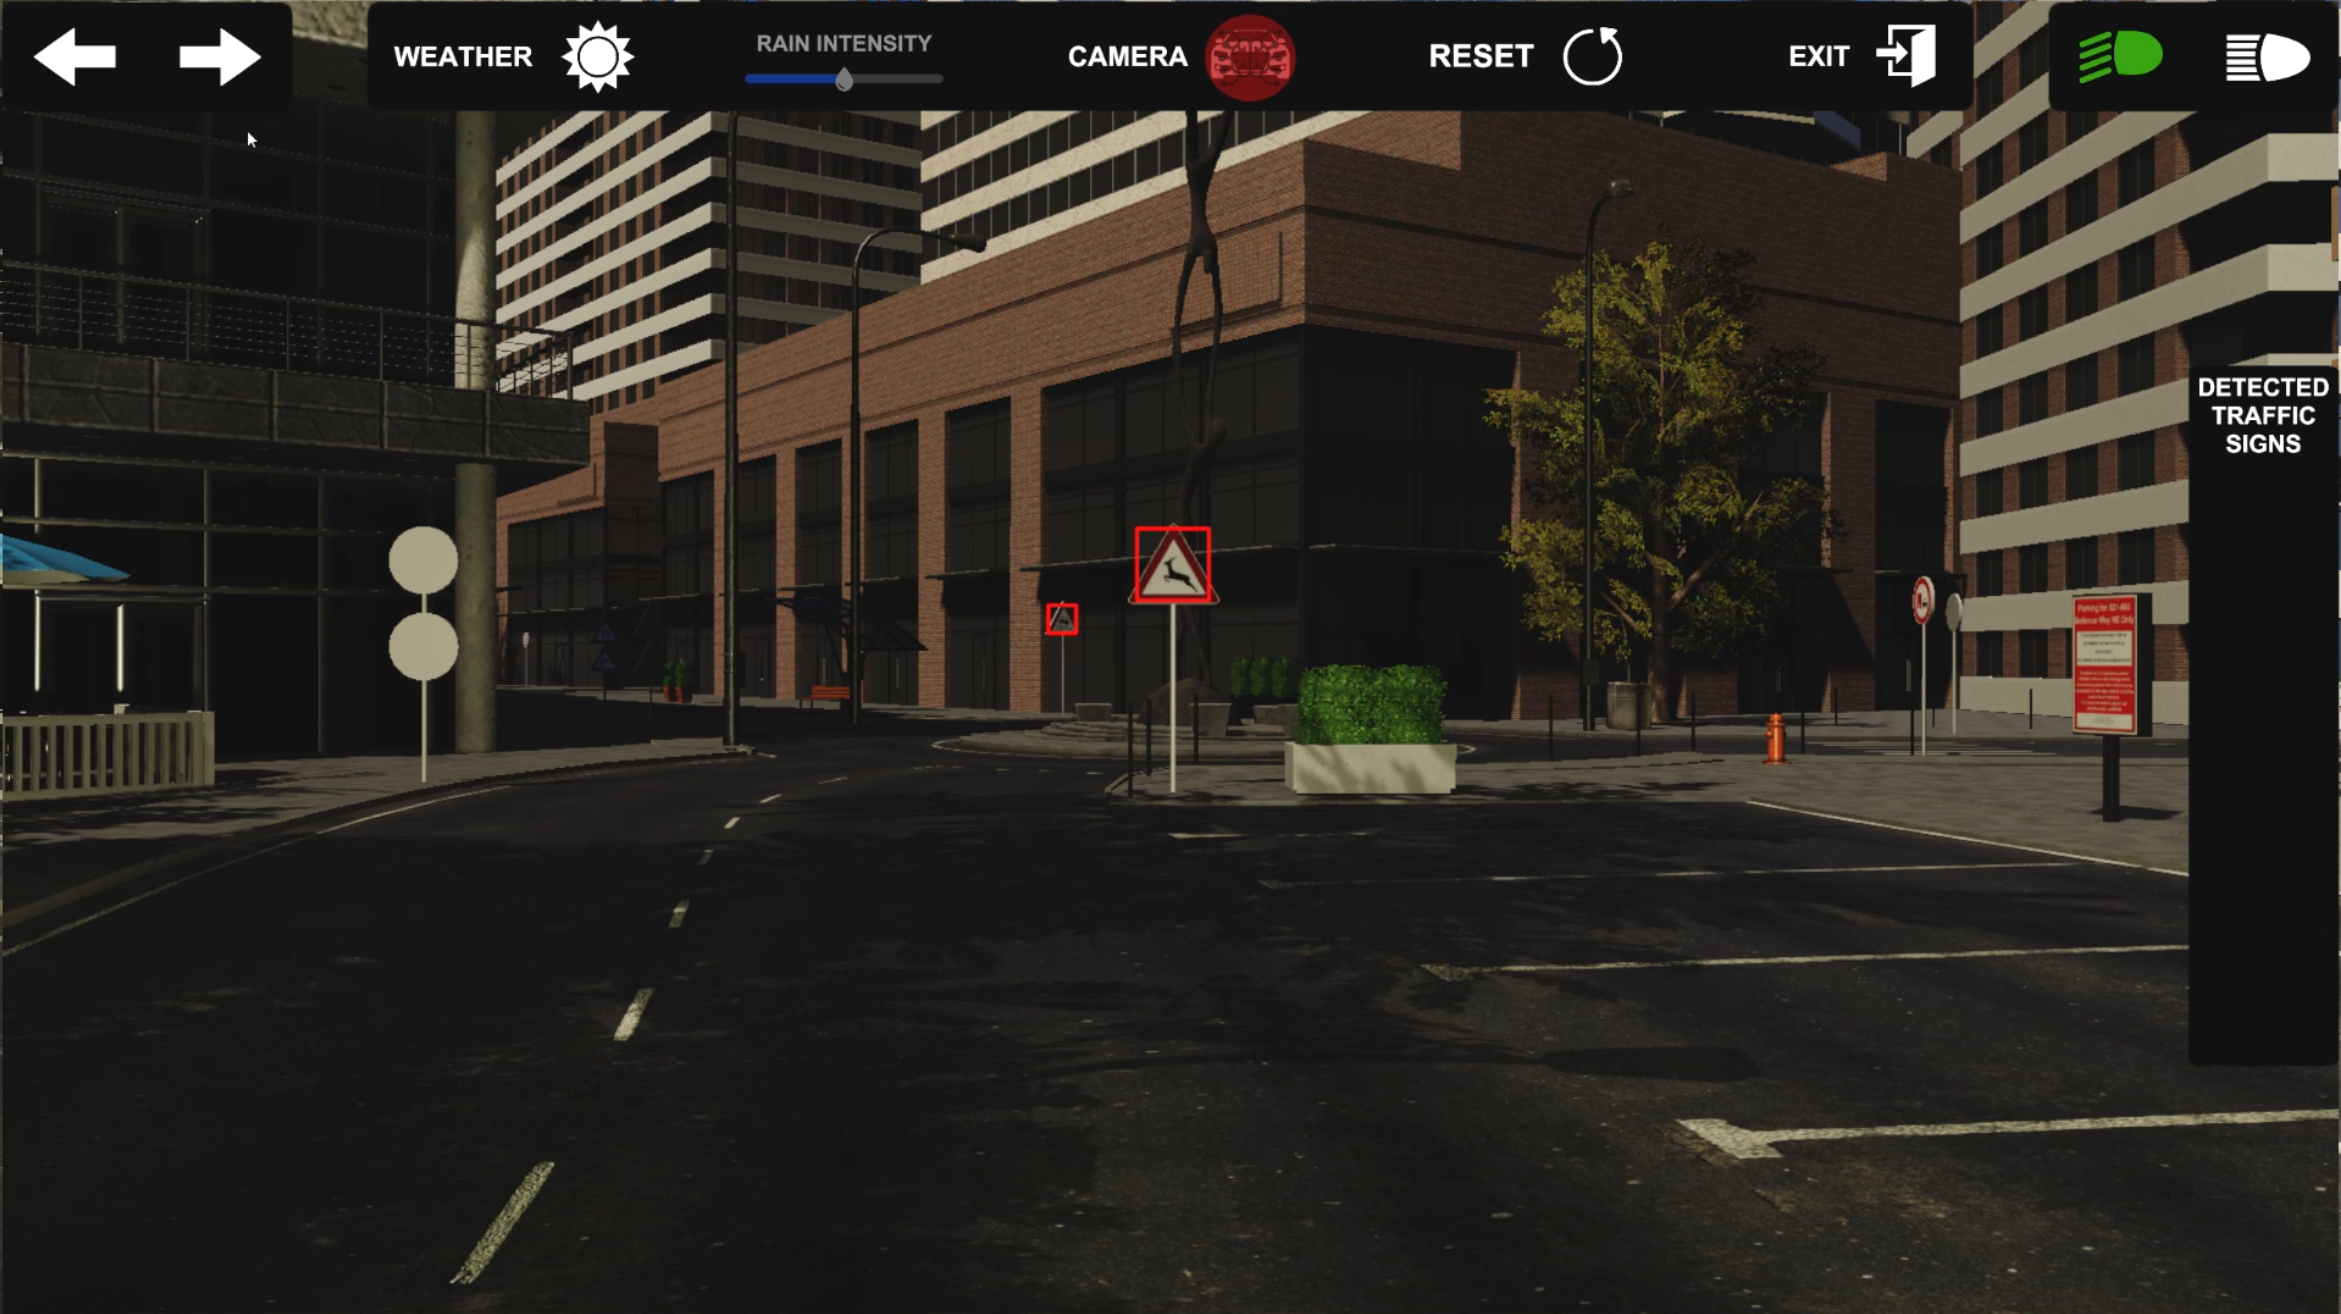
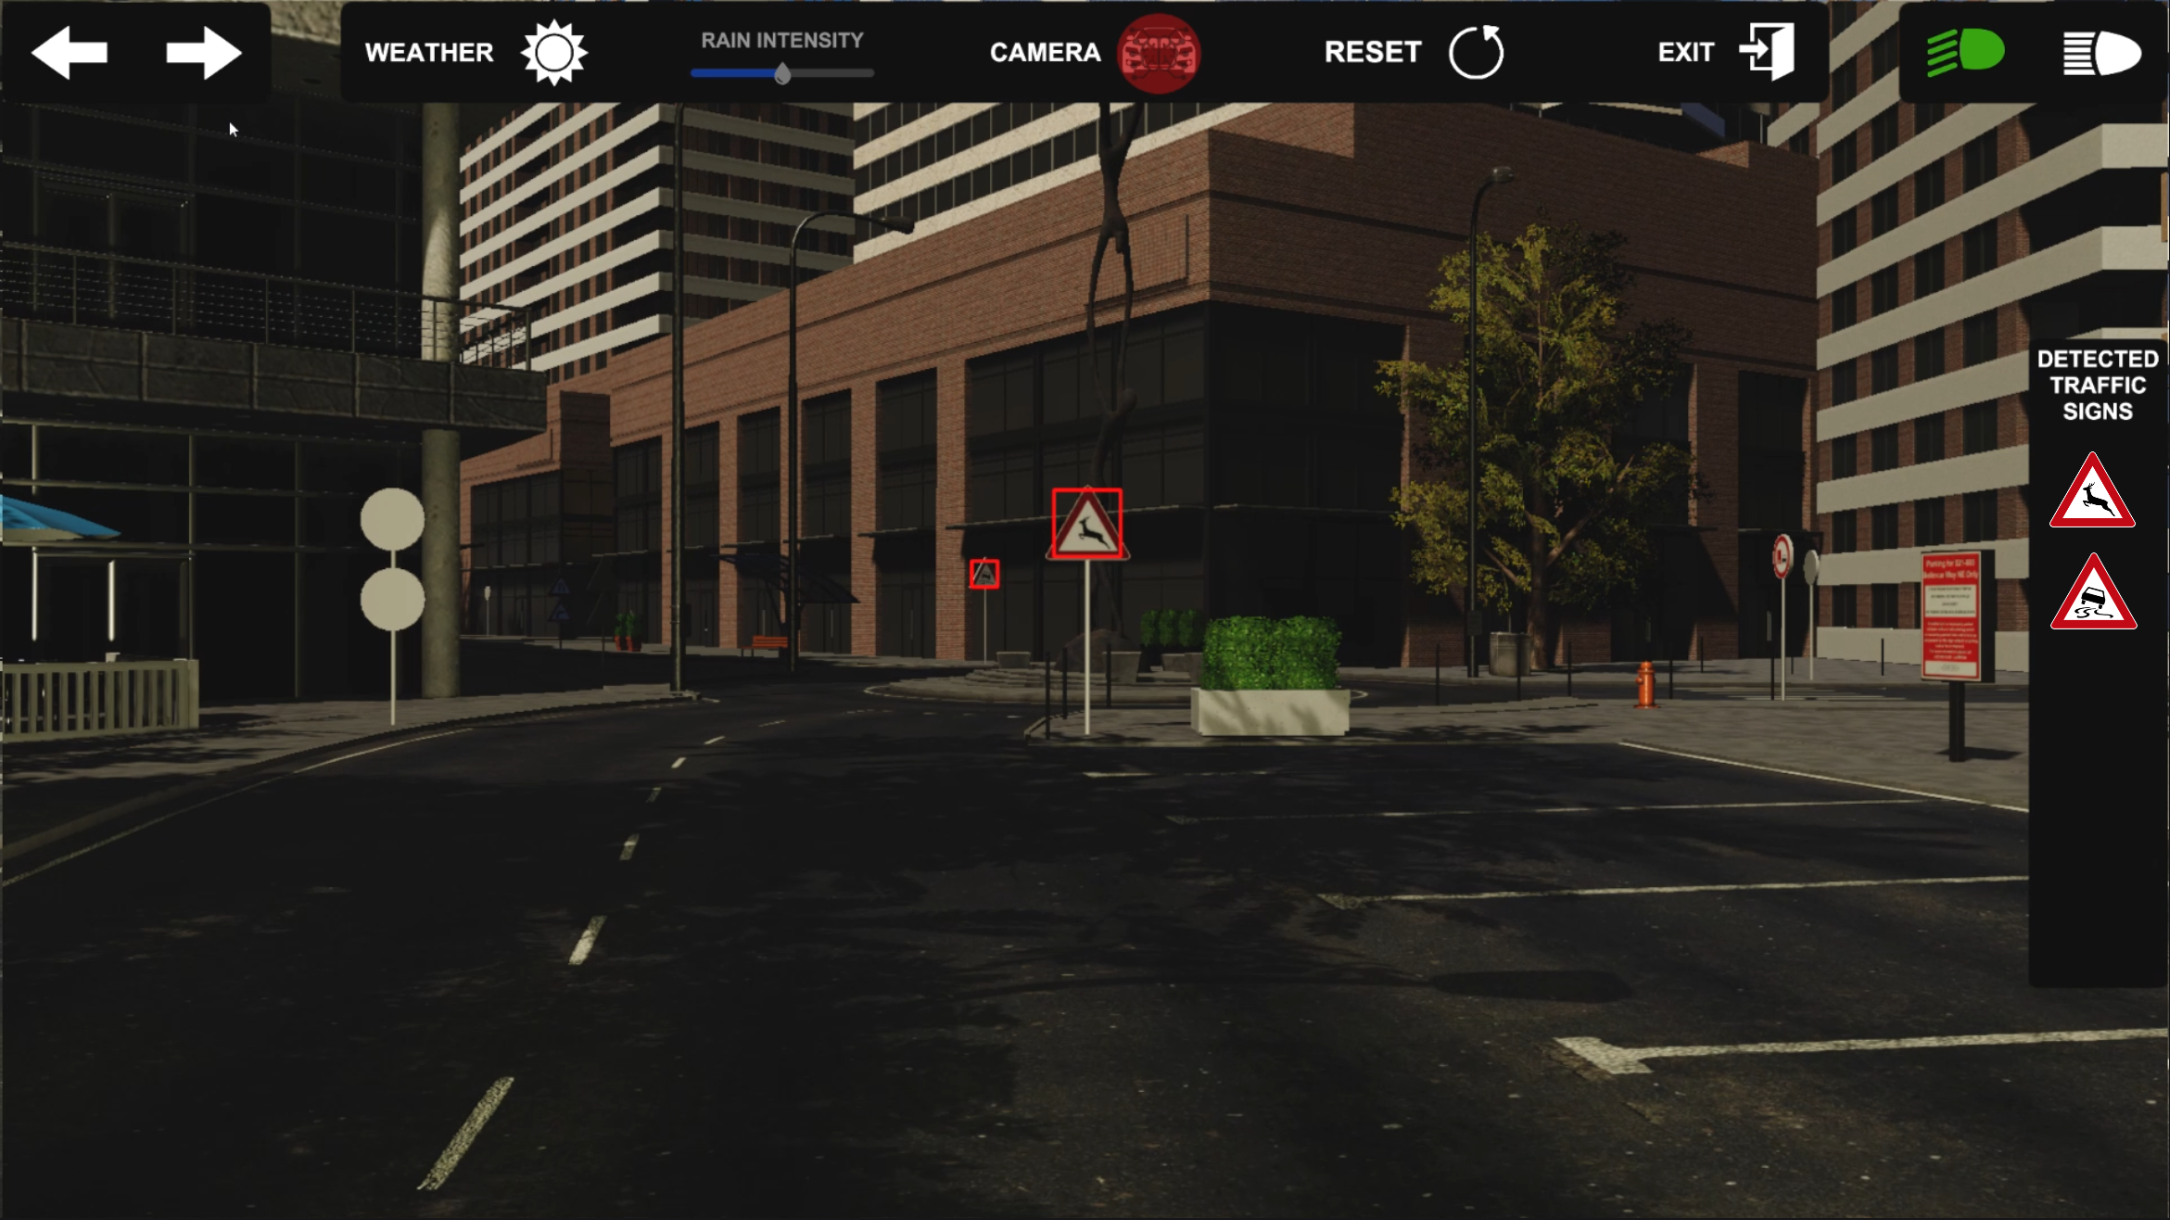
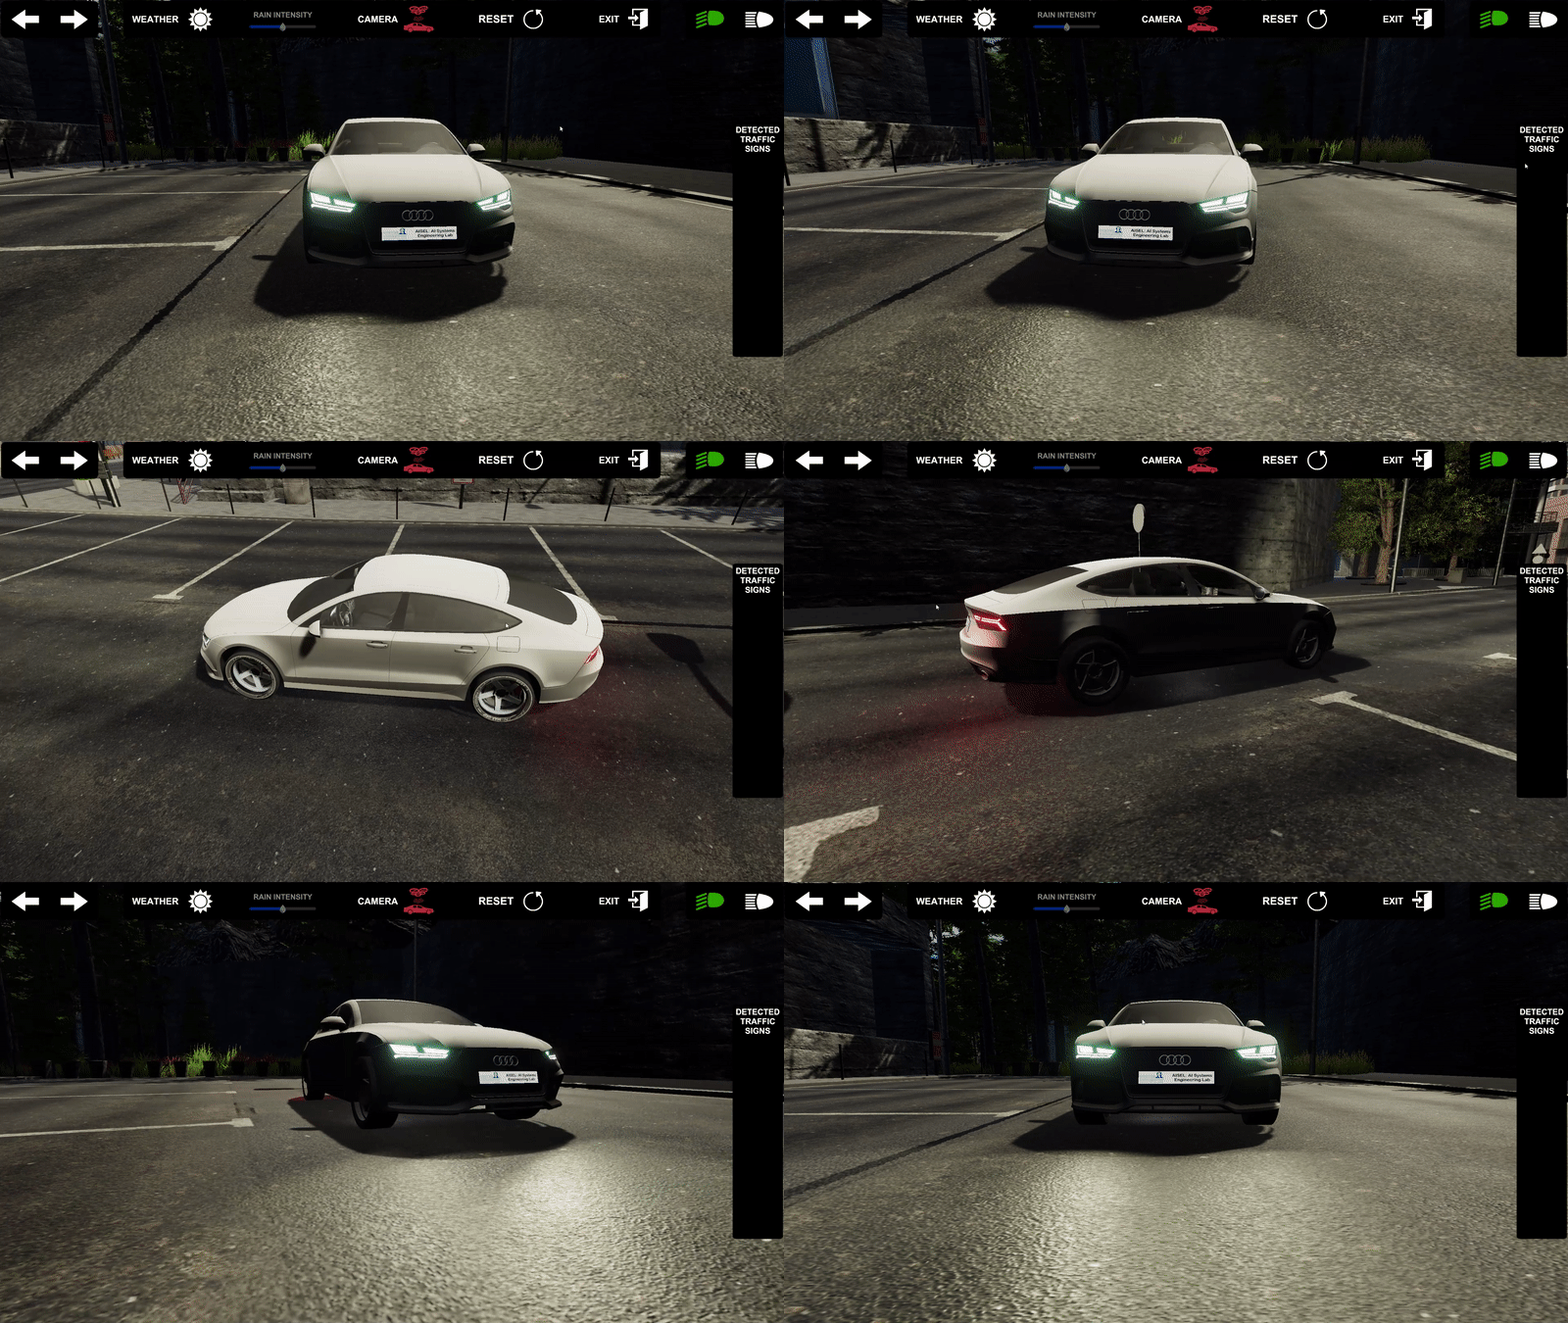
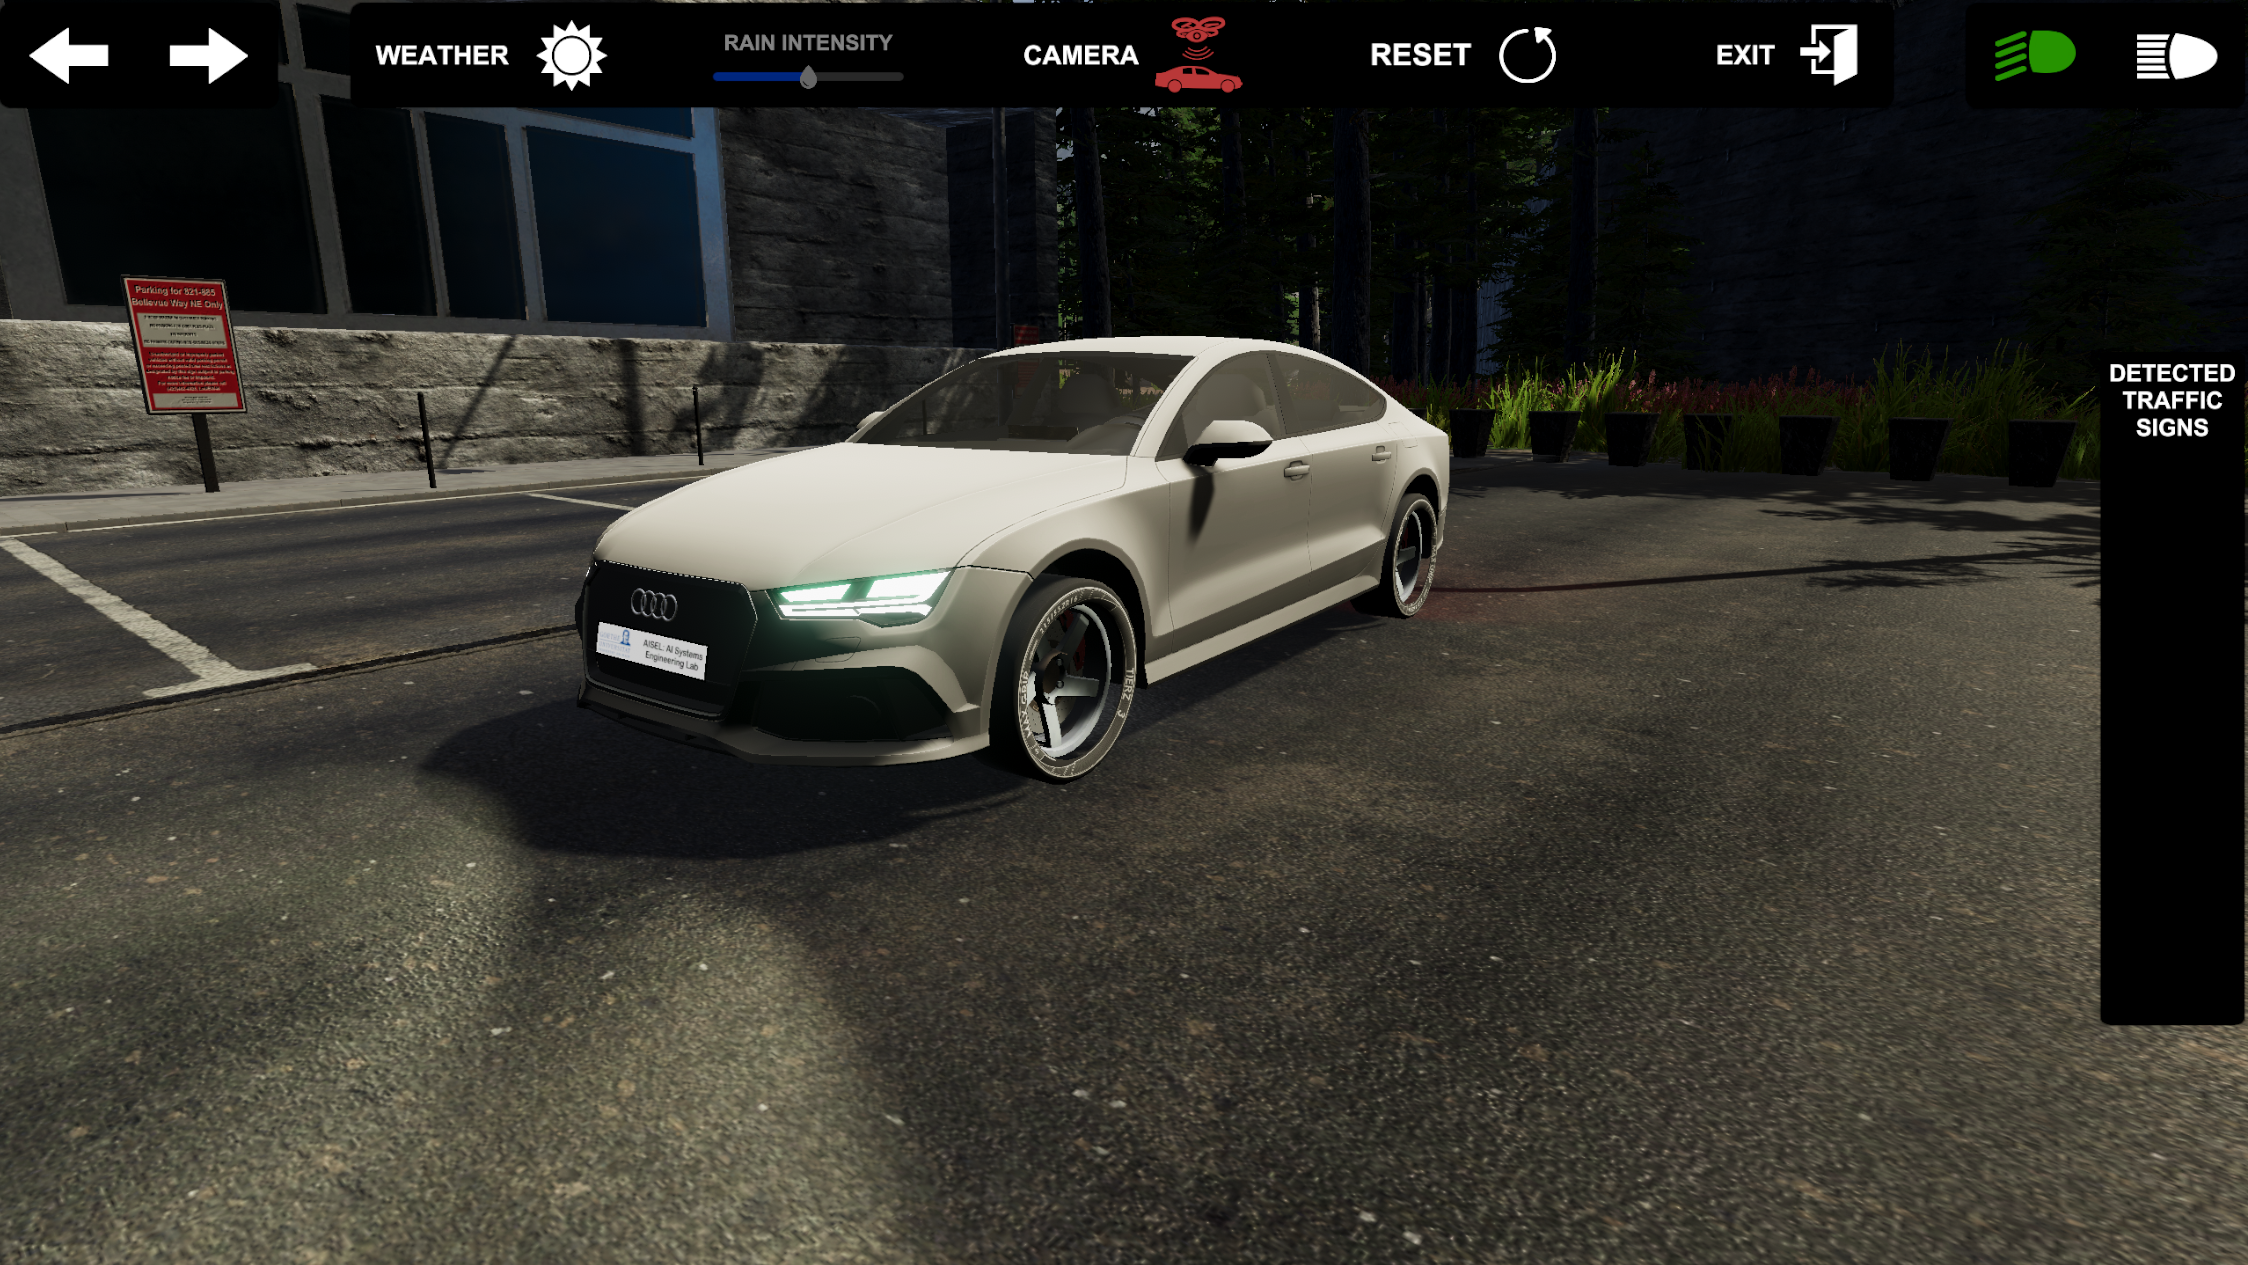
1 Buttons to controll the turn signal lights.
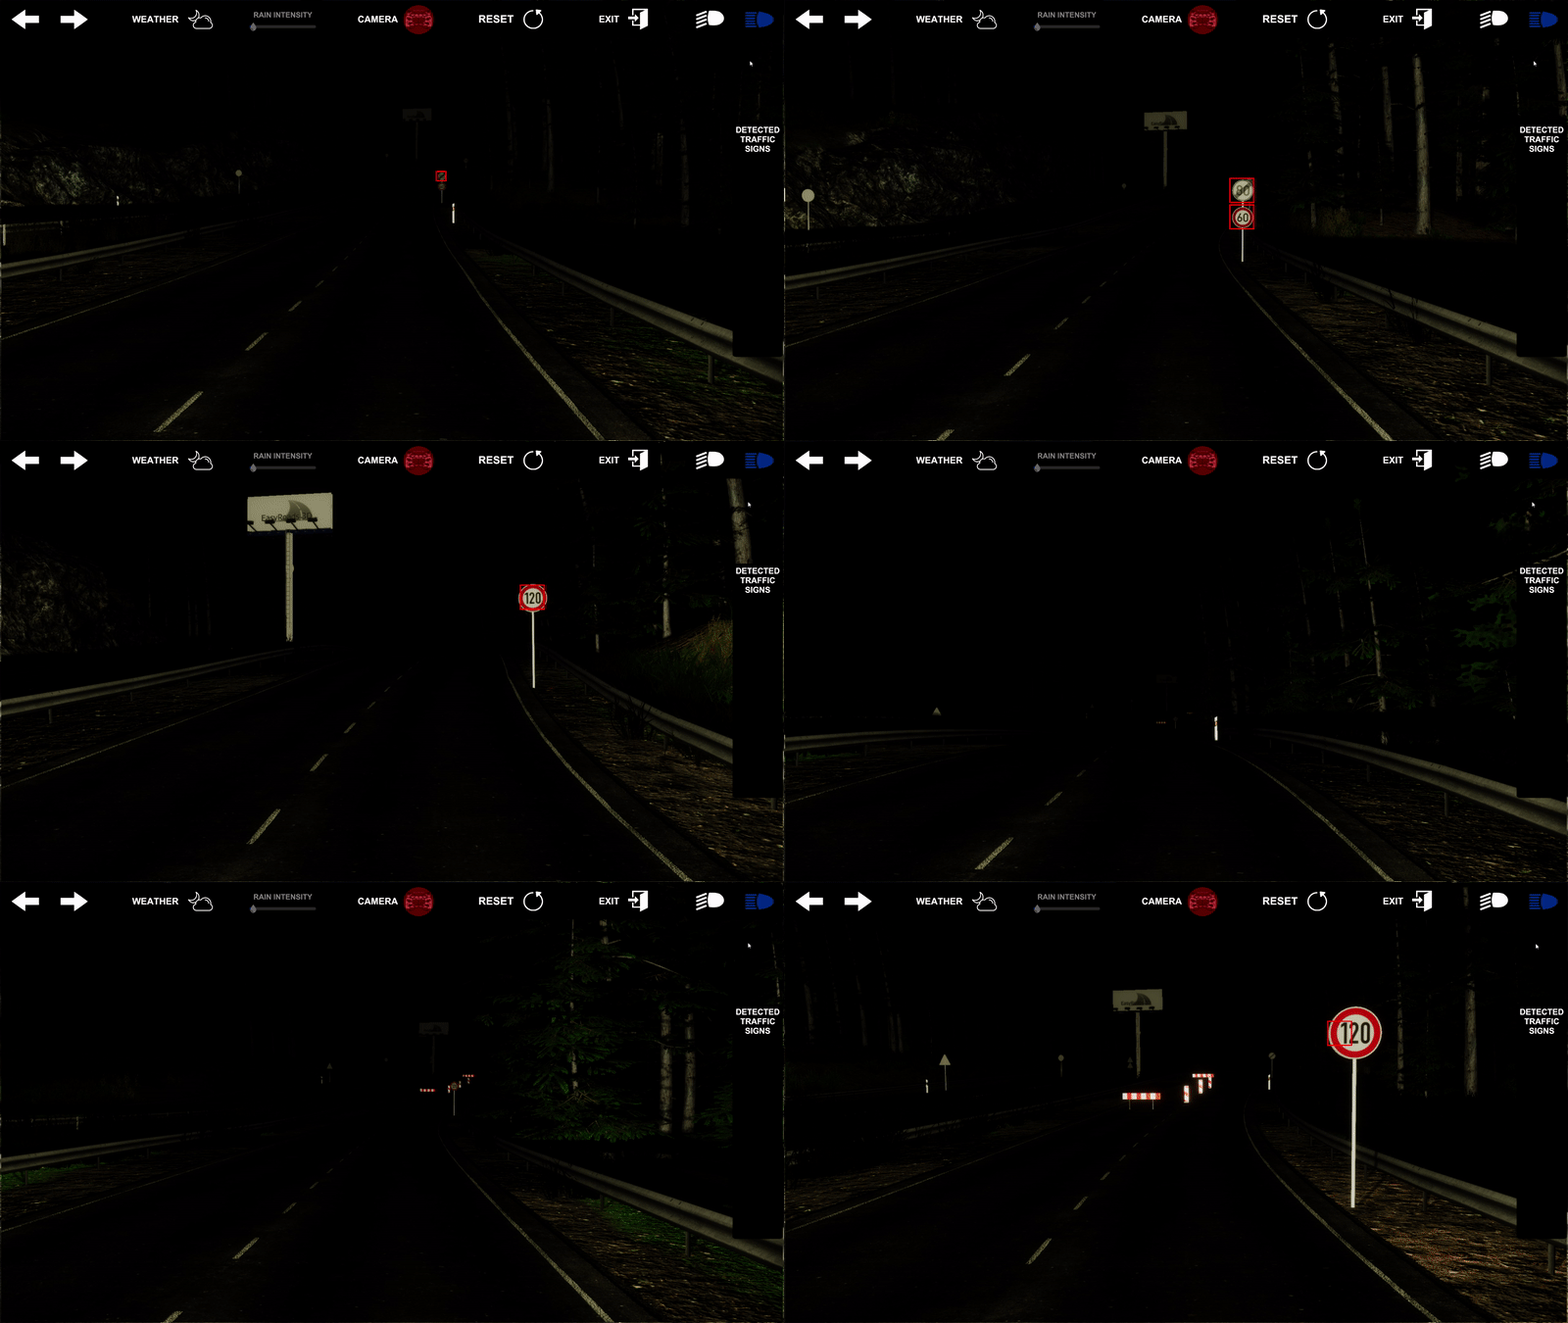
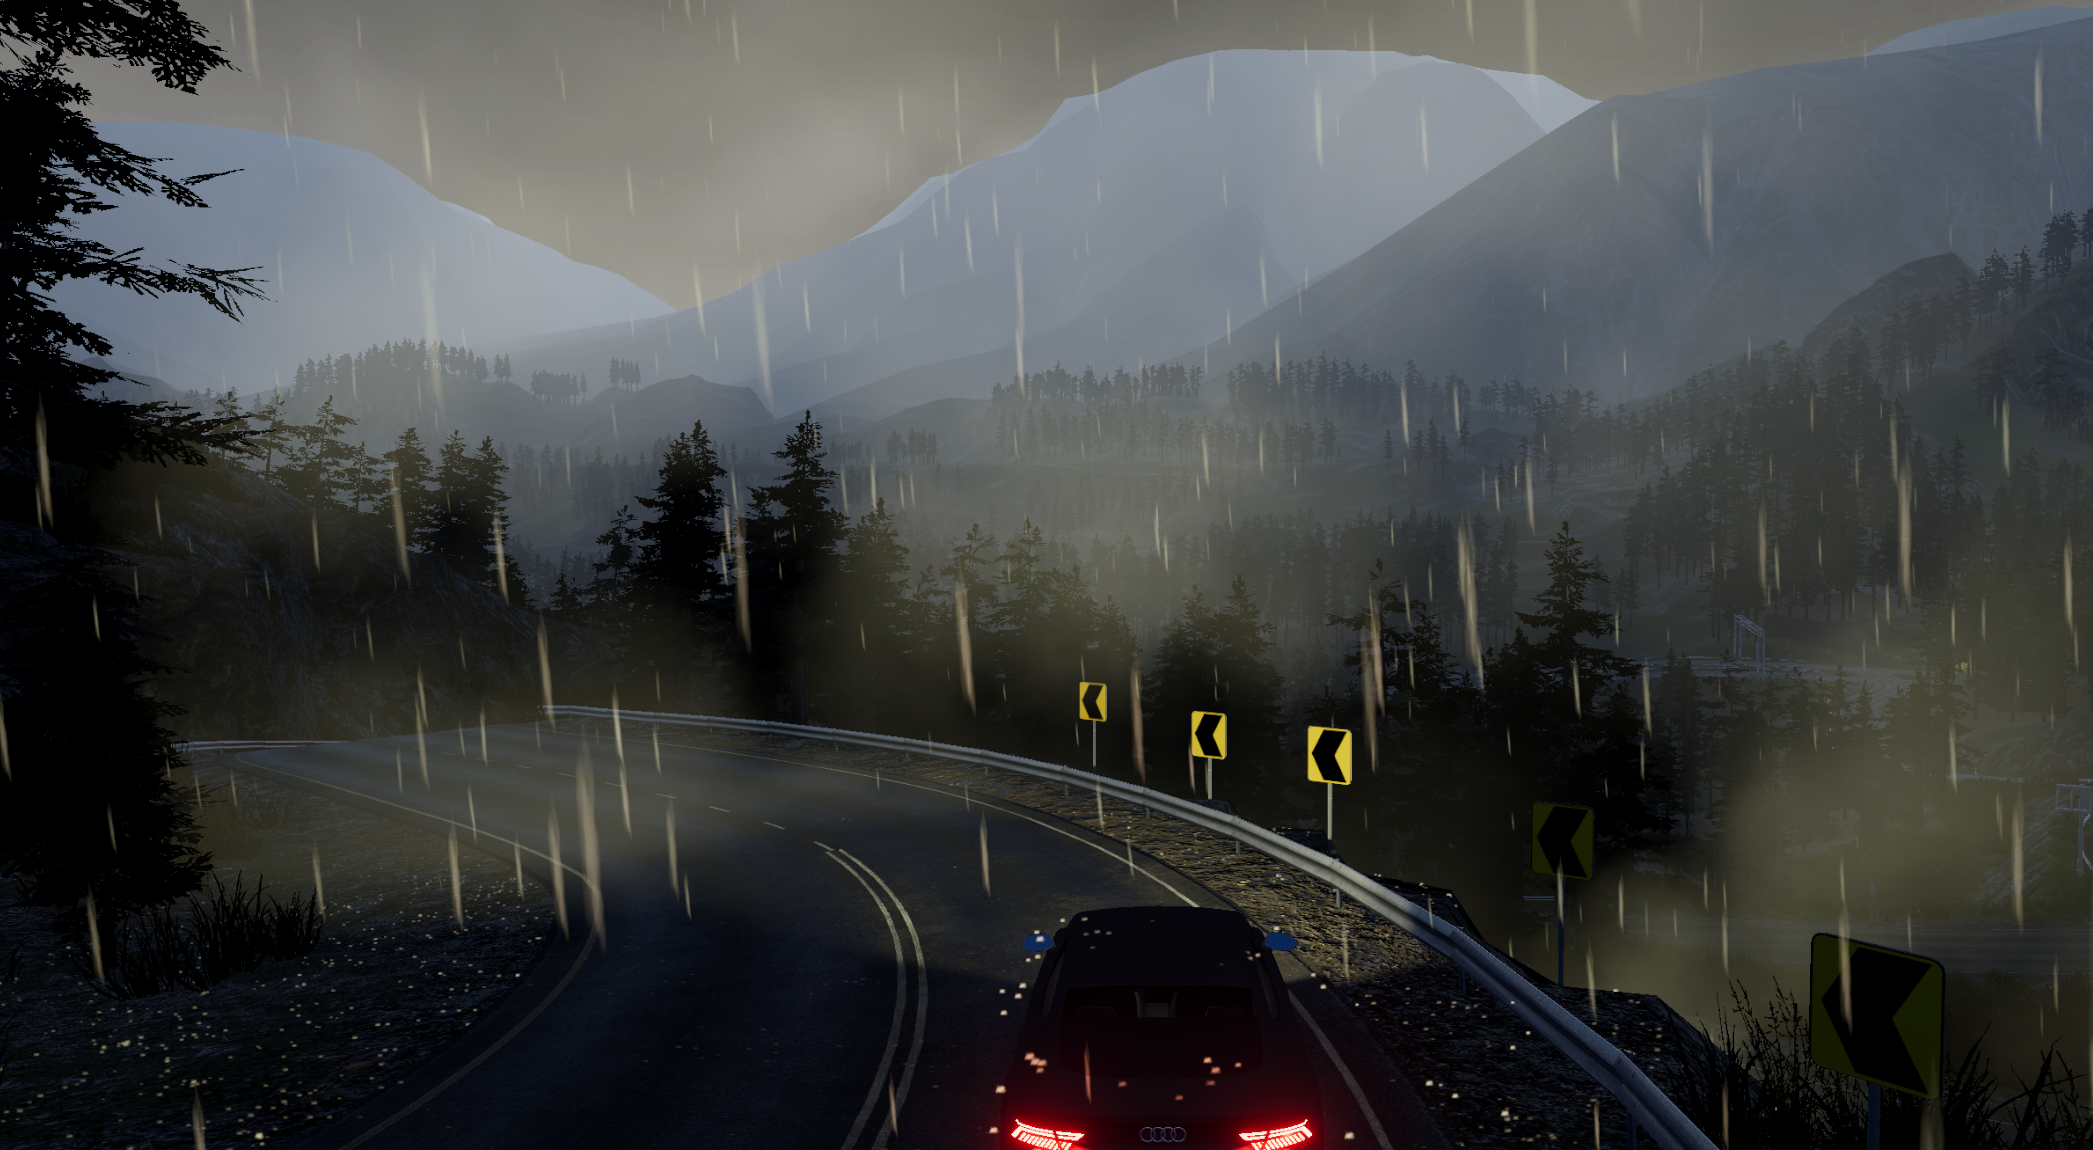
2 Weather dropdown with 5 available options: sunny day, rainy day, sunrise/sunset, bright night, dark night.
3 Value between 0 and 1, which specifies the rain intensity.
4 Camera icon, showing the current camera mode.
5 Button to return to the main menu.
6 Button to exit the simulation.
7 Button to controll the head beam lights.
8 UI where the detected traffic signs will be displayed (not implemented yet).
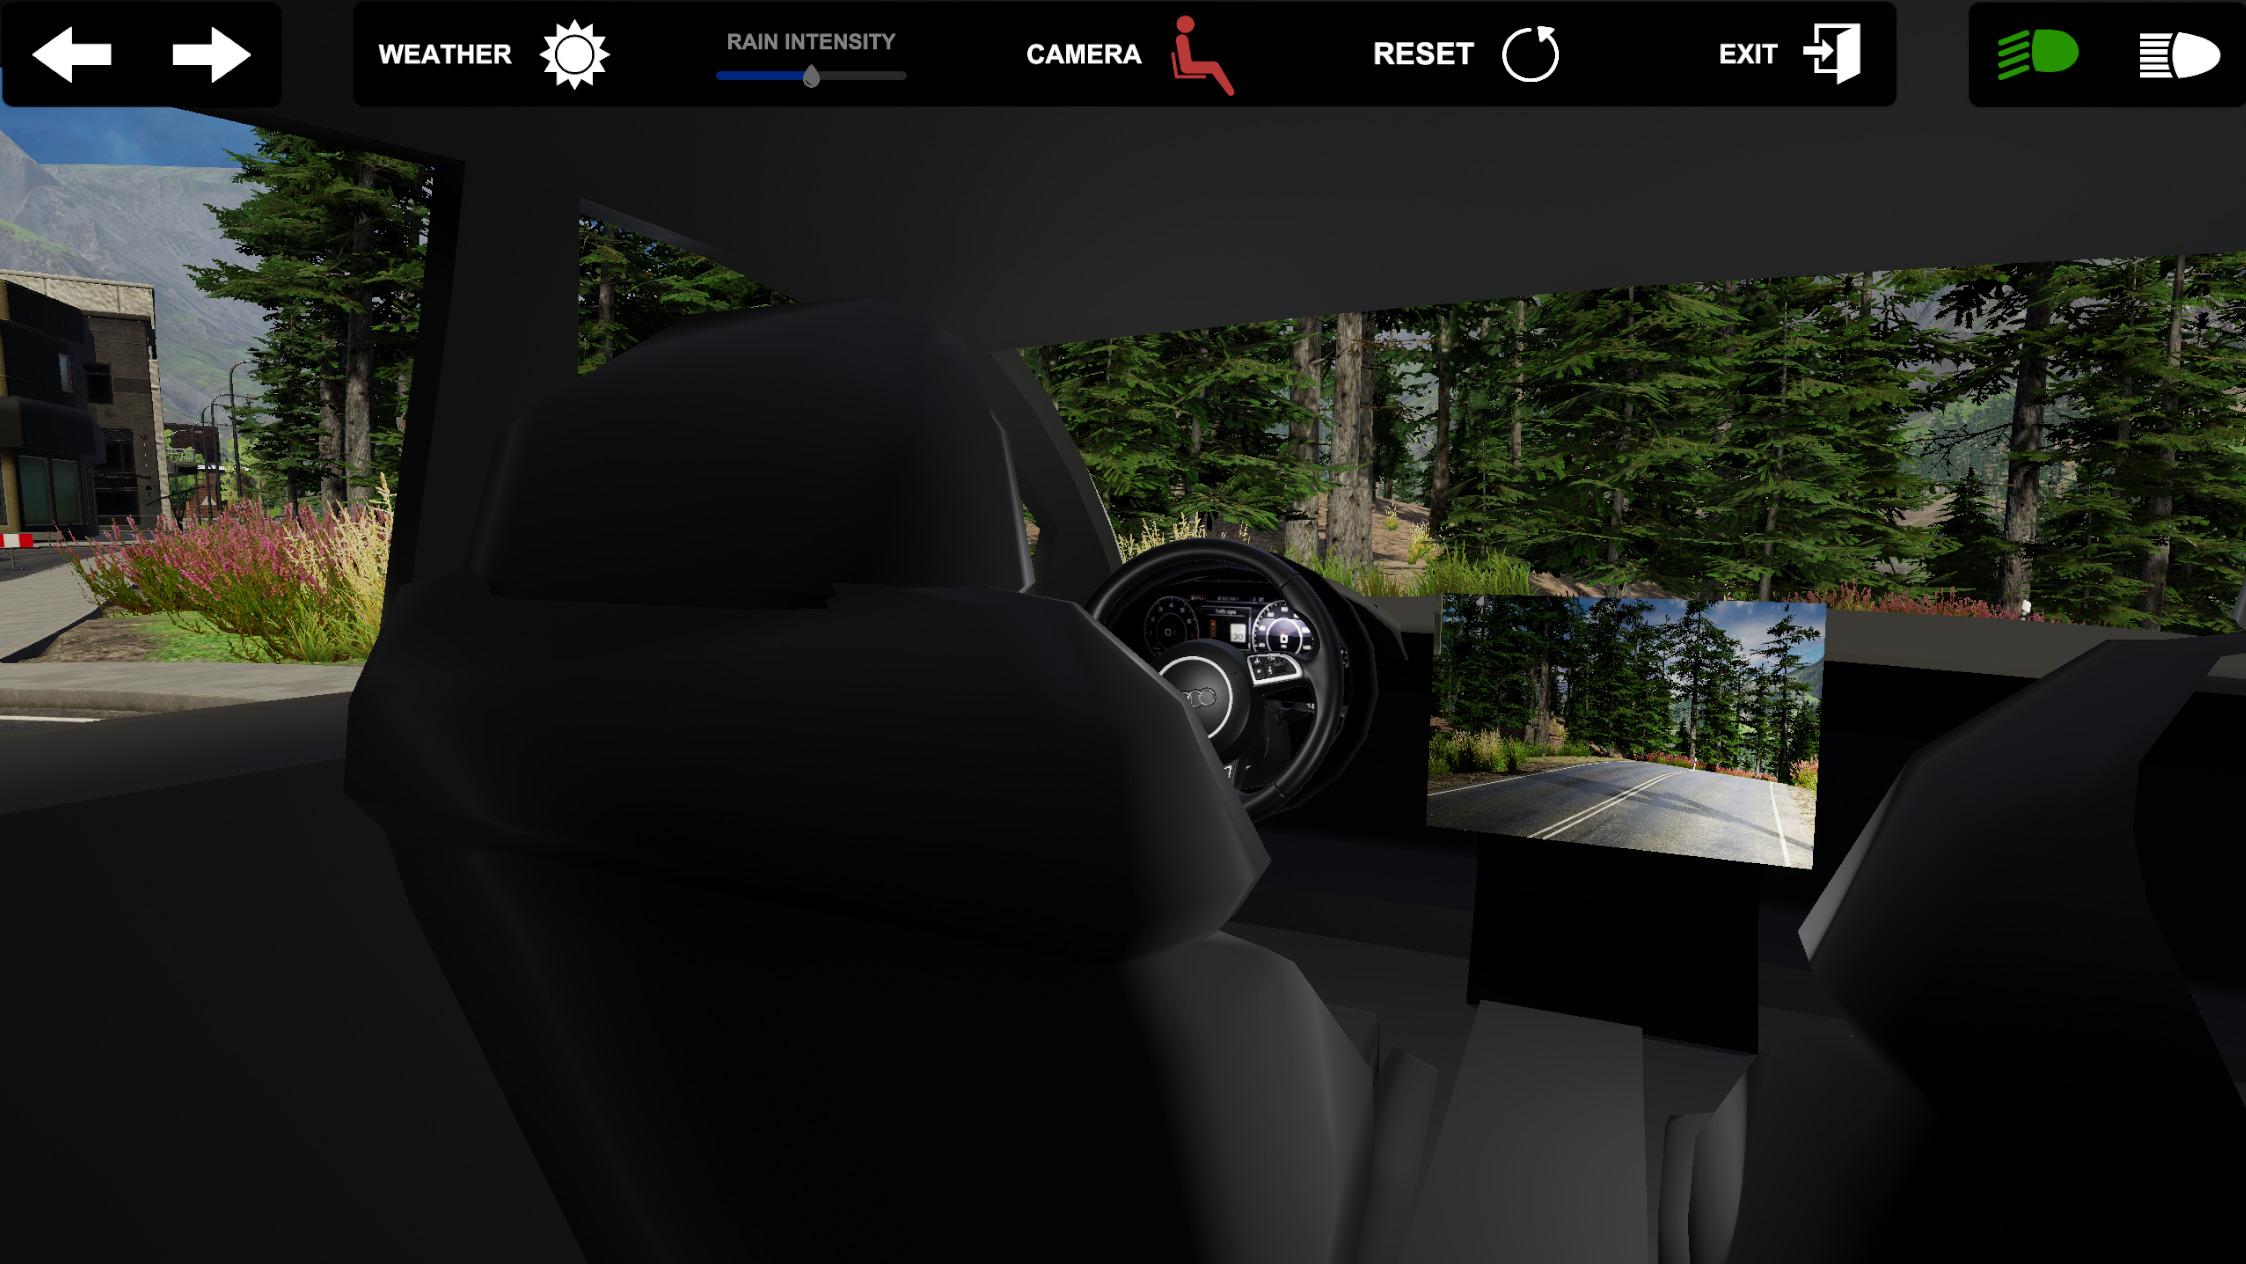
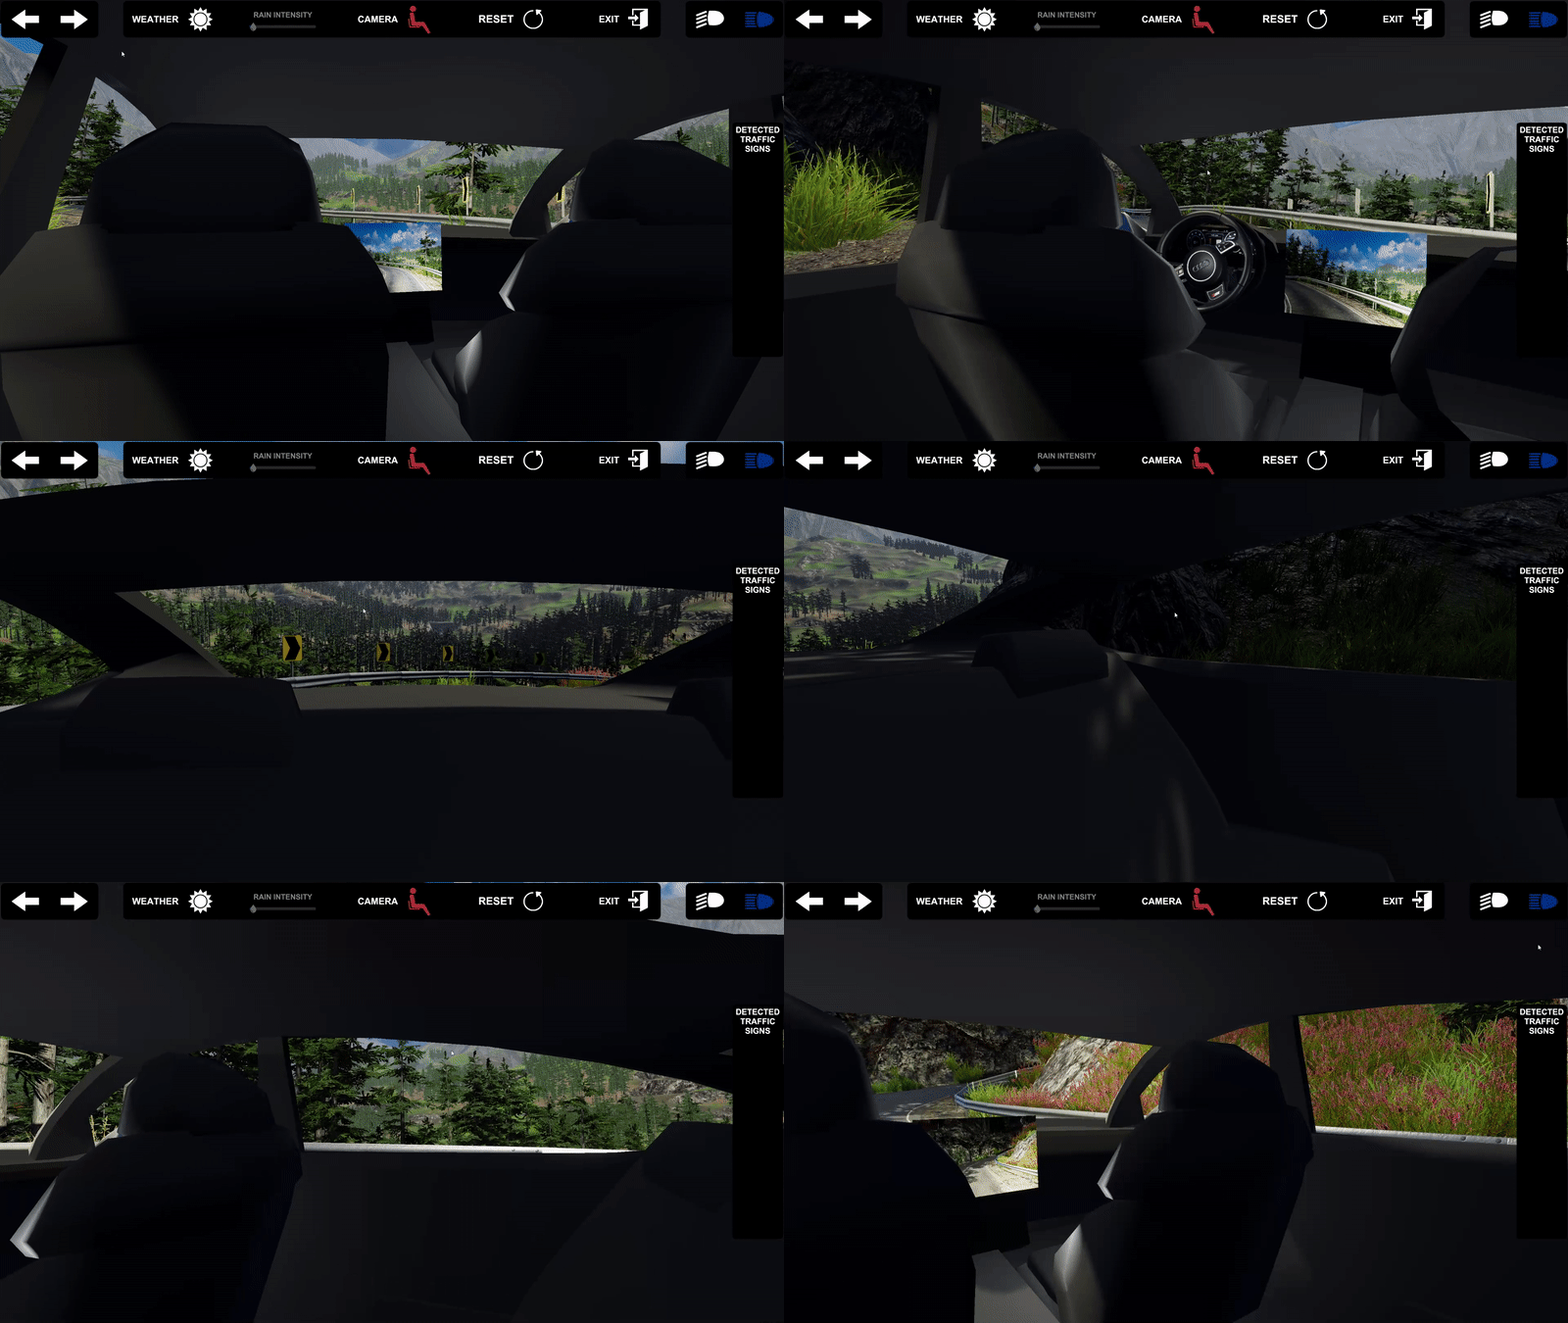
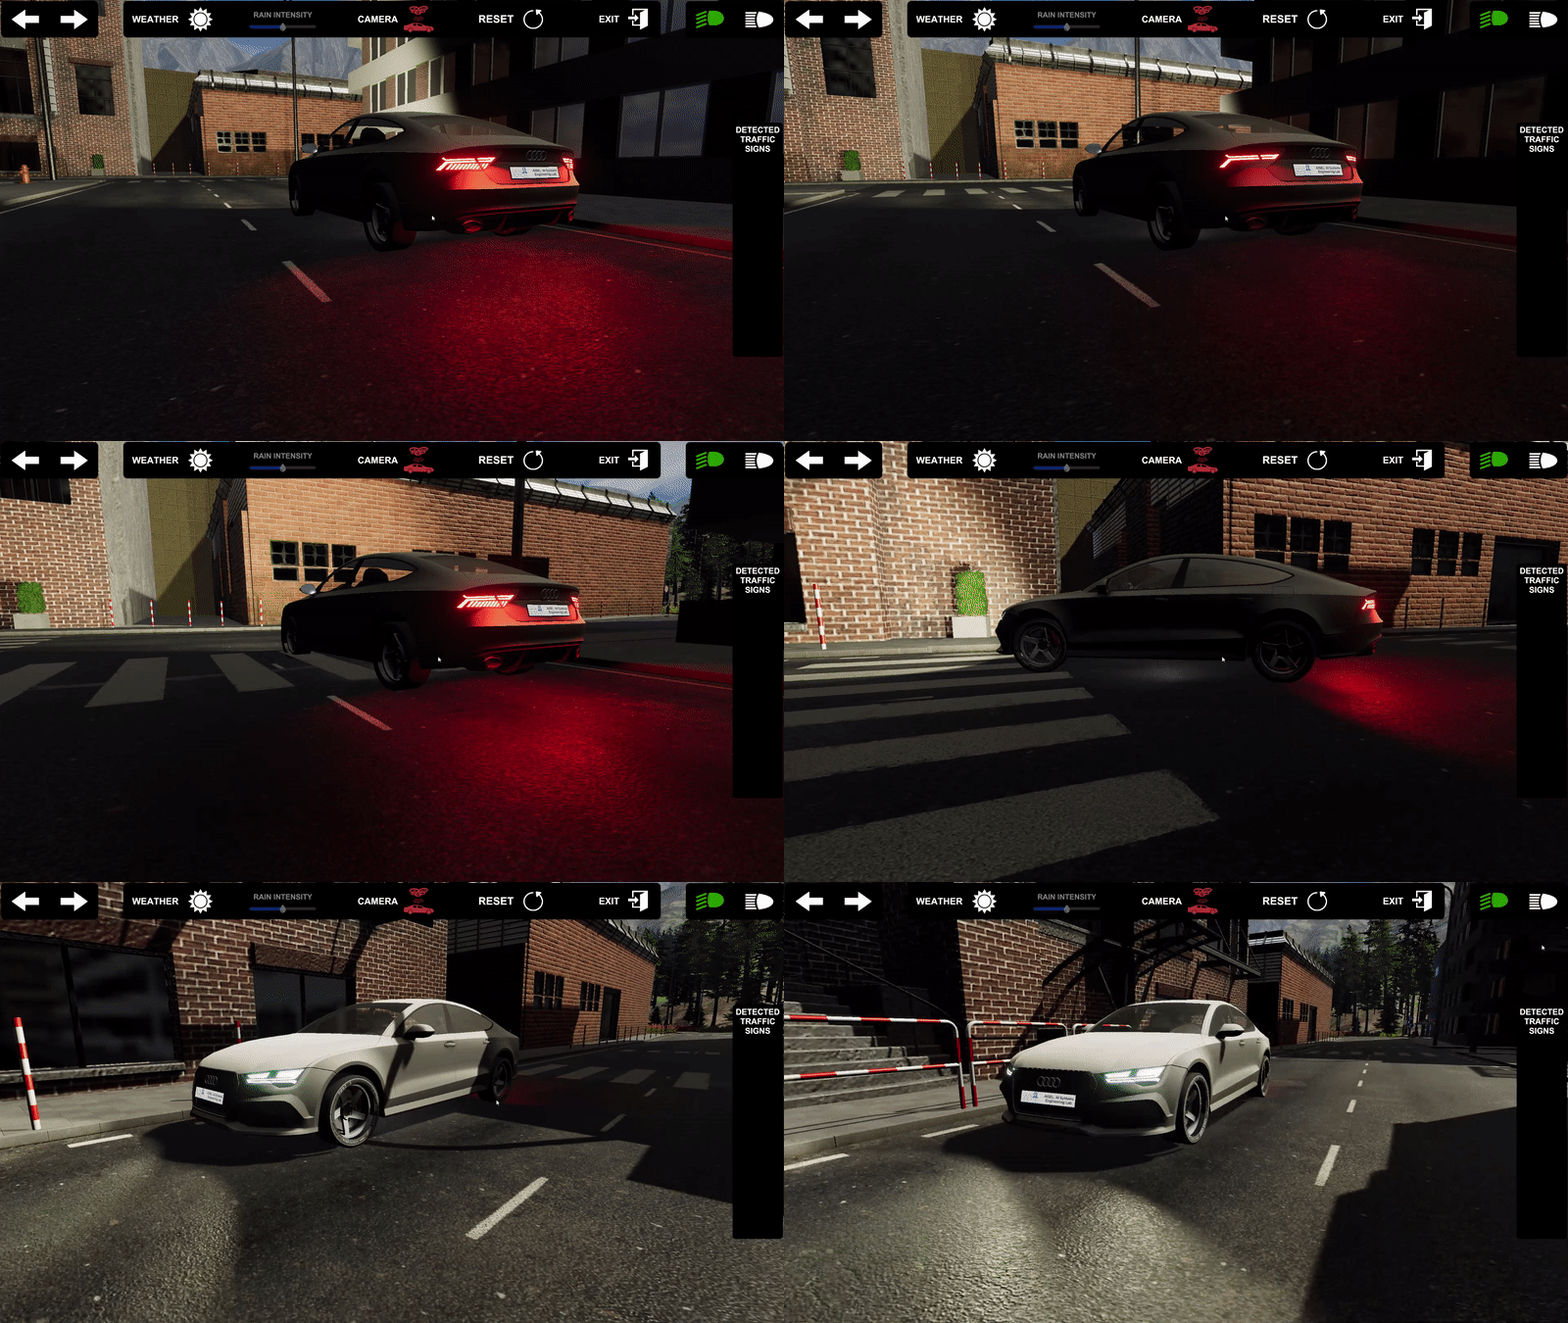
Use the C key to switch between the camera modes.
Hold the left mouse button and move the mouse to move the camera around.
Use the mouse wheel to zoom in and out from the scene.
W Hold this key to apply motor torque and to move the car forward.
S Hold this key to apply the reverse gear and to move the car backwards.
A Hold this to move the car to the left side.
D Hold this to move the car to the right side.
Space Hold this to apply braking.
Inside the 'generate dataset mode' there is no graphical user interface, since the system is taking screenshots of the whole screen. The graphical components have been replaced by the following keys:
1 Press this button to switch to sunny day.
2 Press this button to switch to rainy day.
3 Press this button to switch to sunrise/sunset.
4 Press this button to switch to bright night.
5 Press this button to switch to dark night.
+ Press this button to increase the rain intensity.
- Press this button to decrease the rain intensity.
LeftArrow Press this button to turn the left turn signal on.
RightArrow Press this button to turn the right turn signal on.
UpArrow Press this button to turn the long beam headlights on.
DownArrow Press this button to turn the low beam headlights on.
R Press this button to return to the main menu.
ESC Press this button to close the simulation.
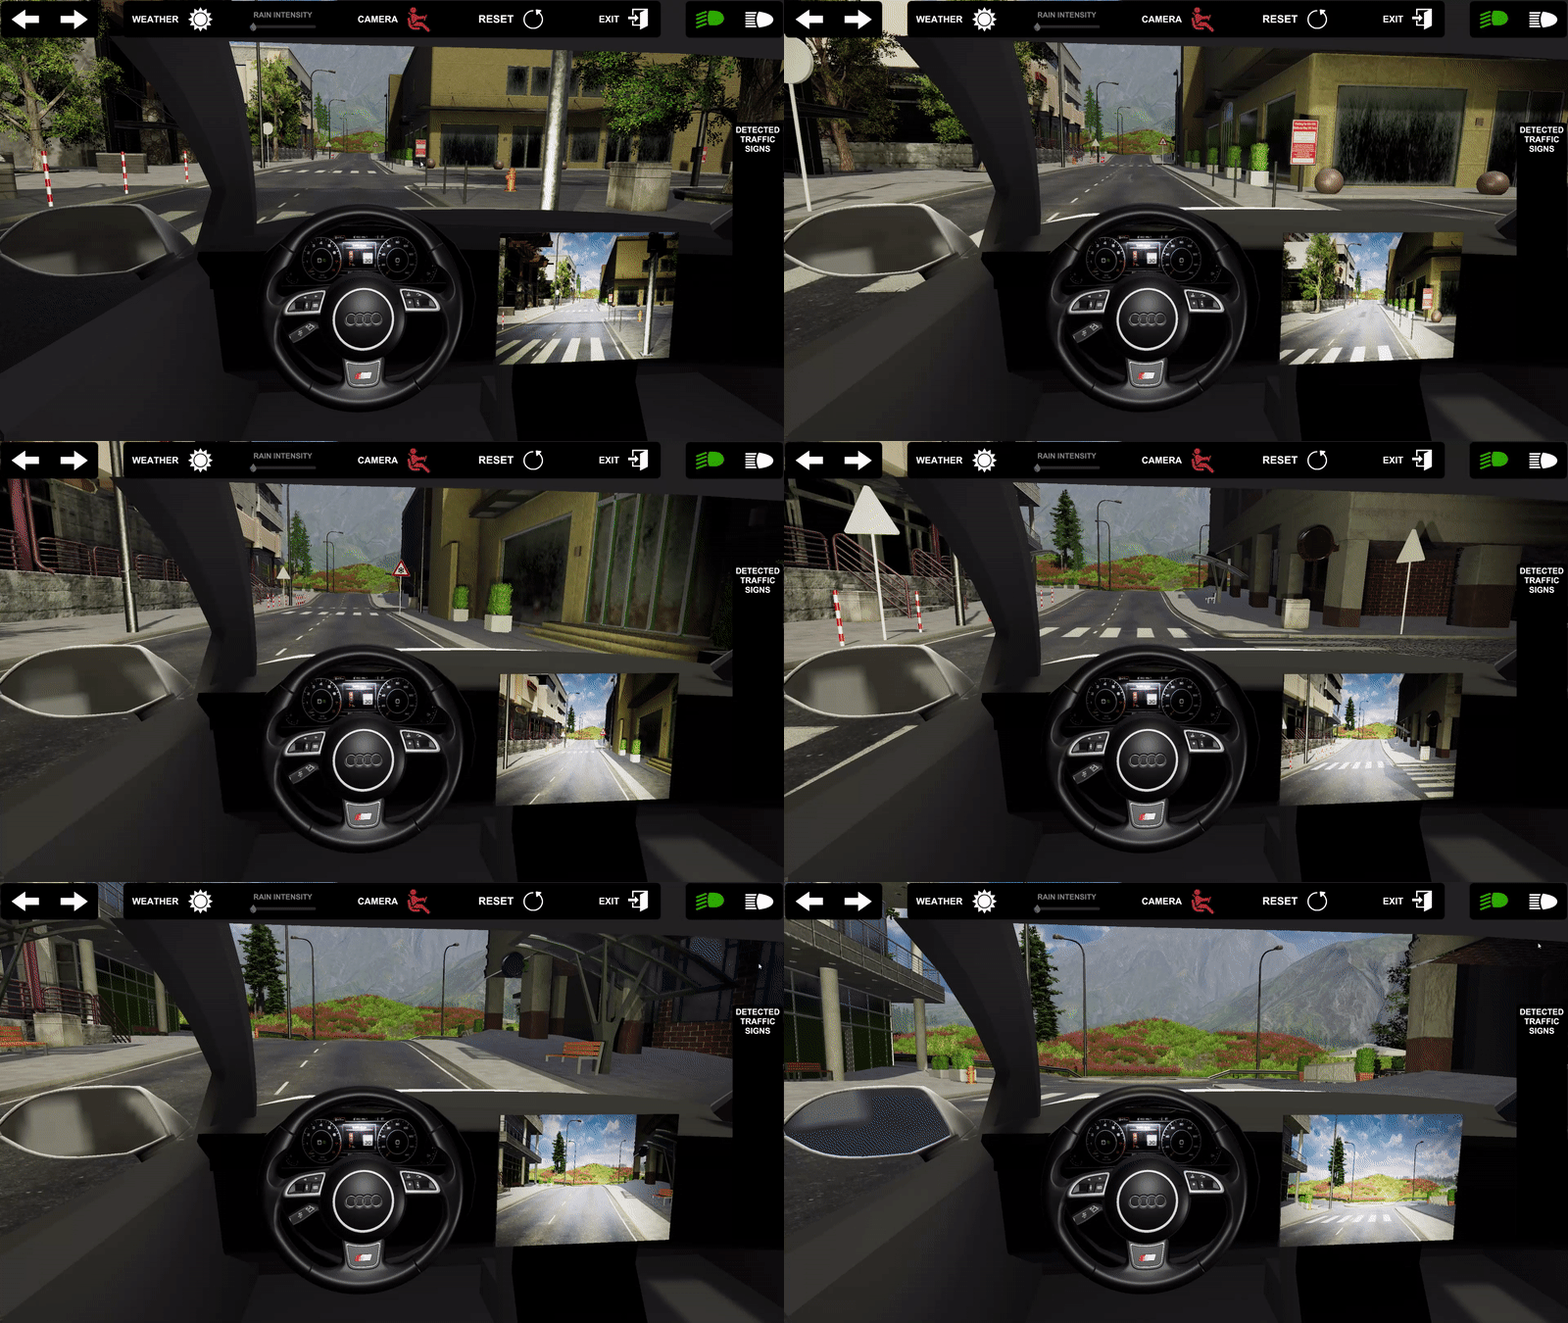
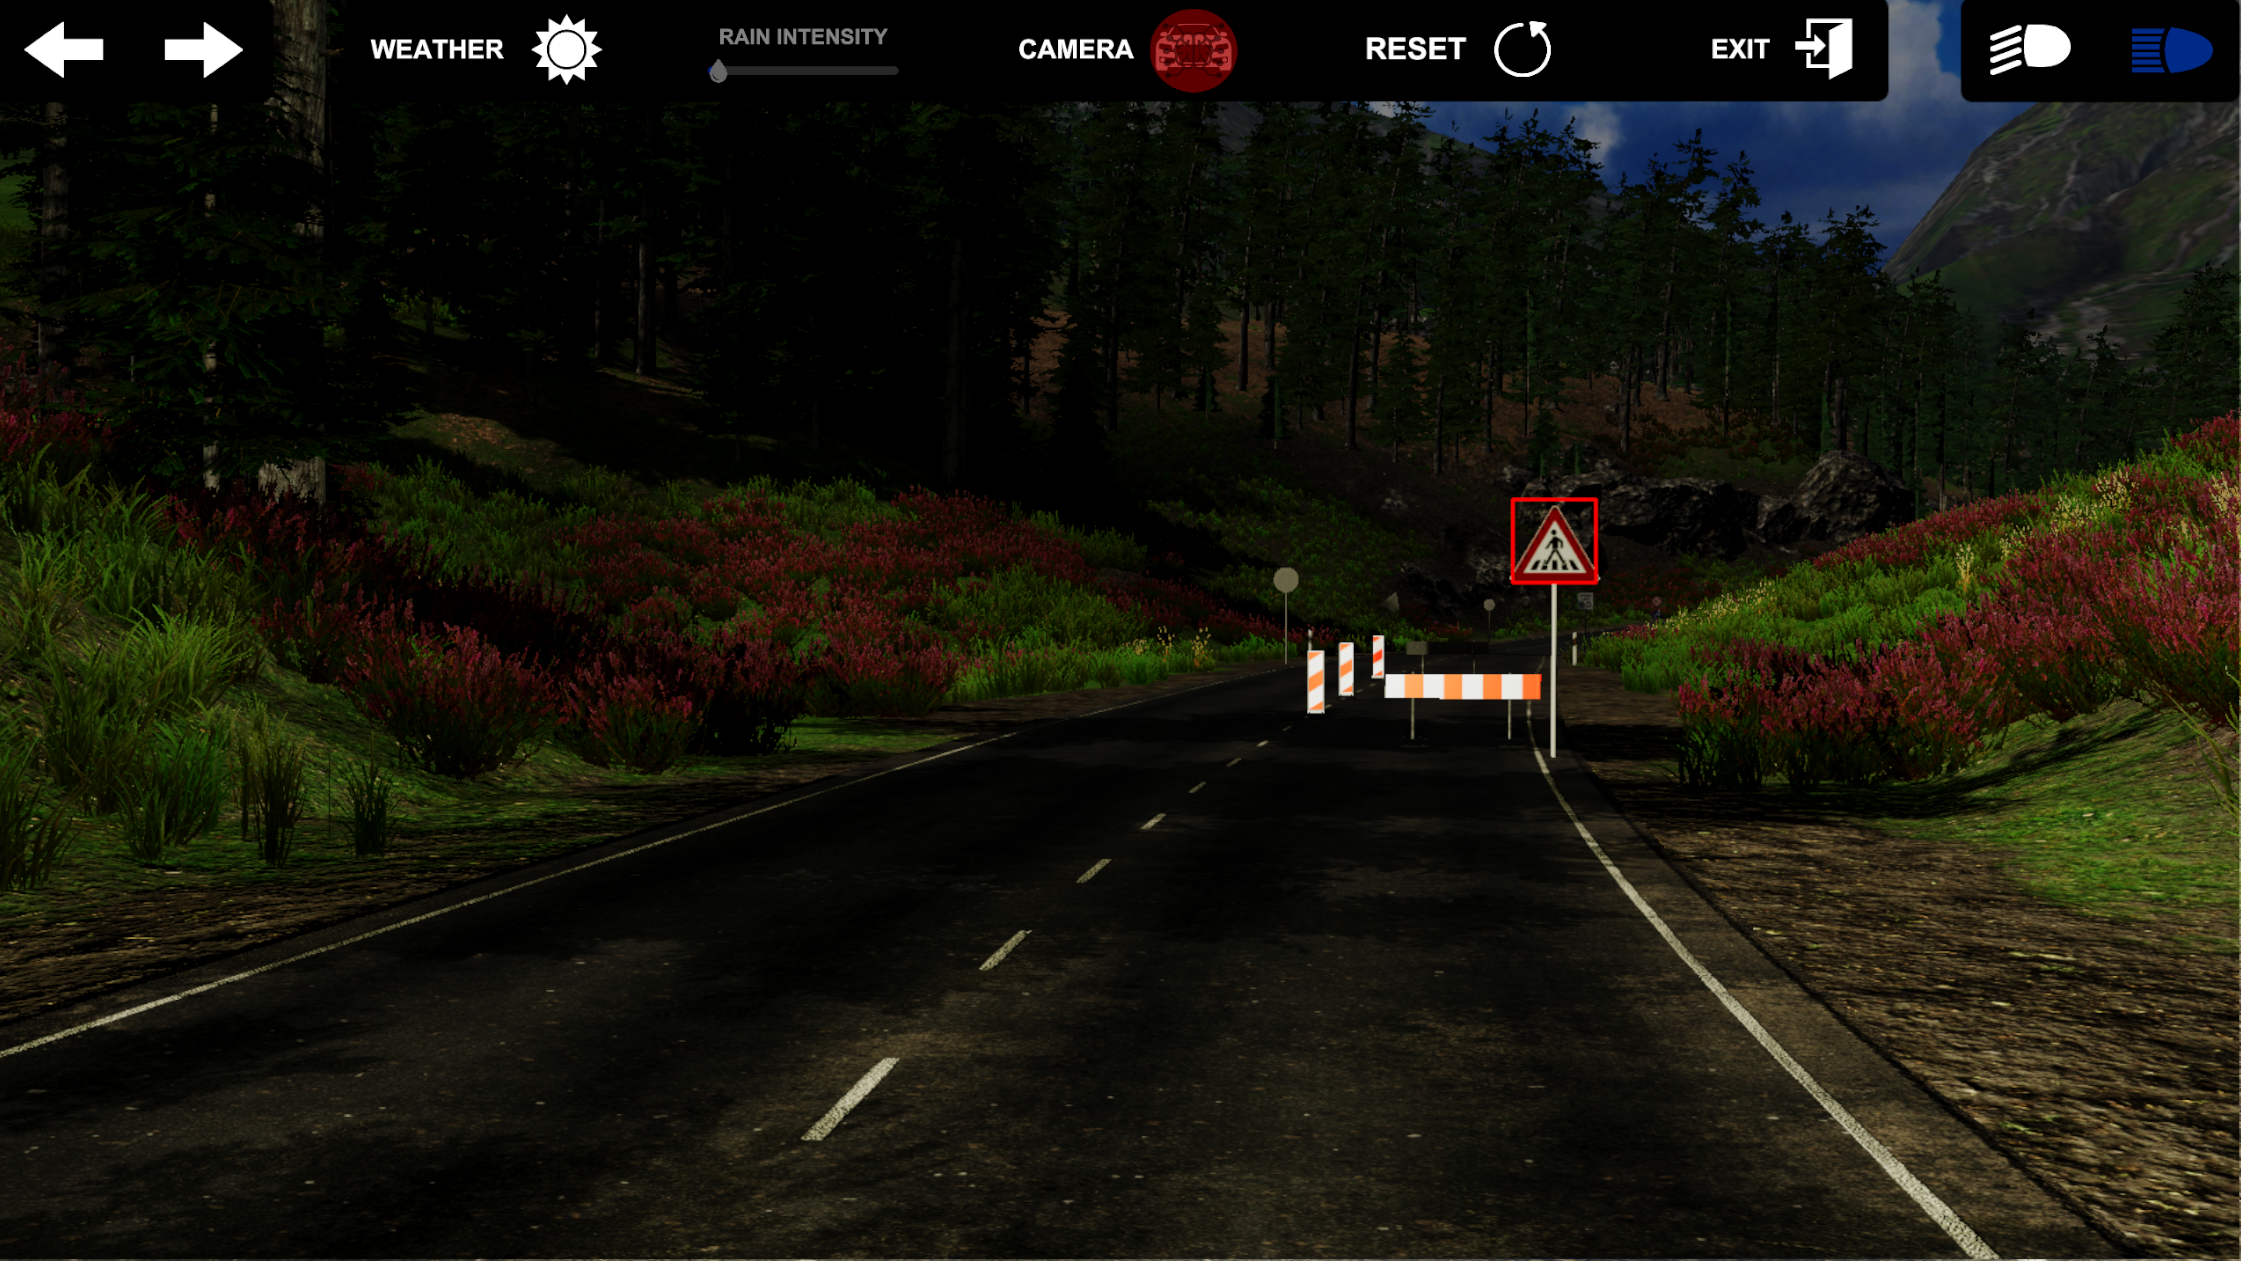
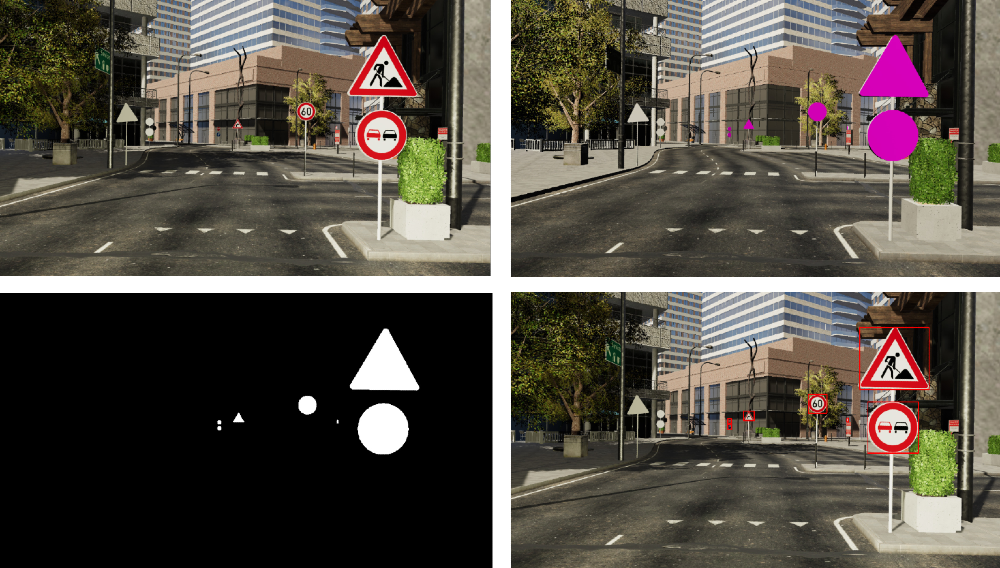
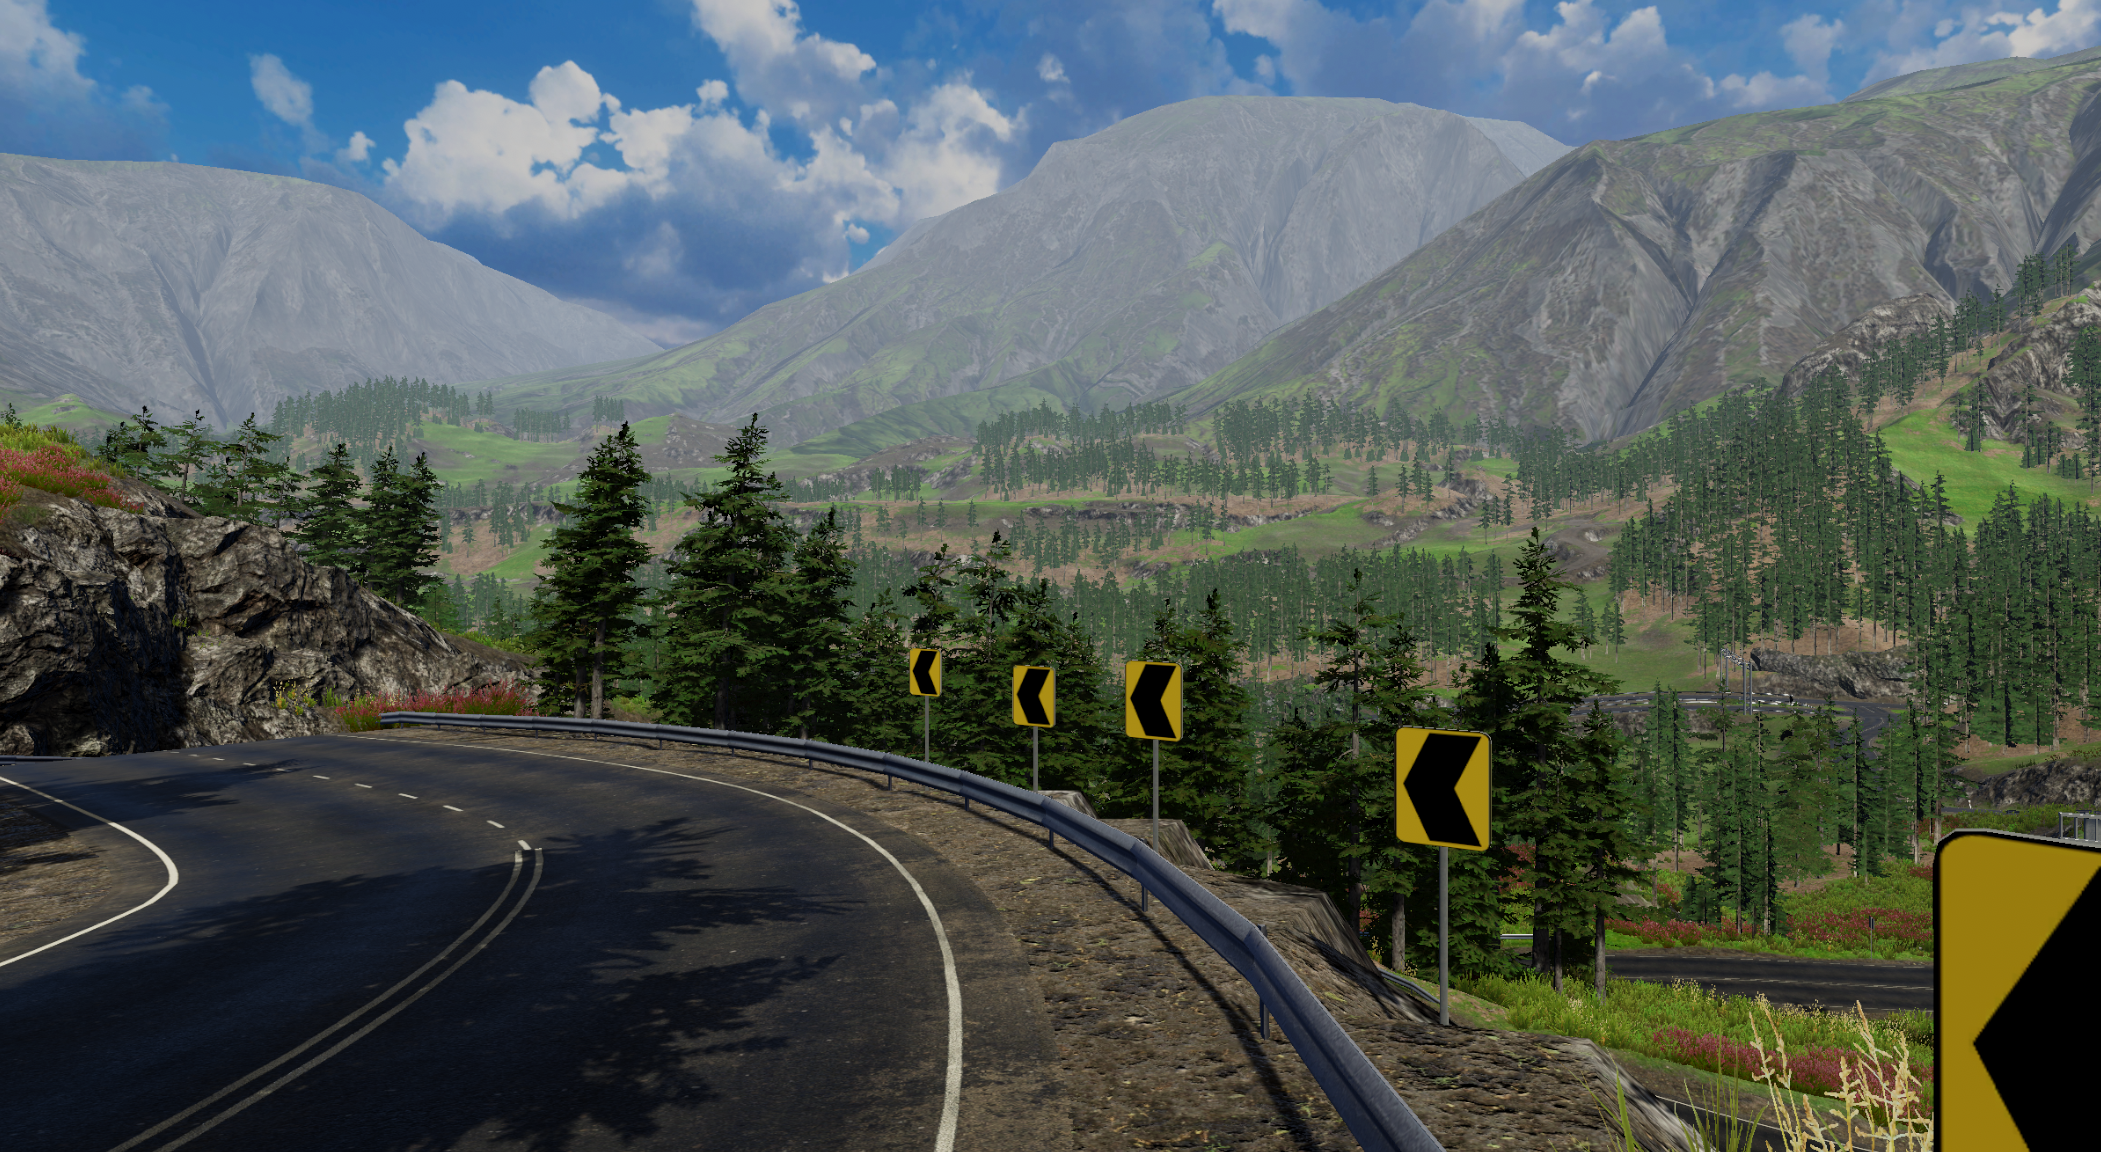
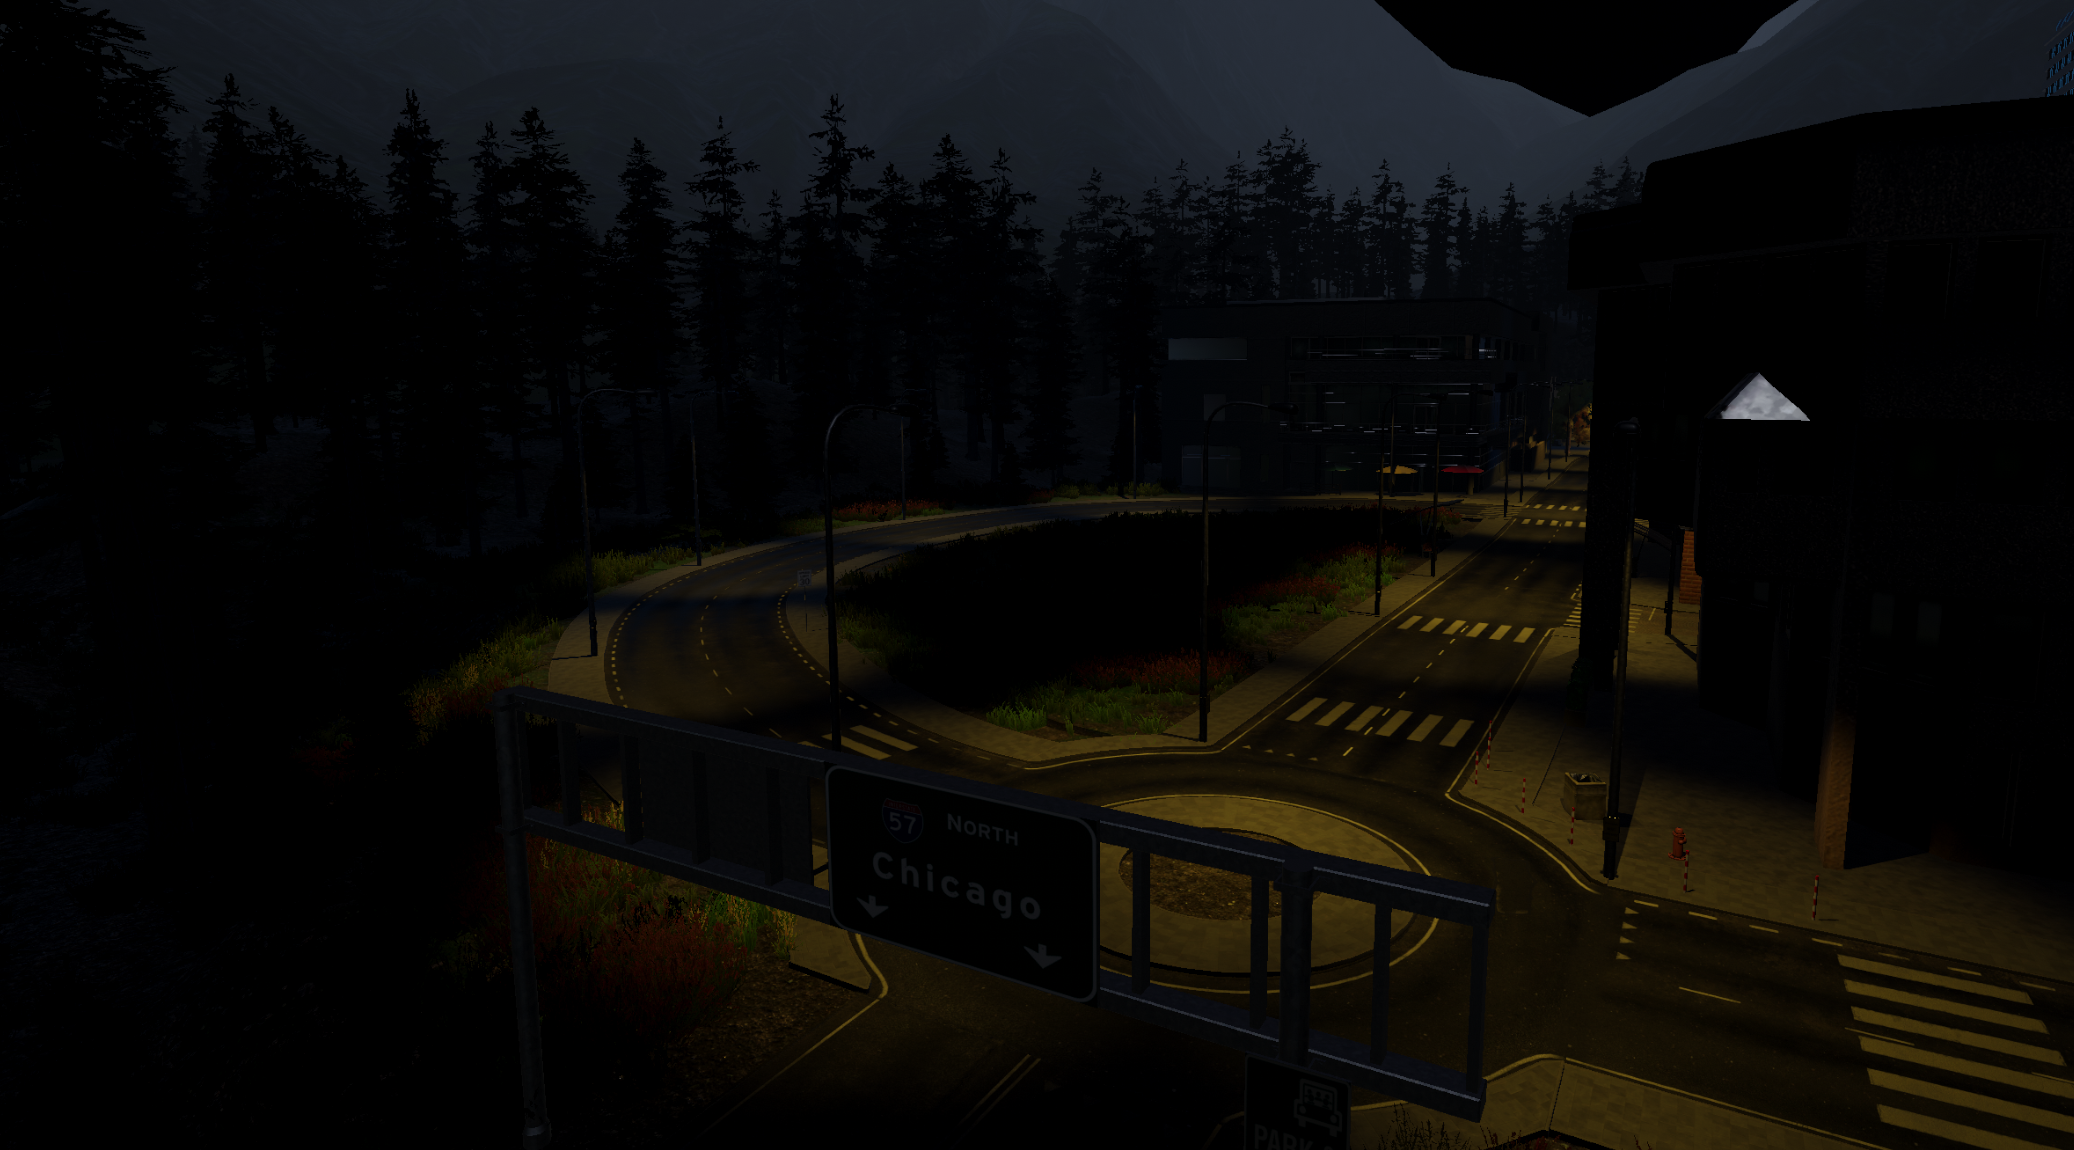
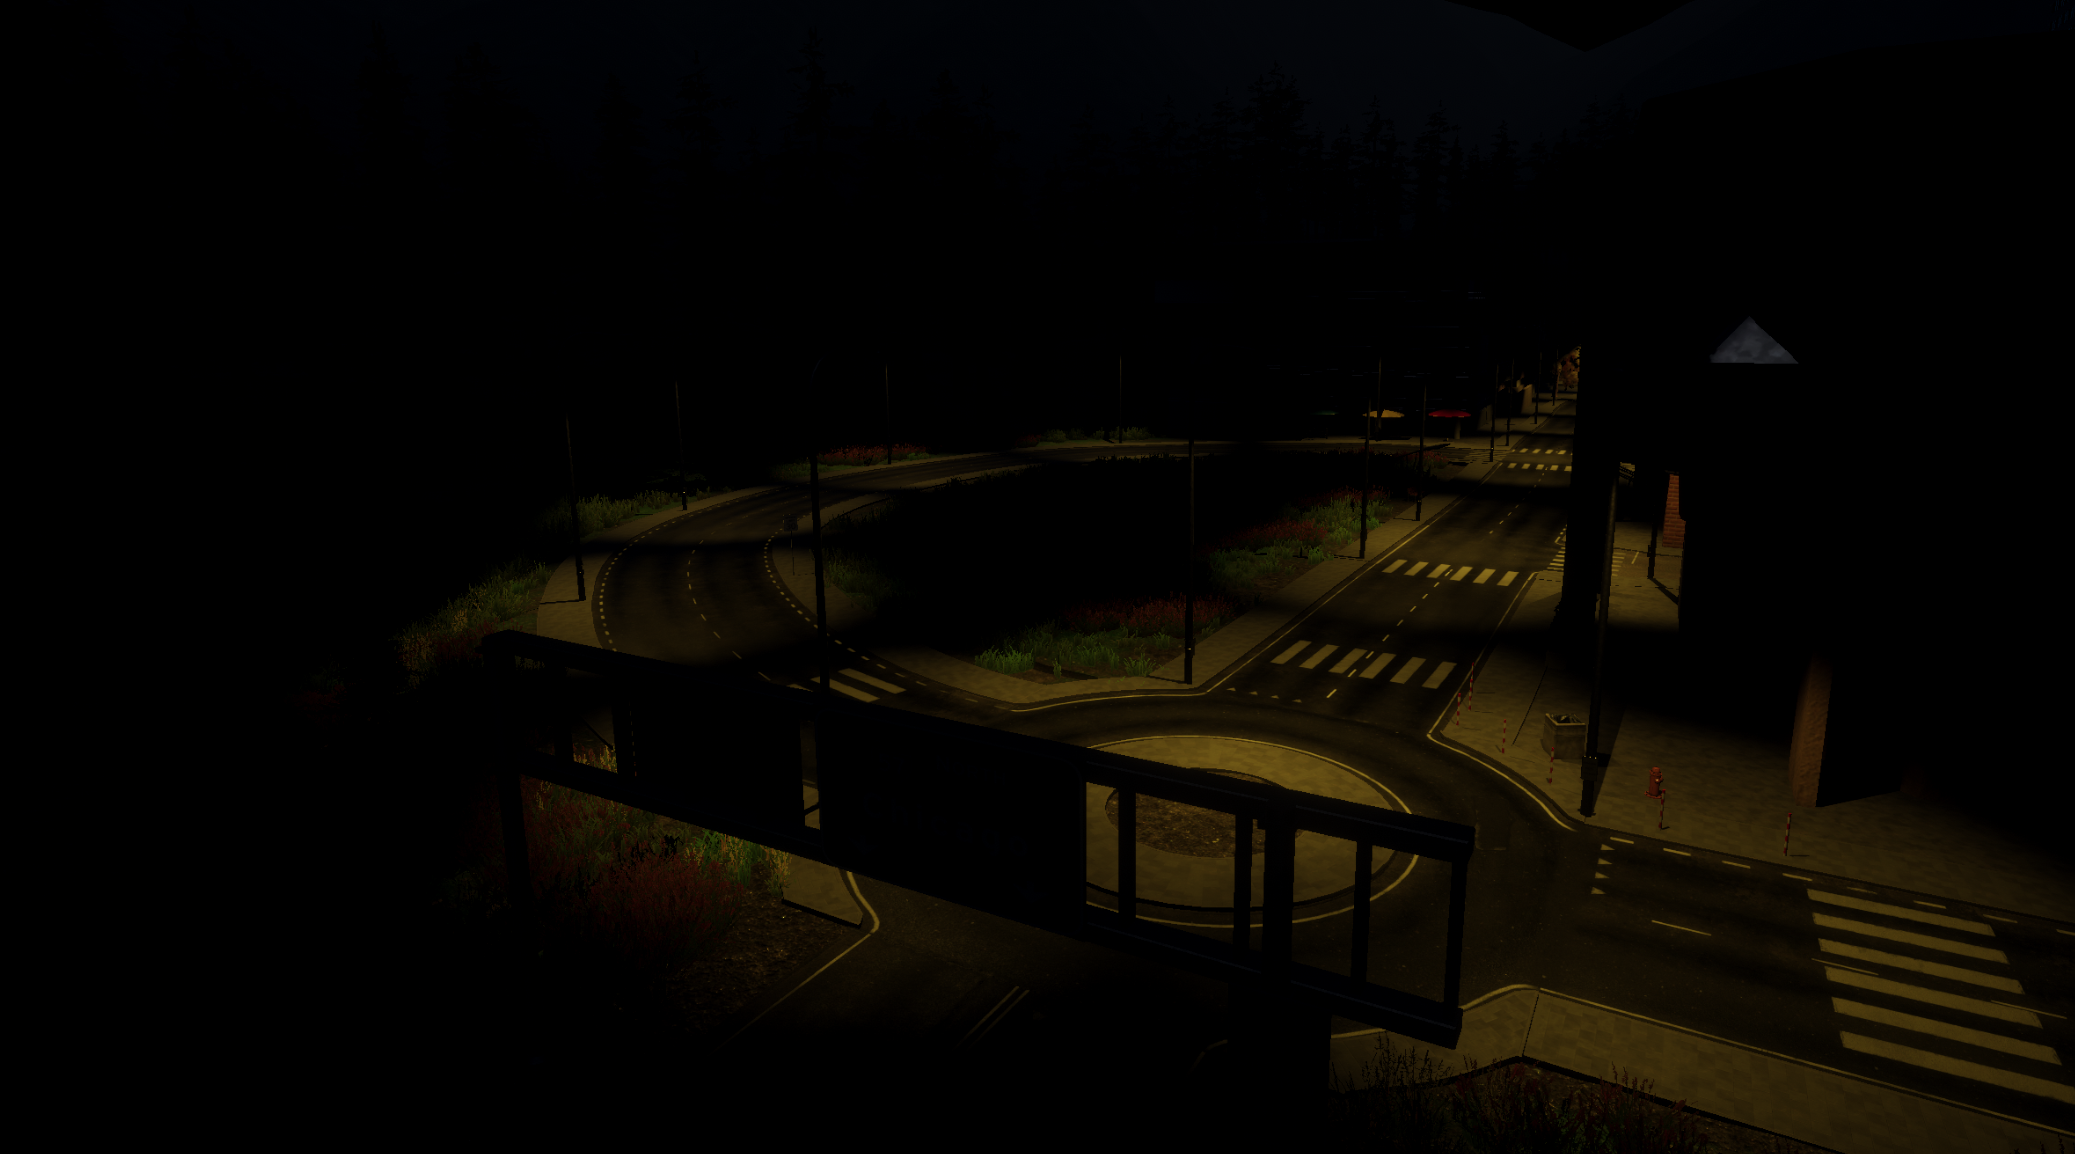
Once the simulation is started in the 'generate dataset mode', it will create two folders ("Sample Data" and "Target Data") at the previosly specified location (e.g. C:\Users\alens\Desktop). The system will stop every few seconds to take 2 screenshots and store them inside the two folders. The first screenshot will be the normal environmental scene (upper left figure), the second screenshot will contain traffic signs with pink textures (upper right figure) which will be used to threshold the color to find the bounding box labels.
To extract the labels from the 'Target Data' folder you need to execute the Create_Labels.py script located in Towards-Explainable-AI-System-for-Traffic-Sign-Recognition-and-Deployment-in-a-Simulated-Environment\Scripts\Dataset Generation\Create_Labels.py.
To execute the script you need to specify the following arguments:
-tpTarget path where the dataset folder is located.-bfBounding box format. Possible values: corner, middle. Default: corner.
Corner bounding box format = x1, y1 coordinates of the upper left corner of the bounding box. x2, y2 coordinates of the lower right corner of the bounding box.
Middle bounding box format = x, y coordinates of the center point of the bounding box. w, h are the width and height values in pixels for the bounding box.
Example execution: python3 Create_Labels.py -tp C:\Users\alens\Desktop -bf middle
Once the script is finished, it will create a json file with the labels.
- Python 3
- PyTorch Framework
- OpenCV
- C#
- Unity3D
- Blender


.png)
