Labelme is an image annotation tool for machine learning and deep learning inspired by [1, 2]. This tool has great impact in the development of object detection and segmentation with deep learning. Thanks to Wada's contribution [3], Labelme is developed and many researchers enjoy great benefits from it.
This repo is an extension of Wada's work [3], we extend Labelme with Deep learning, consequently, we can speed up annotating images with the assistance of deep learning. In this repo, we use mmdetection [4], a famous detection toolbox, to achieve semi-automated annotating images so that users can use detector to get annotations without manually annotating.
-
Python environment and we recommand Python 3.7.
conda create -n semi_labelme python=3.7 -y conda activate semi_labelme -
Install Pytorch and torchvision. Following the official instructions, e.g.,
conda install pytorch torchvision -c pytorch
-
Install mmcv and mmdetection and we would recommend you install it with MIM.
pip install openmim mim install mmdet -
Install semi_labelme
# Under this repo pip install -e . -
Launch semi_labelme in the terminal
semi_labelmeOnce the GUI of semi_labelme is launched, you have successfully installed this tool!
It is easy to use semi_labelme which is the same as Labelme (please see Labelme tutorials). But in semi_labelme, you can just click 'Detect' button, then, the annotations are finished! Before you use detection function, you need to setup the config file which is in semi_labelme/config/default_config.yaml and prepare your deep learning pretrained model and its corresponding config file in ./work_dirs.
-
Config Settings
- You need to prepare a config_file to decide which detector you are going to use and its corresponding pre-trained model. please see model zoo in mmdetection.
- Modify the config file in semi_labelme/config/default_config.yaml.
-
Here we prepare an example for detecting manipulator UR10 which in ./work_dirs.
-
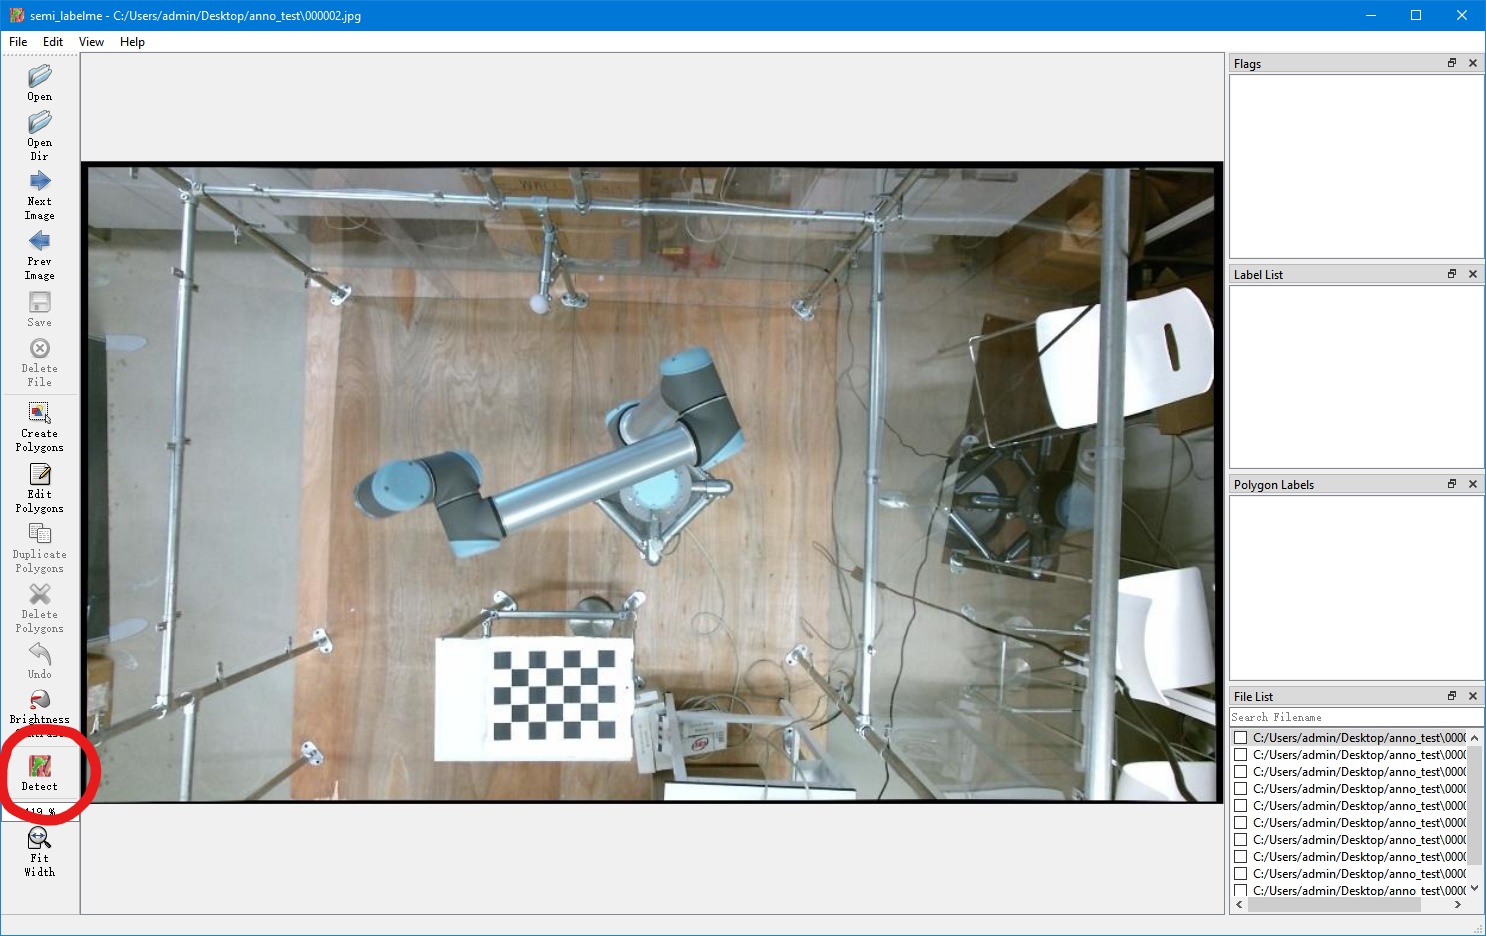
Detect and annotate. Take these two picture for example, you just need to click the Detect button.
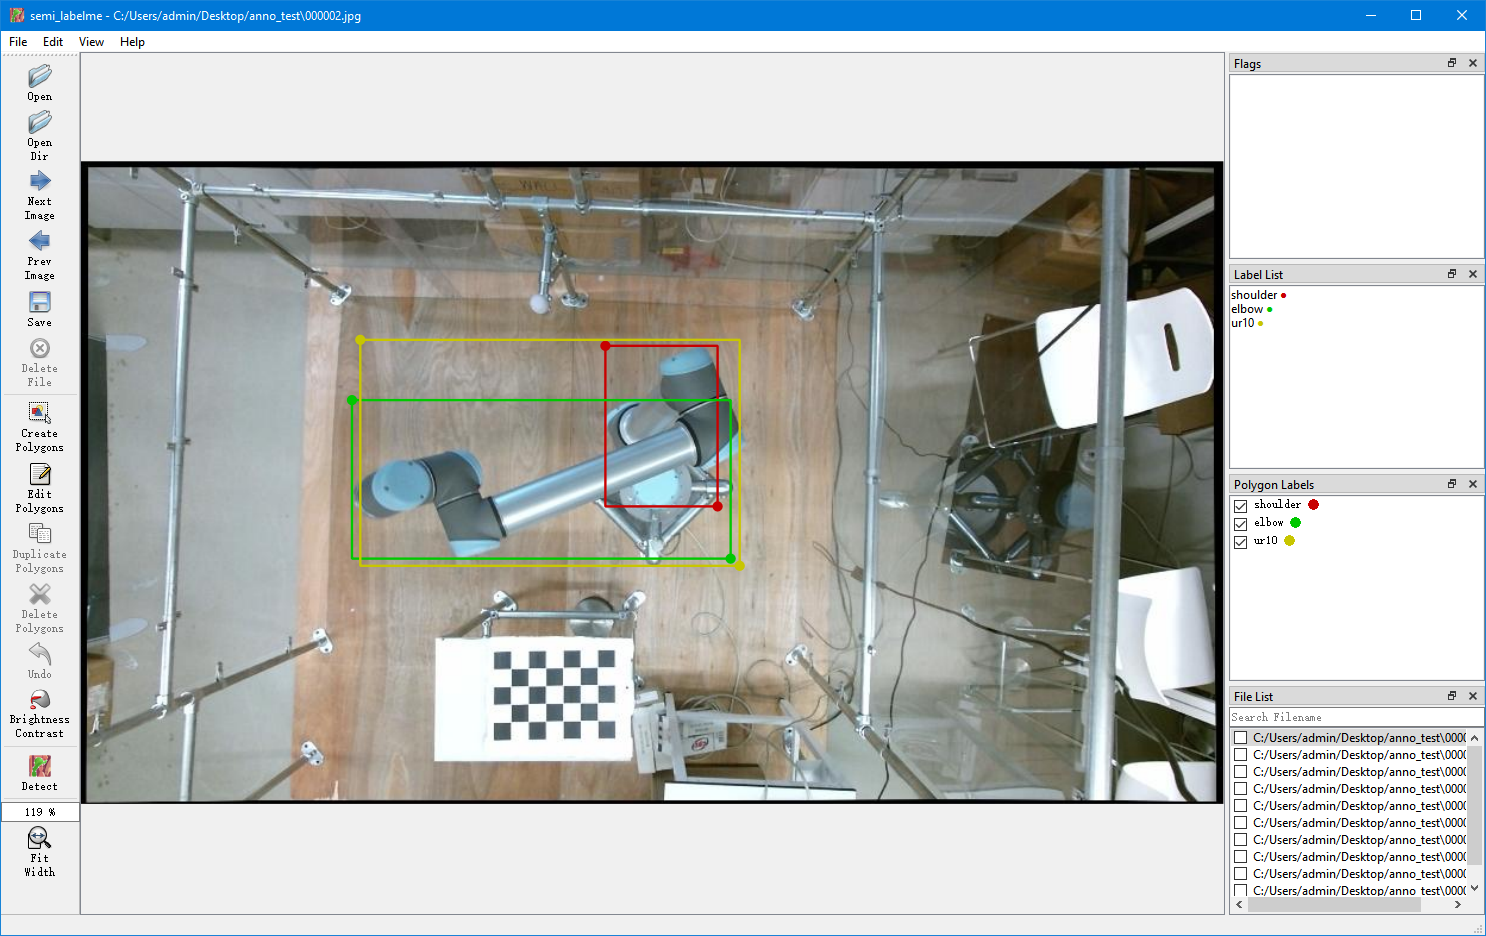
You can see the UR10 are annotated.
-
Annotate all the images
- you can also use batch_annotation.py to annotate all the images and use the tool to check to the annotation later.
-
For more tutorials, please see Labelme tutorials.


If you use this tool in your research, plsea cite this repo.
@software{wang_semi_labelme,
author = {Wang, Shenglin and Zhang, Jingqiong and Wang, Peng and Mihaylova, Lyudmila},
doi = {10.5281/zenodo.6393953},
license = {GPL-3},
title = {Semi-Automated Labelme, A Deep Learning Based Annotation Tool},
url = {https://github.com/wongsinglam/semi_labelme}
}
[1] http://labelme.csail.mit.edu
[2] https://github.com/mpitid/pylabelme
[3] Wada, K. Labelme: Image Polygonal Annotation with Python [Computer software]. https://doi.org/10.5281/zenodo.5711226
[4] MMDetection Contributors. (2018). OpenMMLab Detection Toolbox and Benchmark [Computer software]. https://github.com/open-mmlab/mmdetection