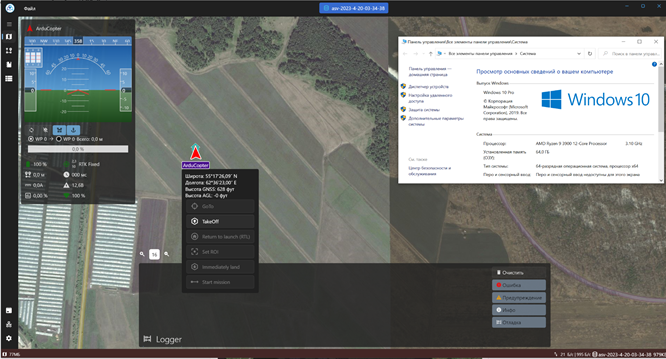
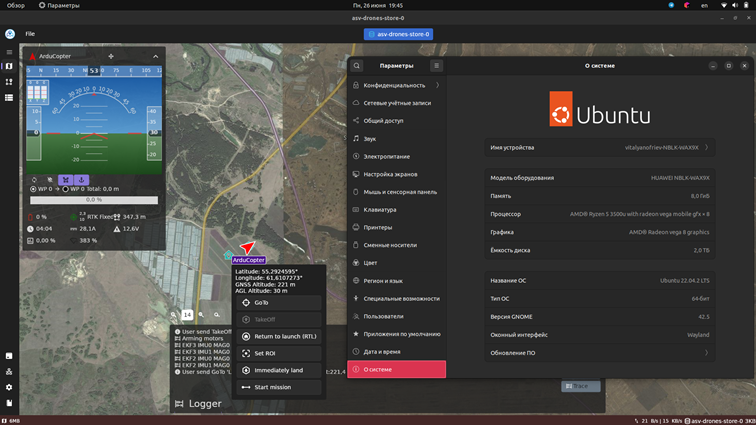
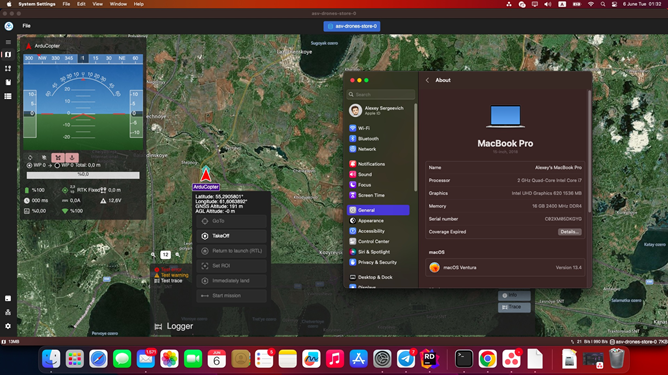
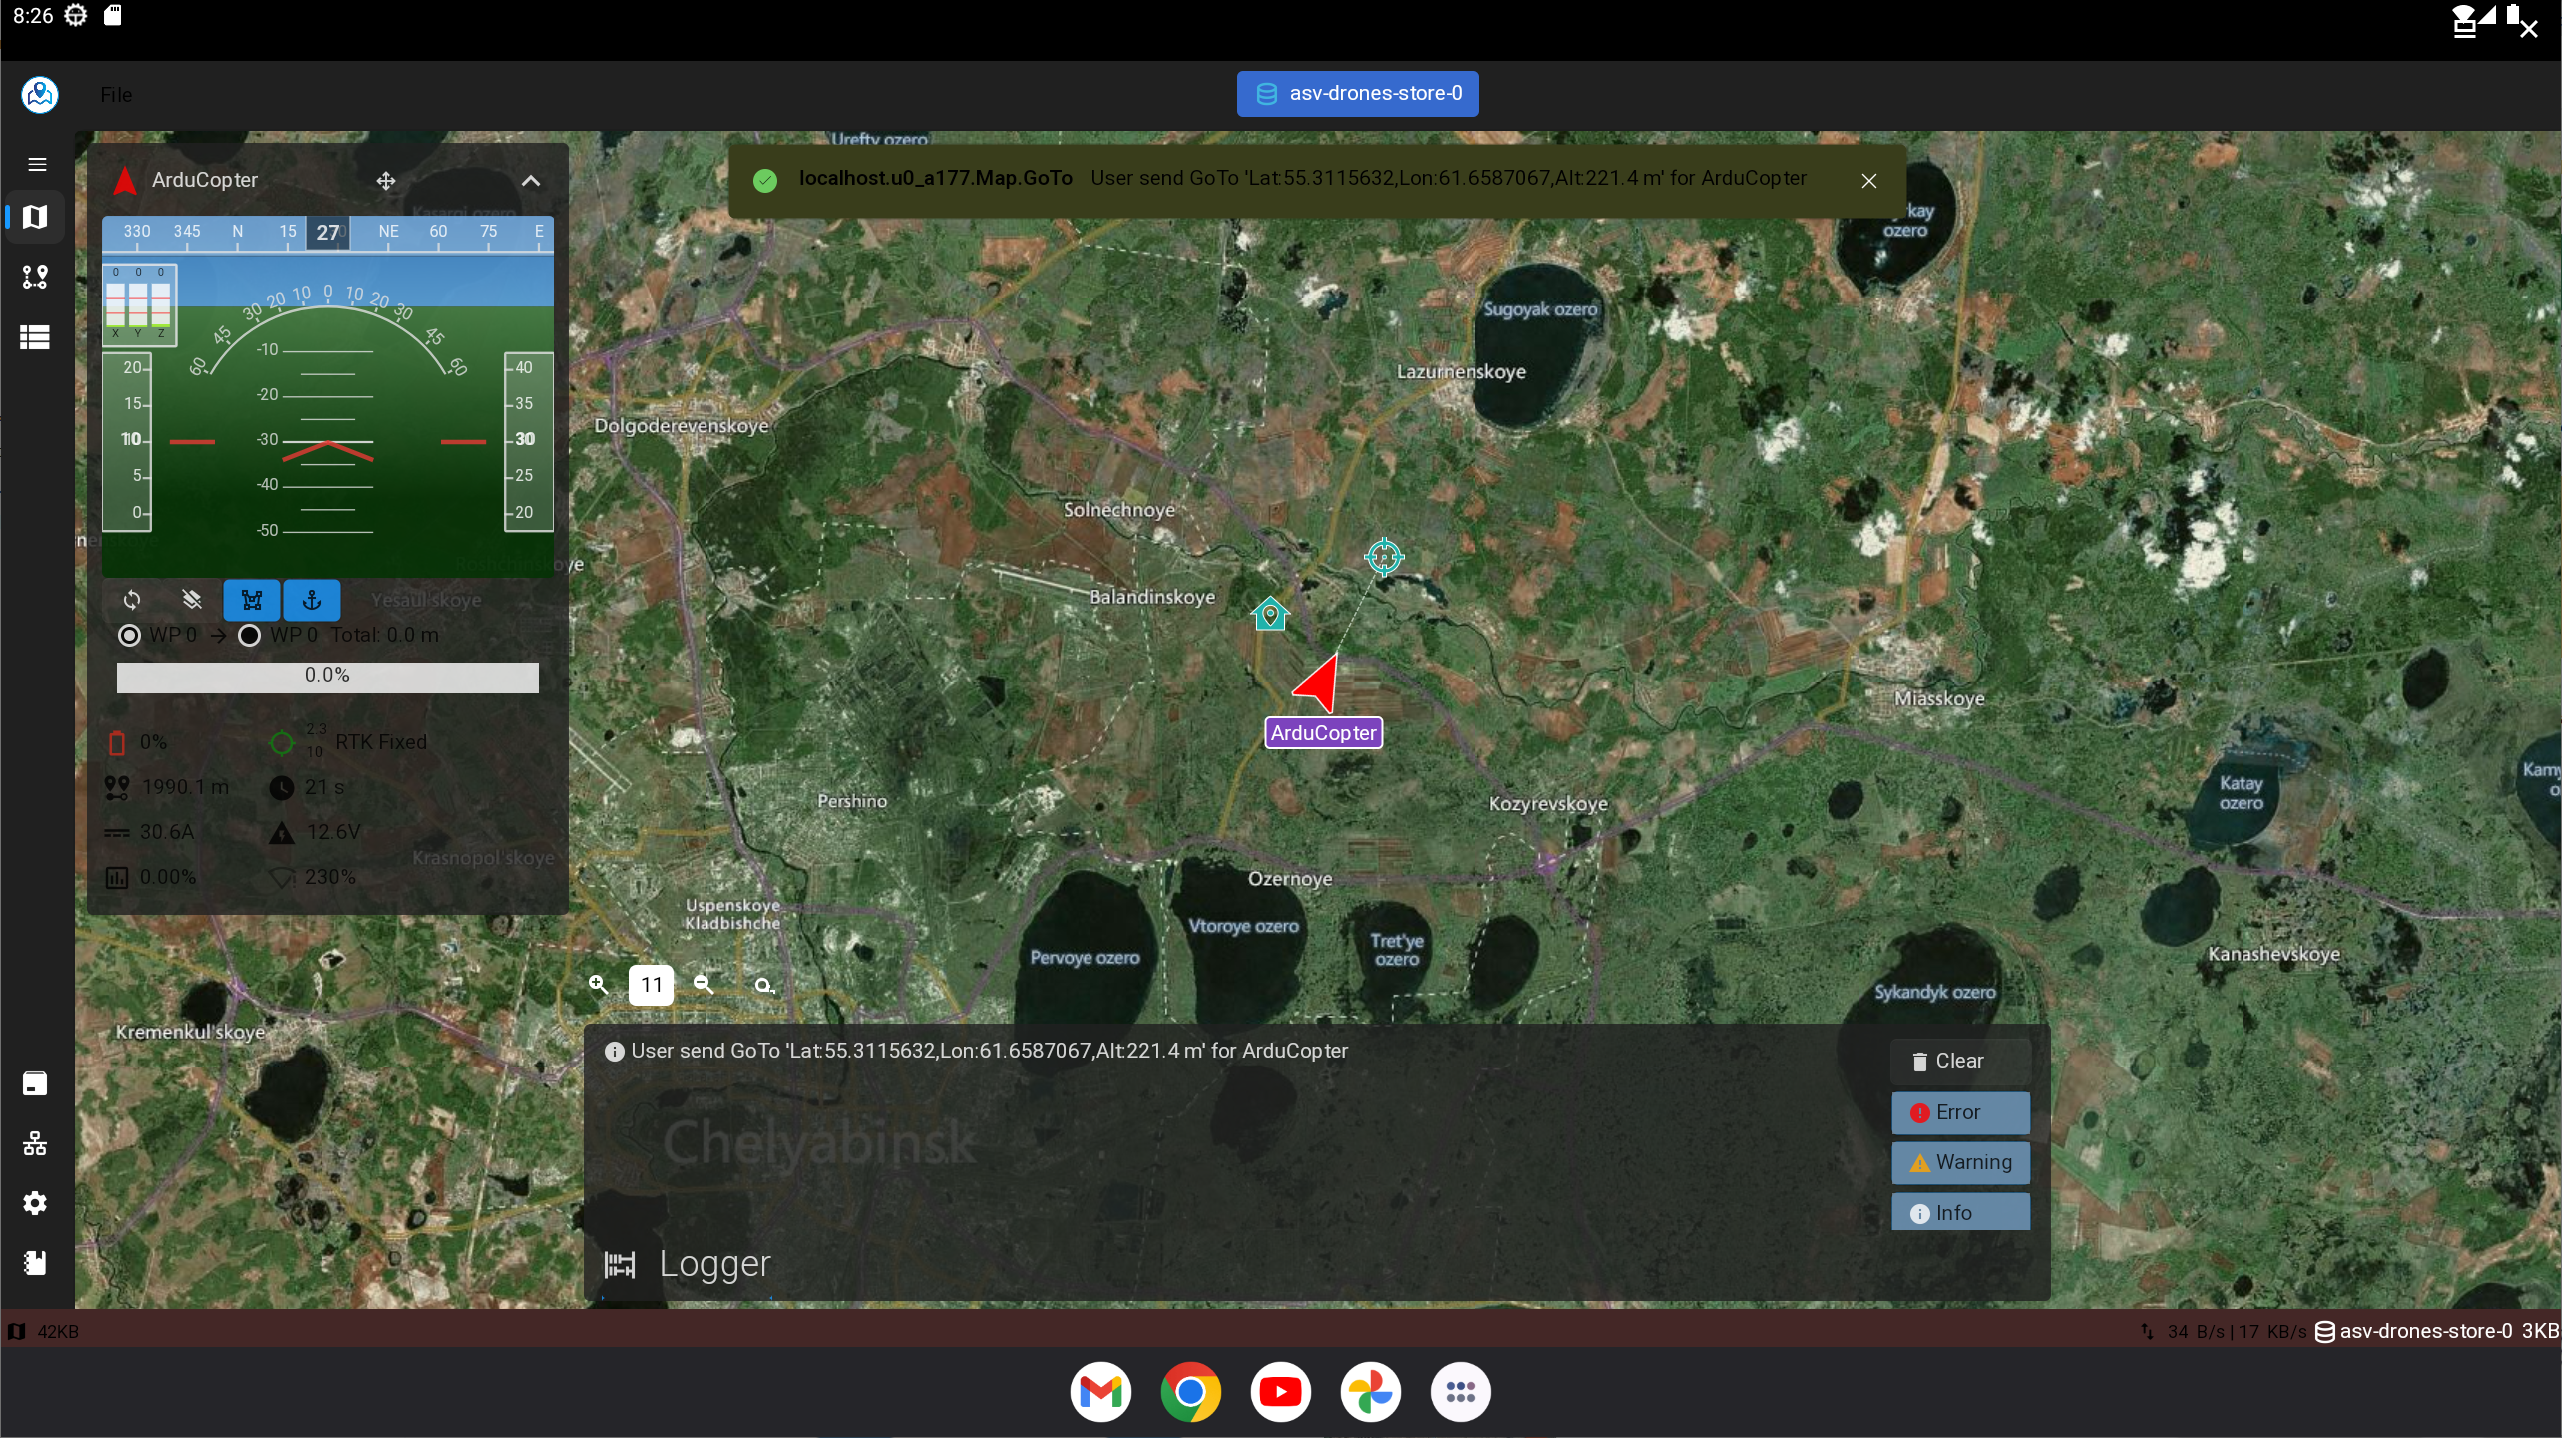
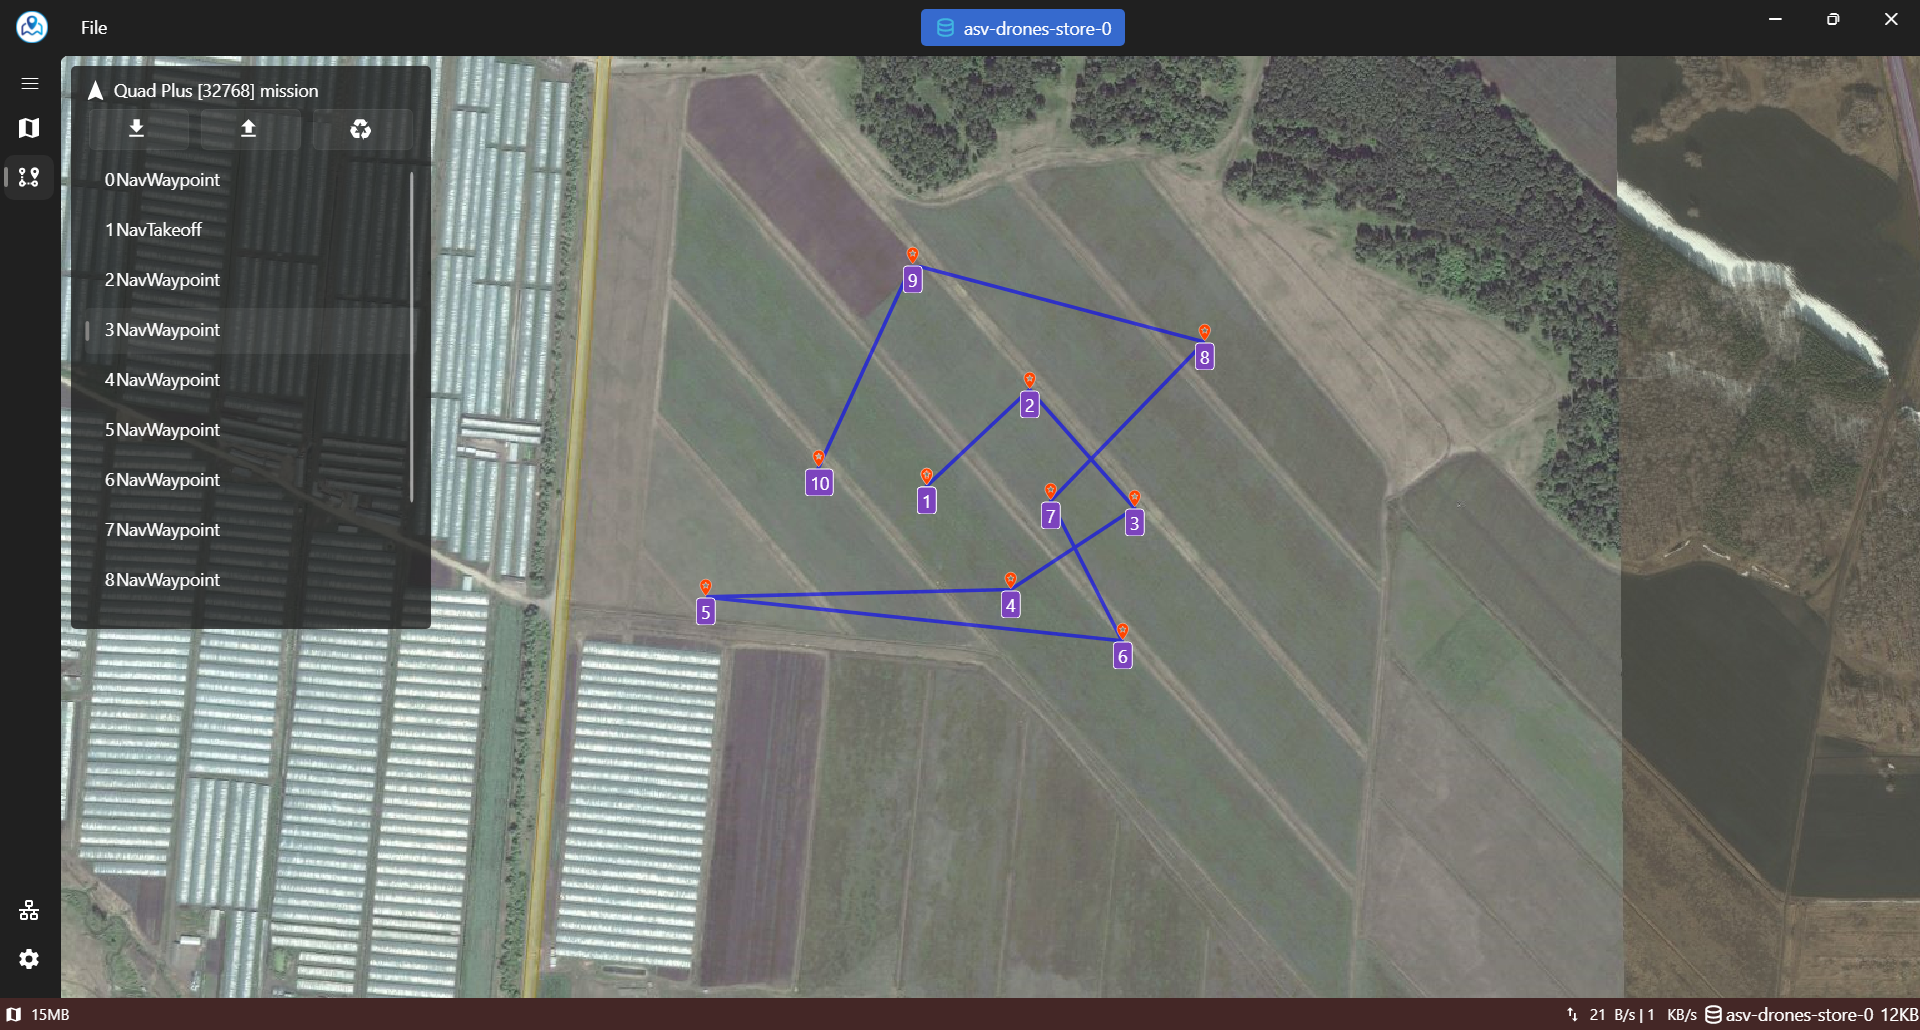
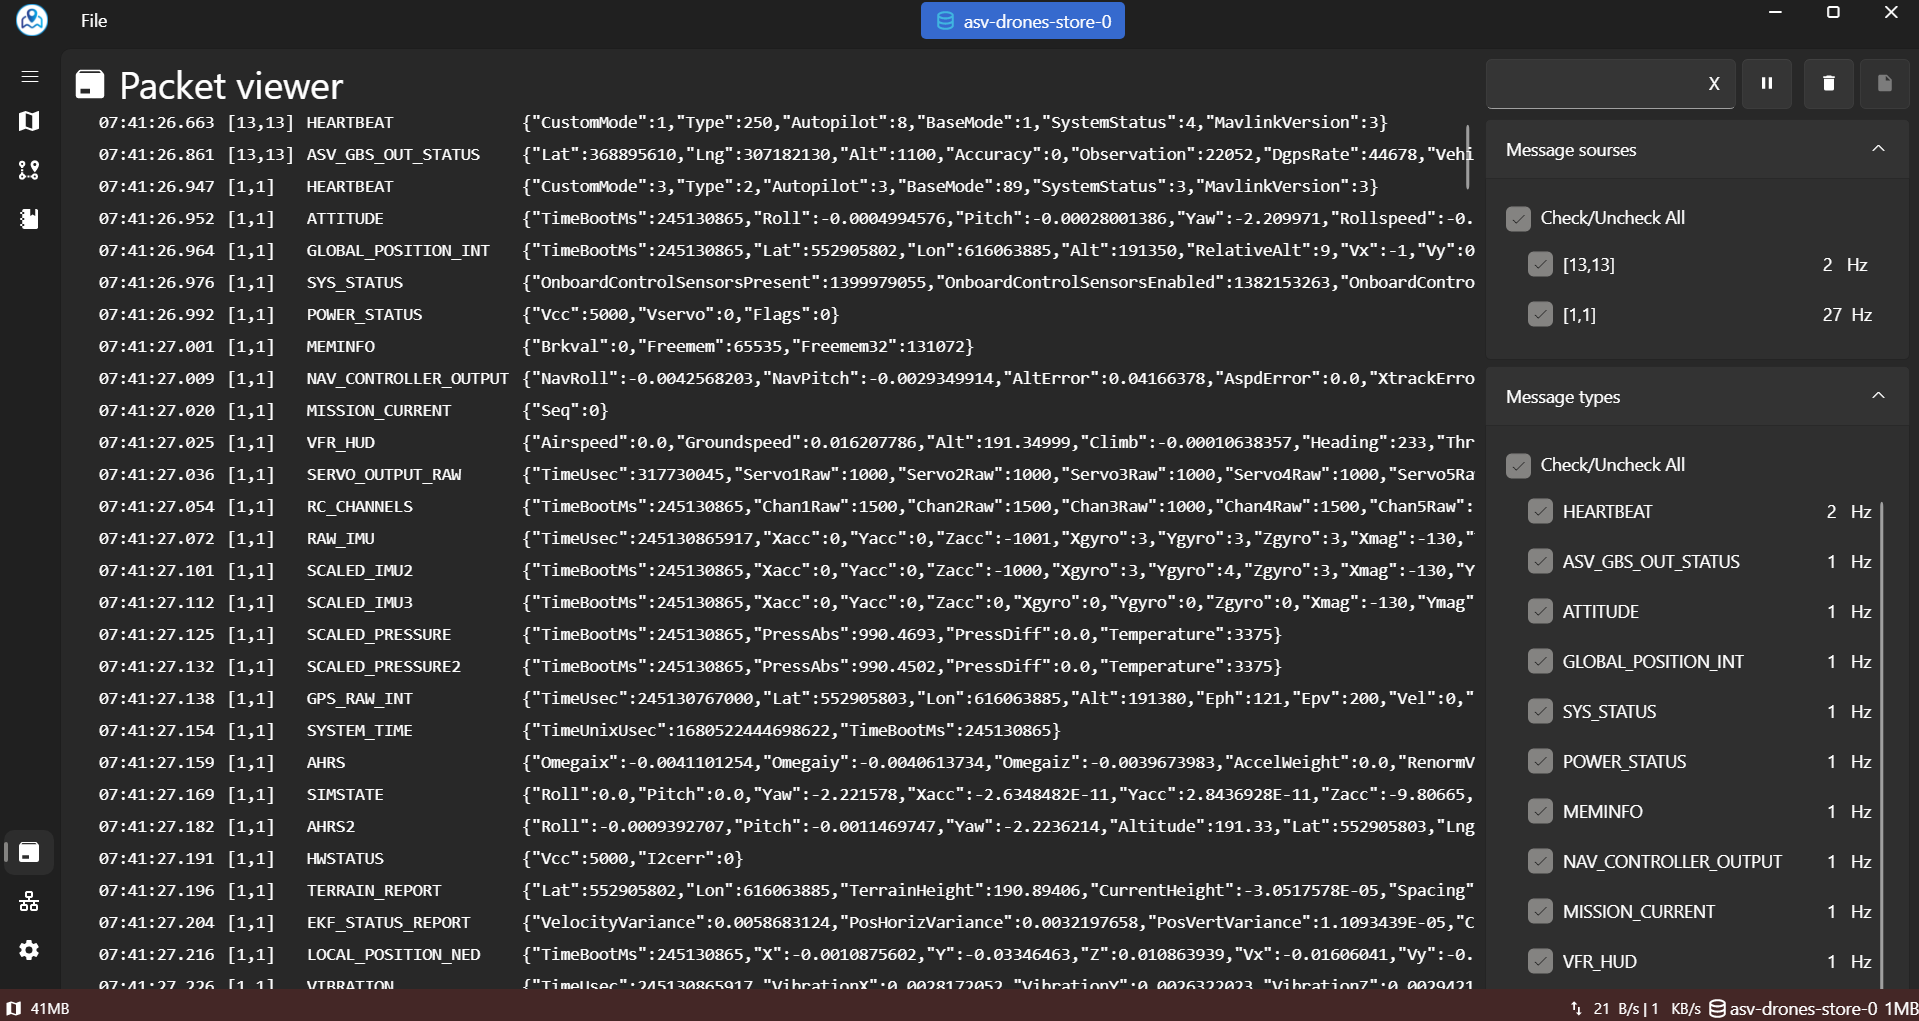
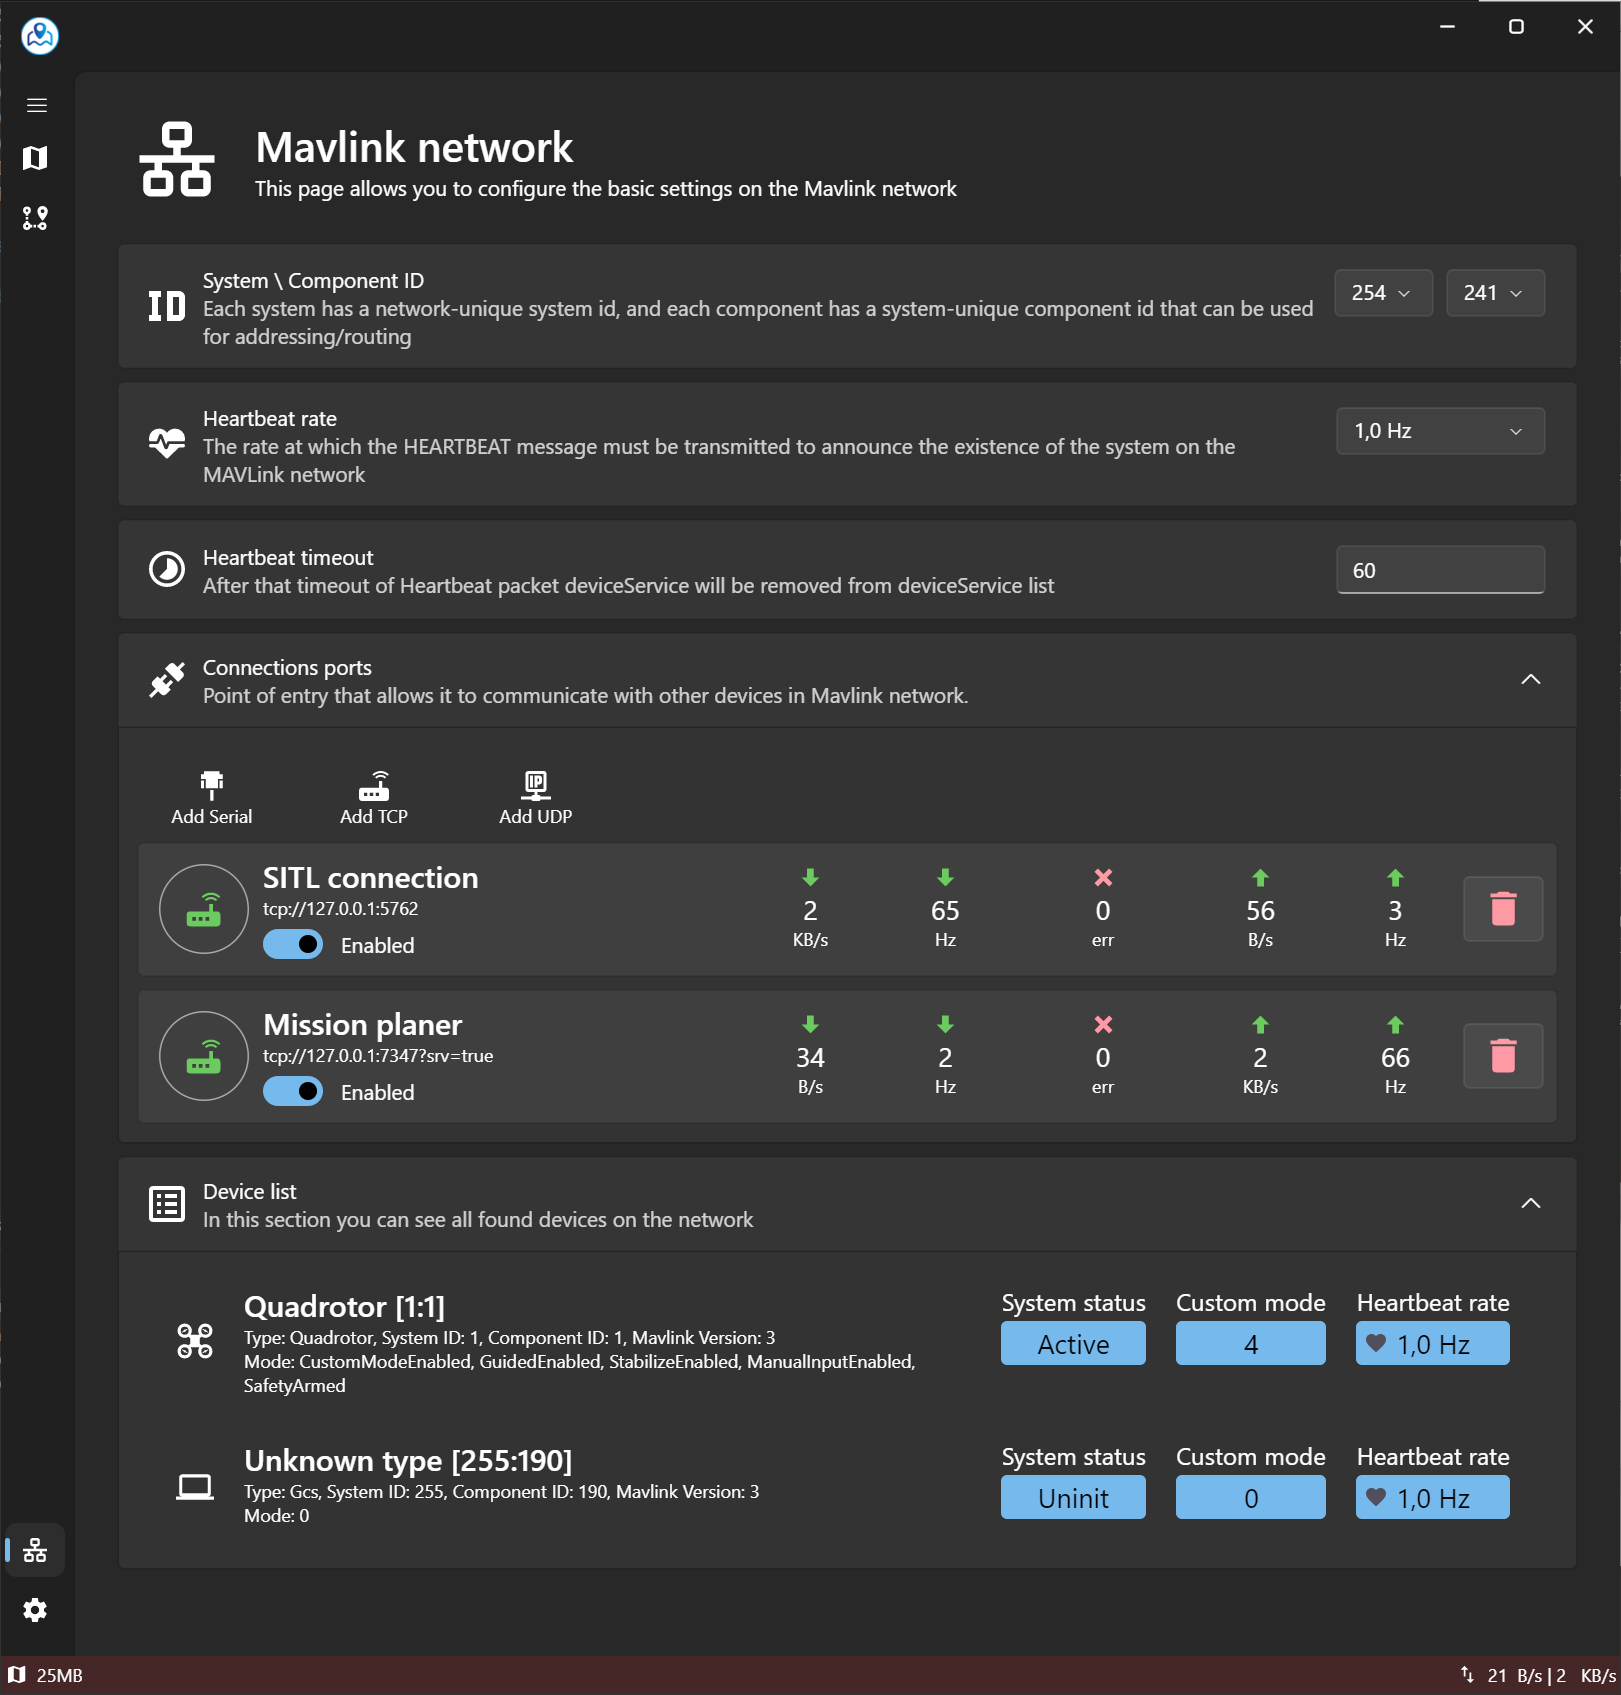
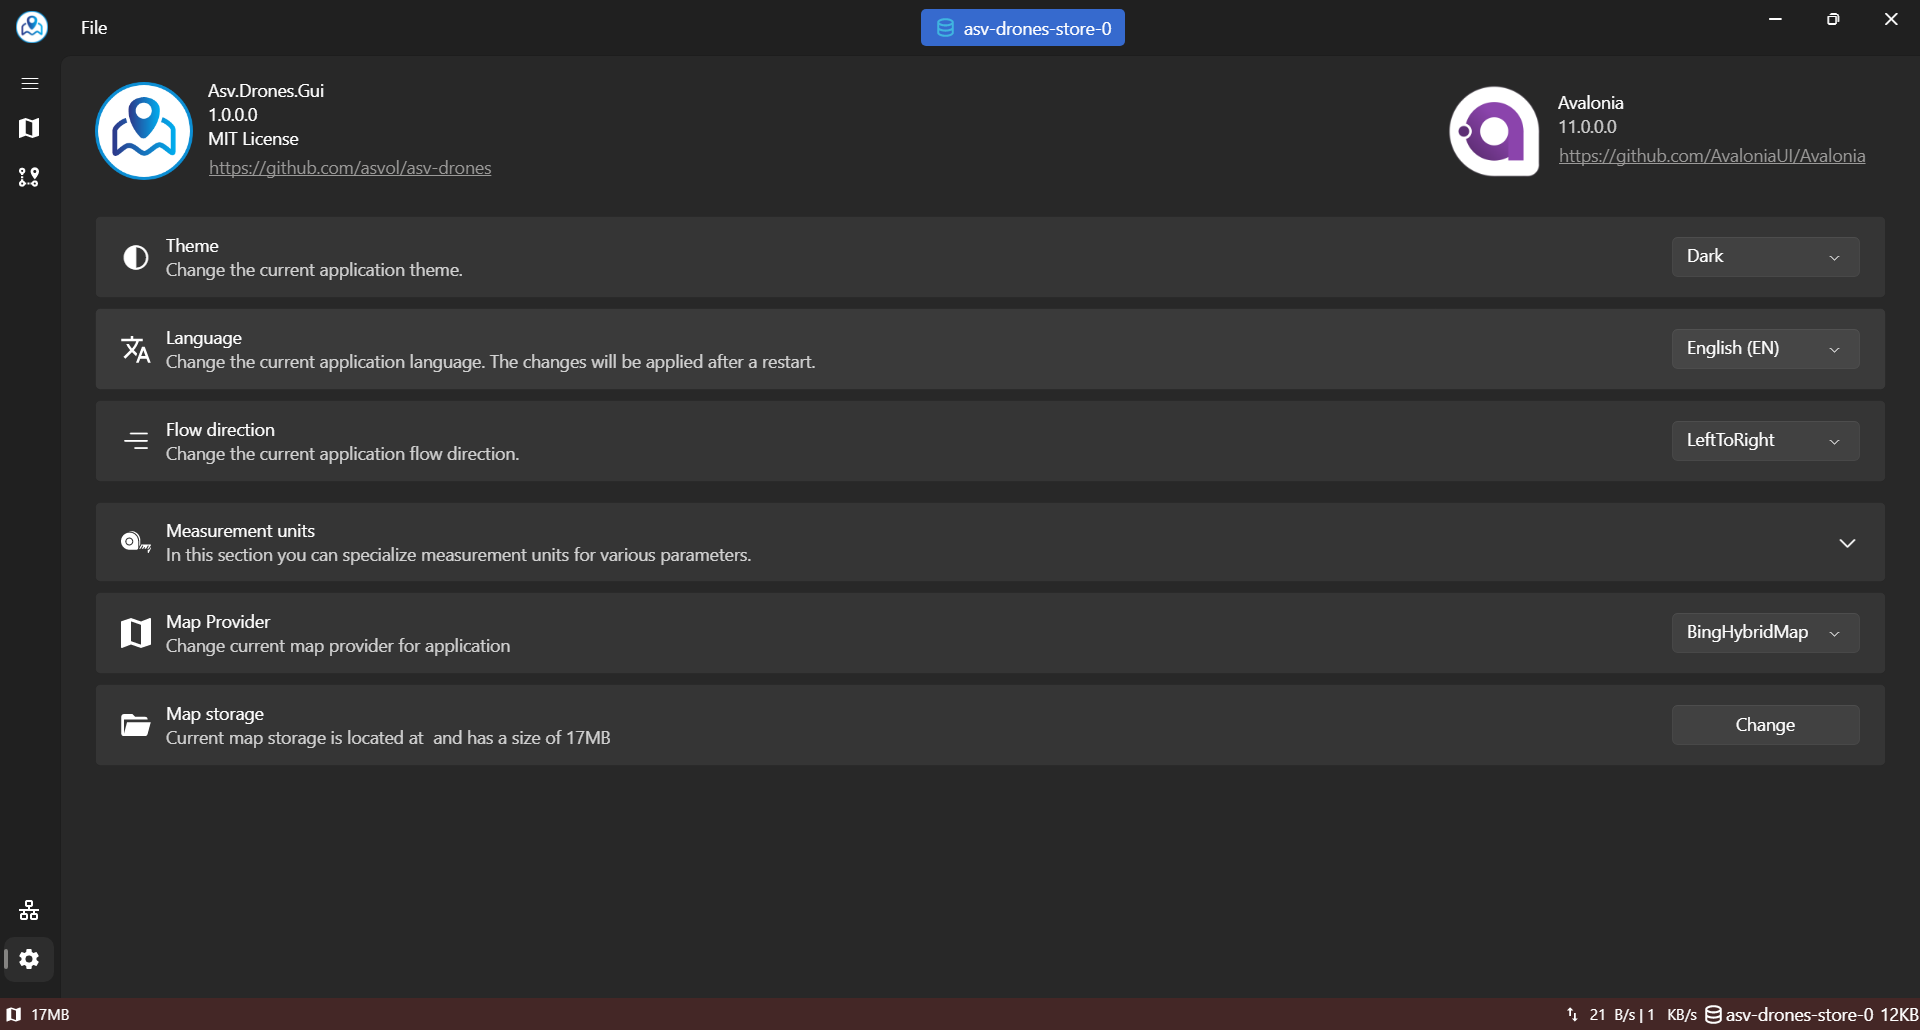
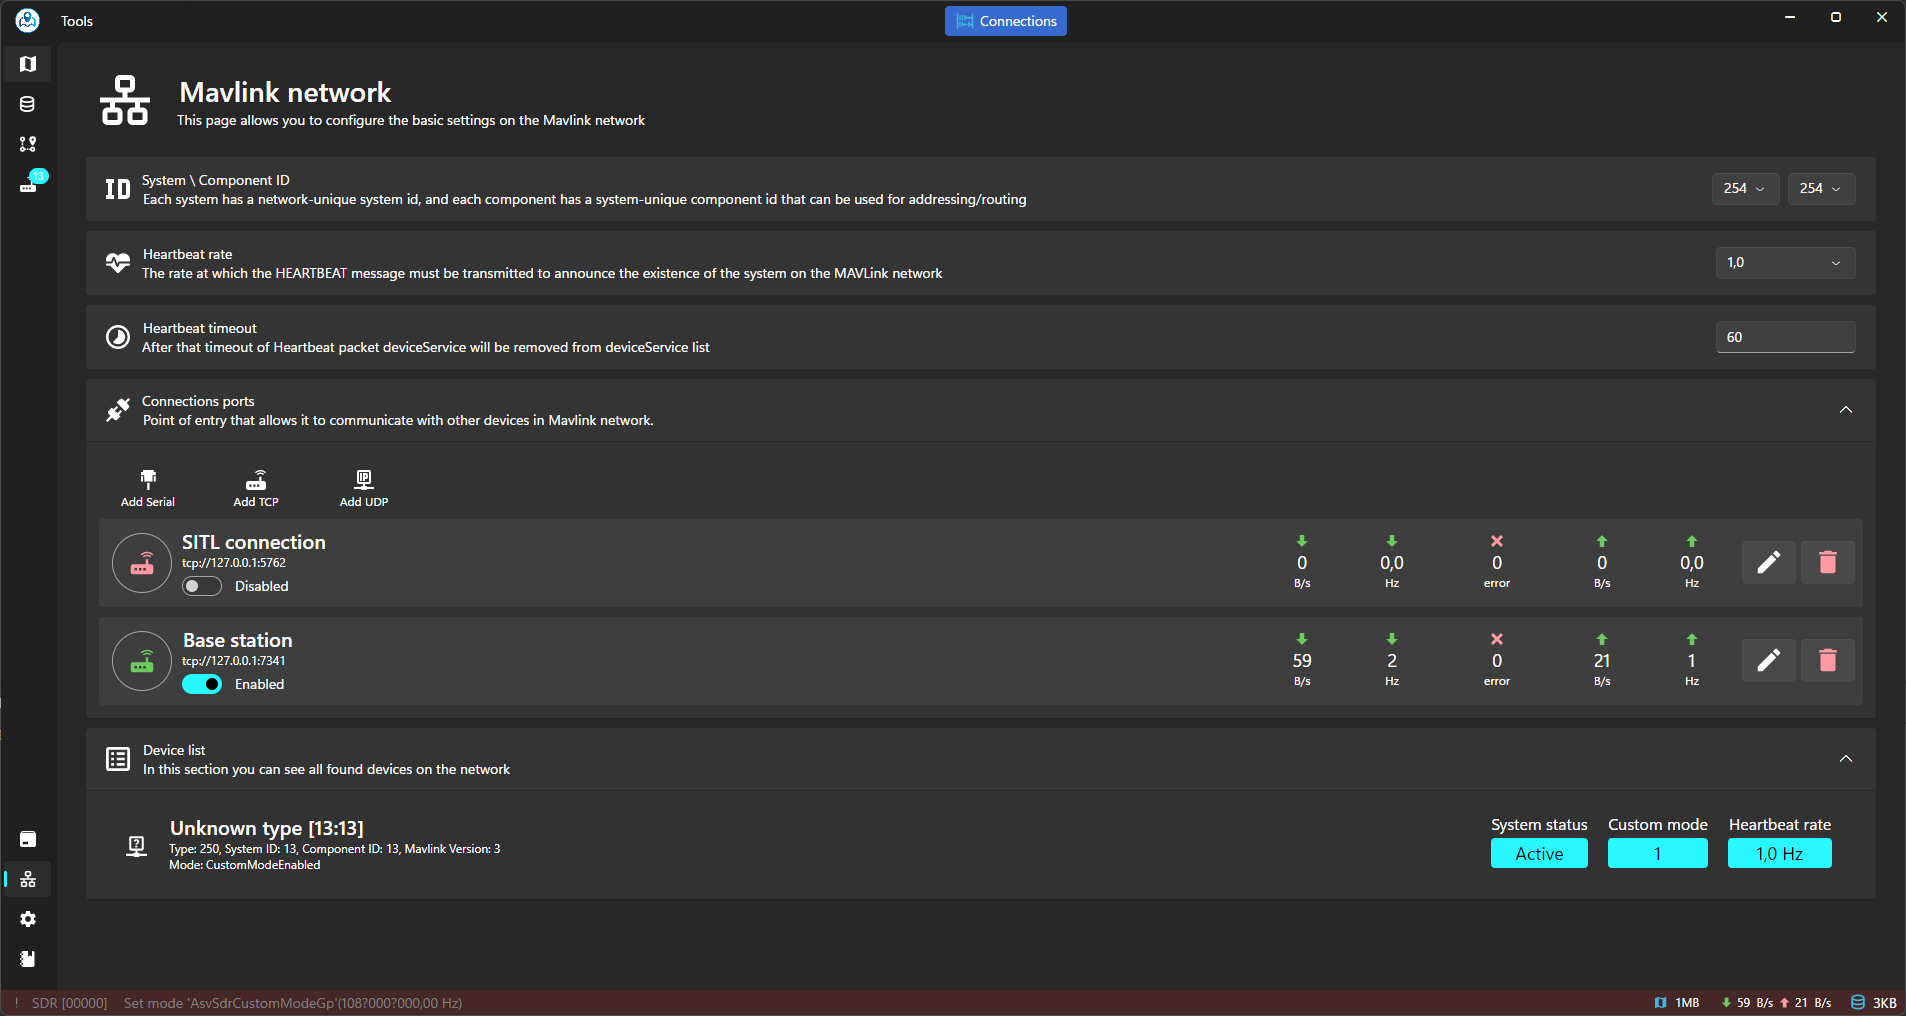
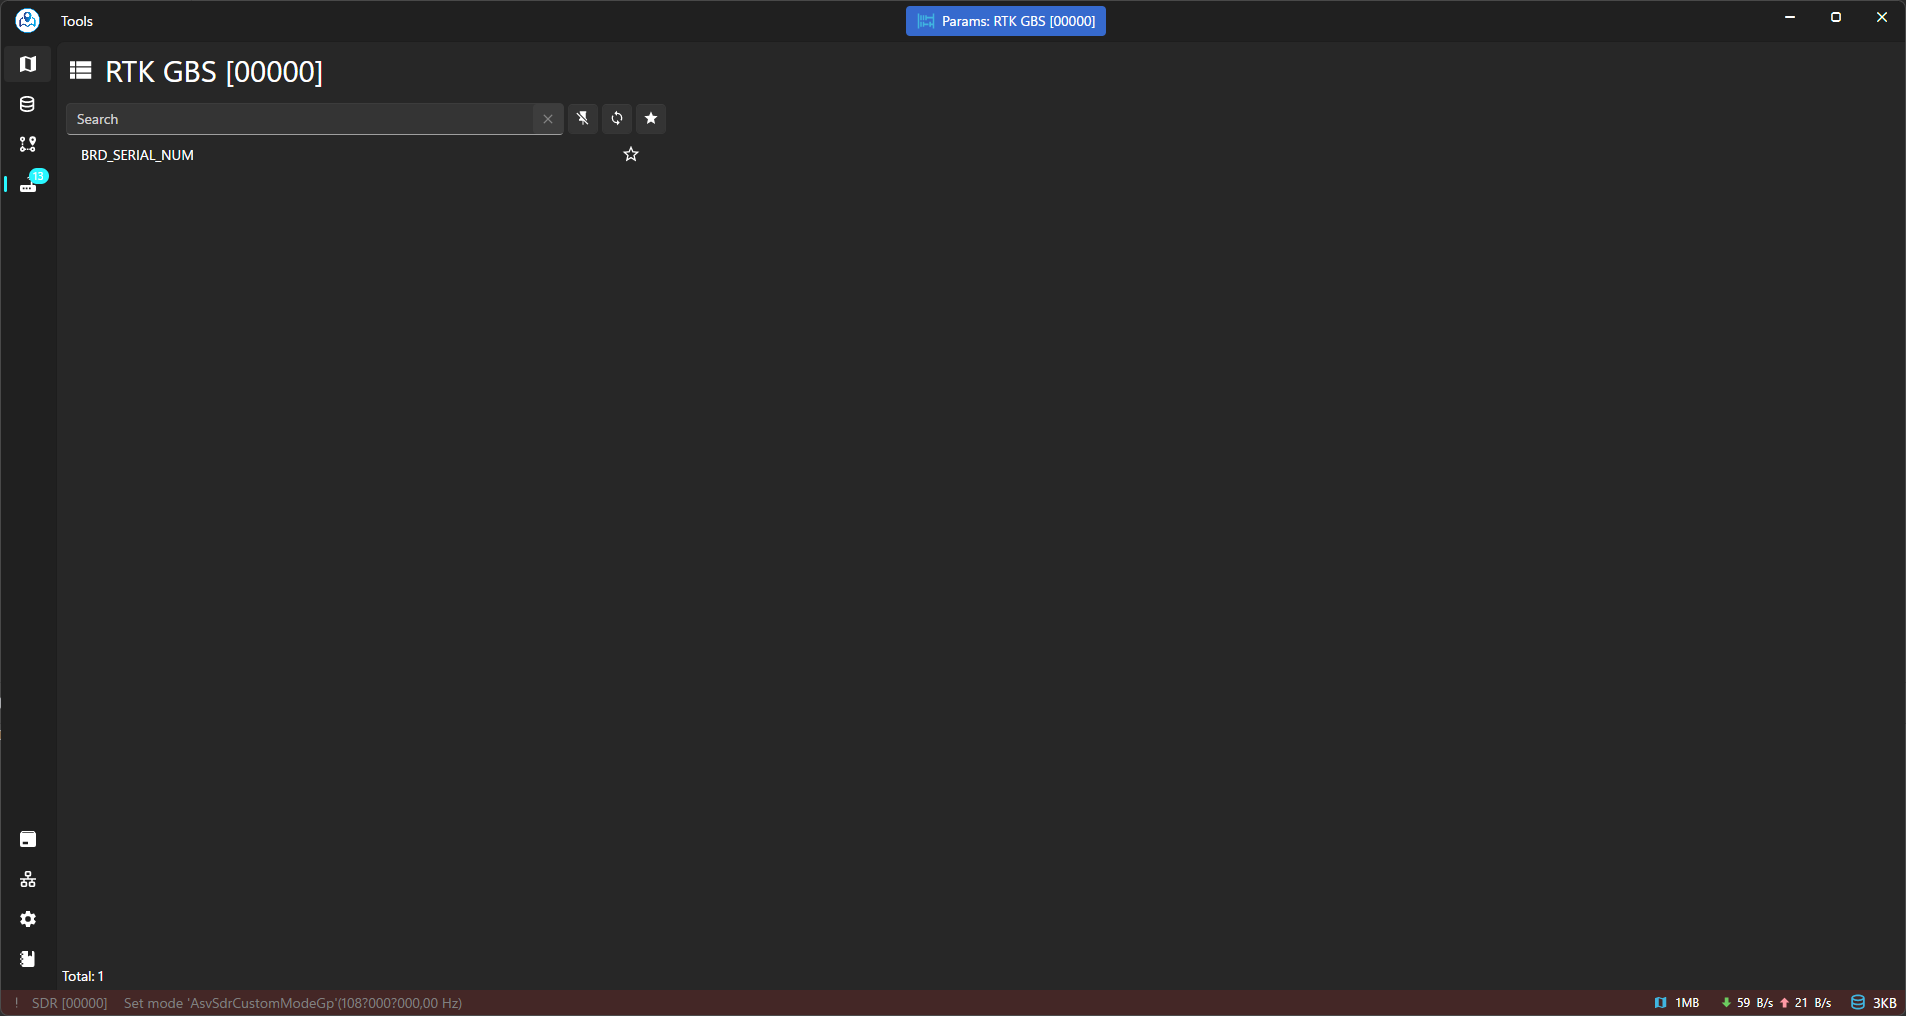
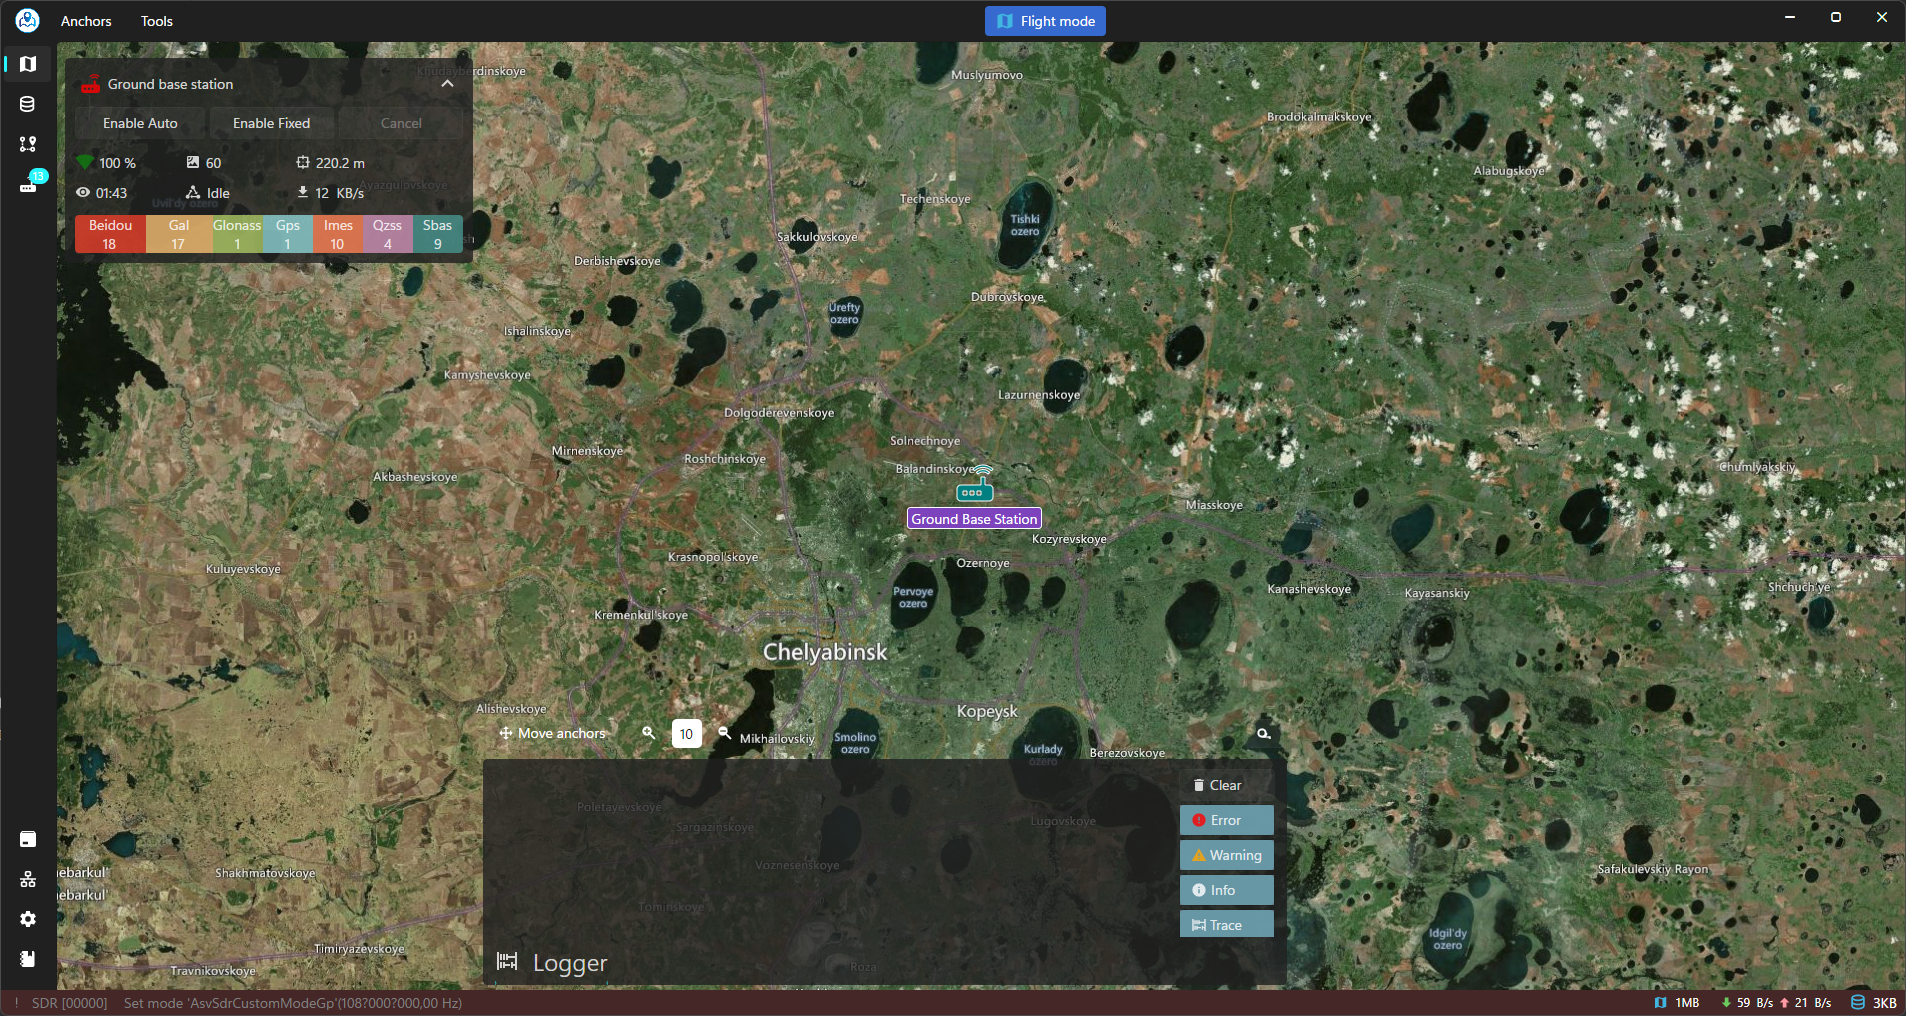
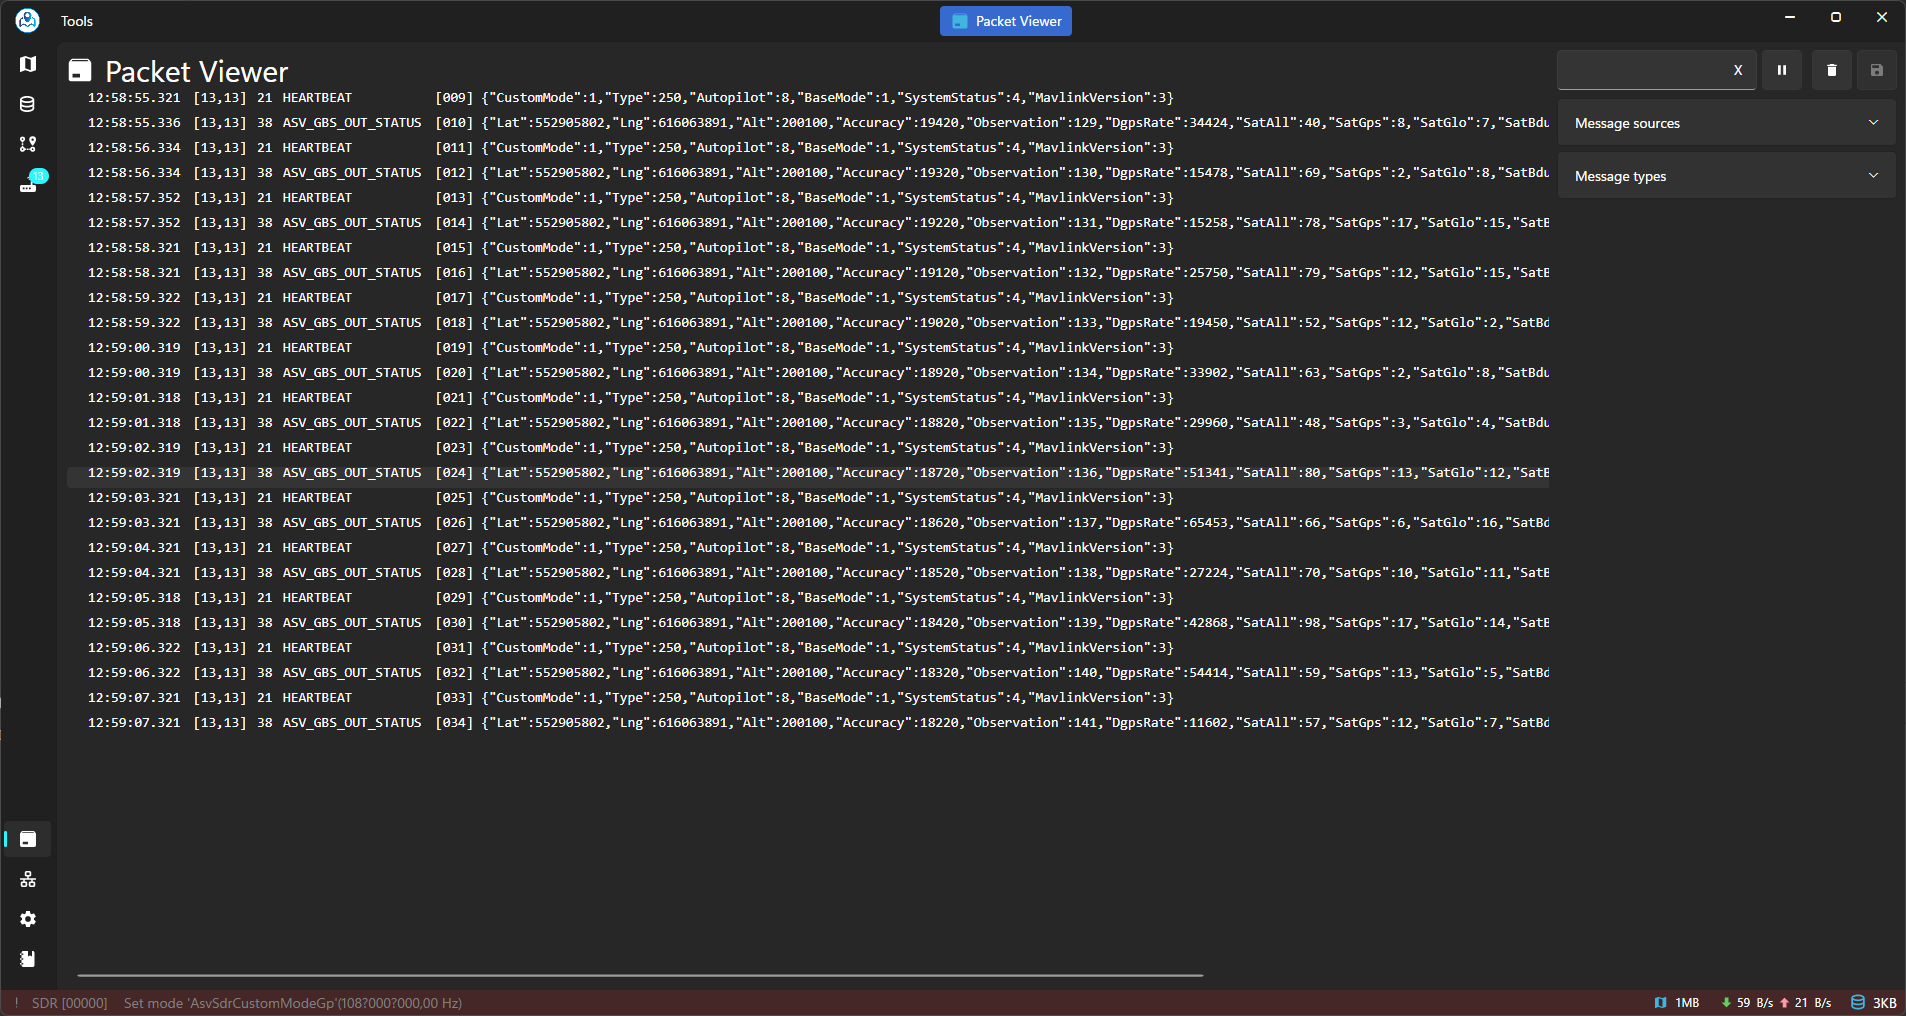
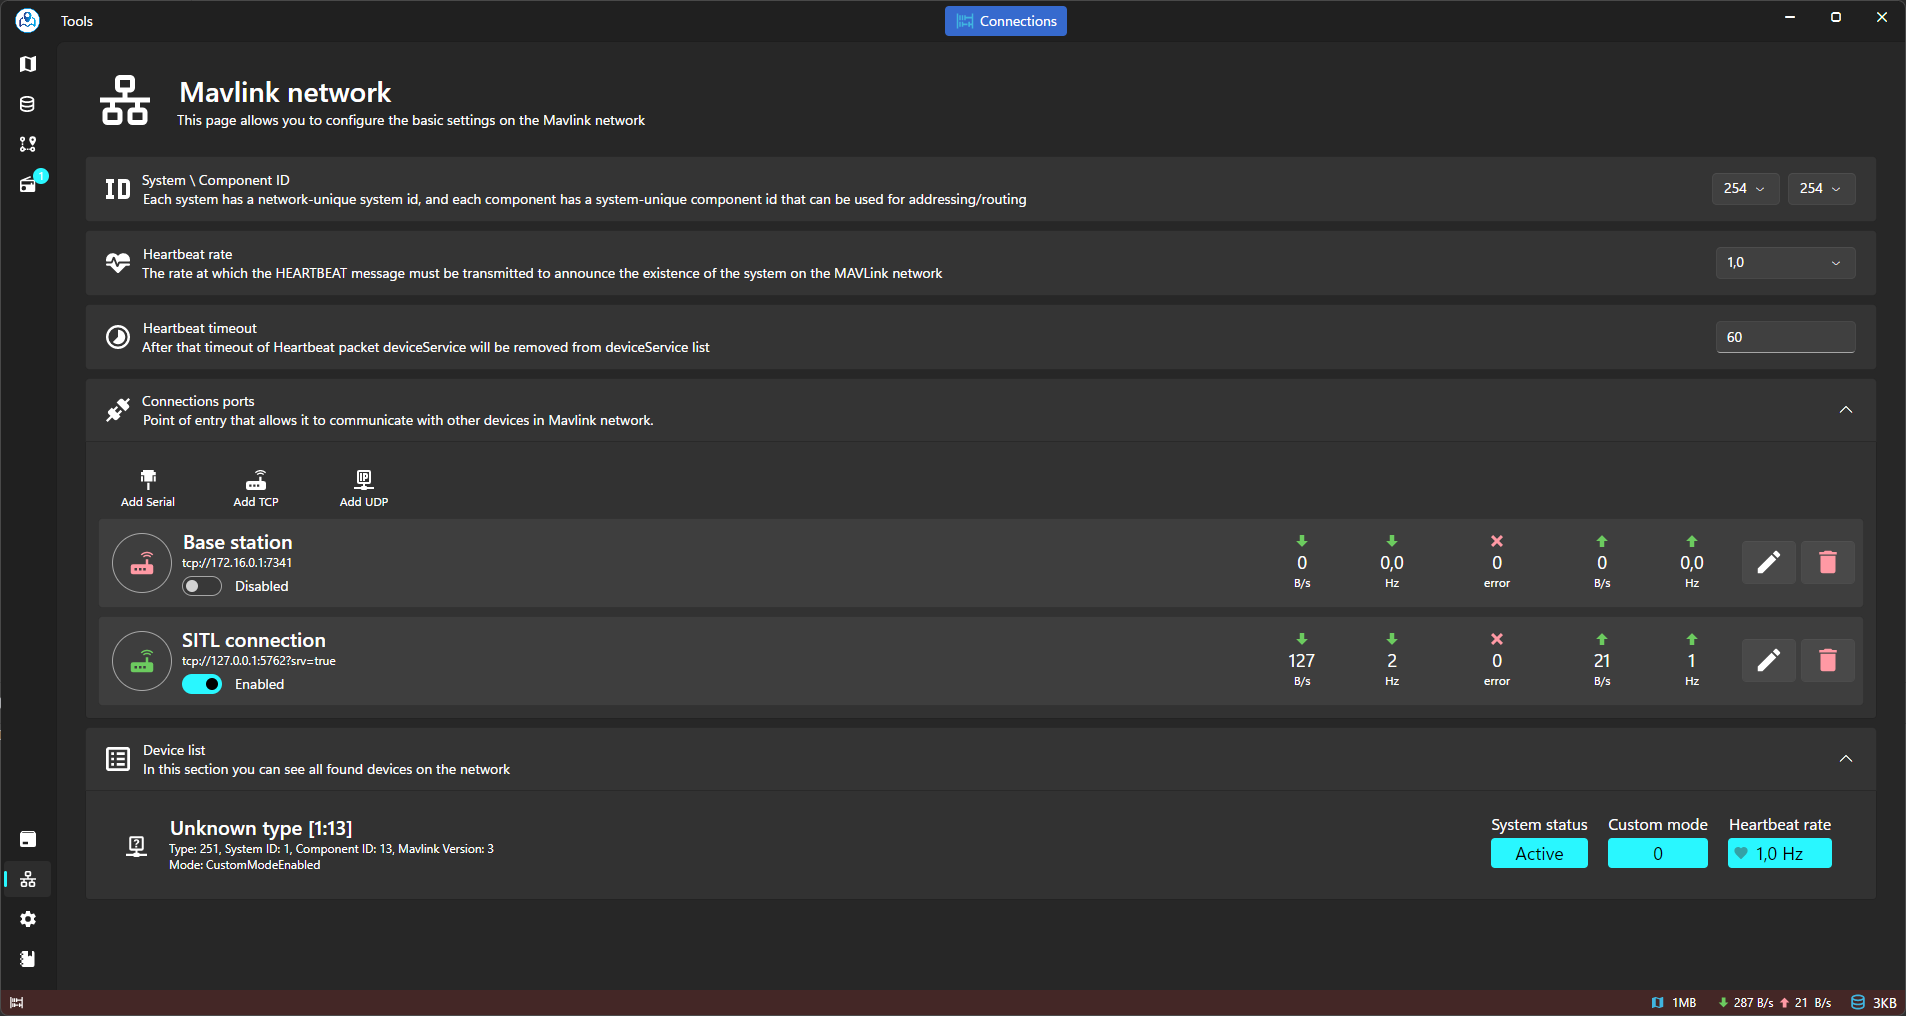
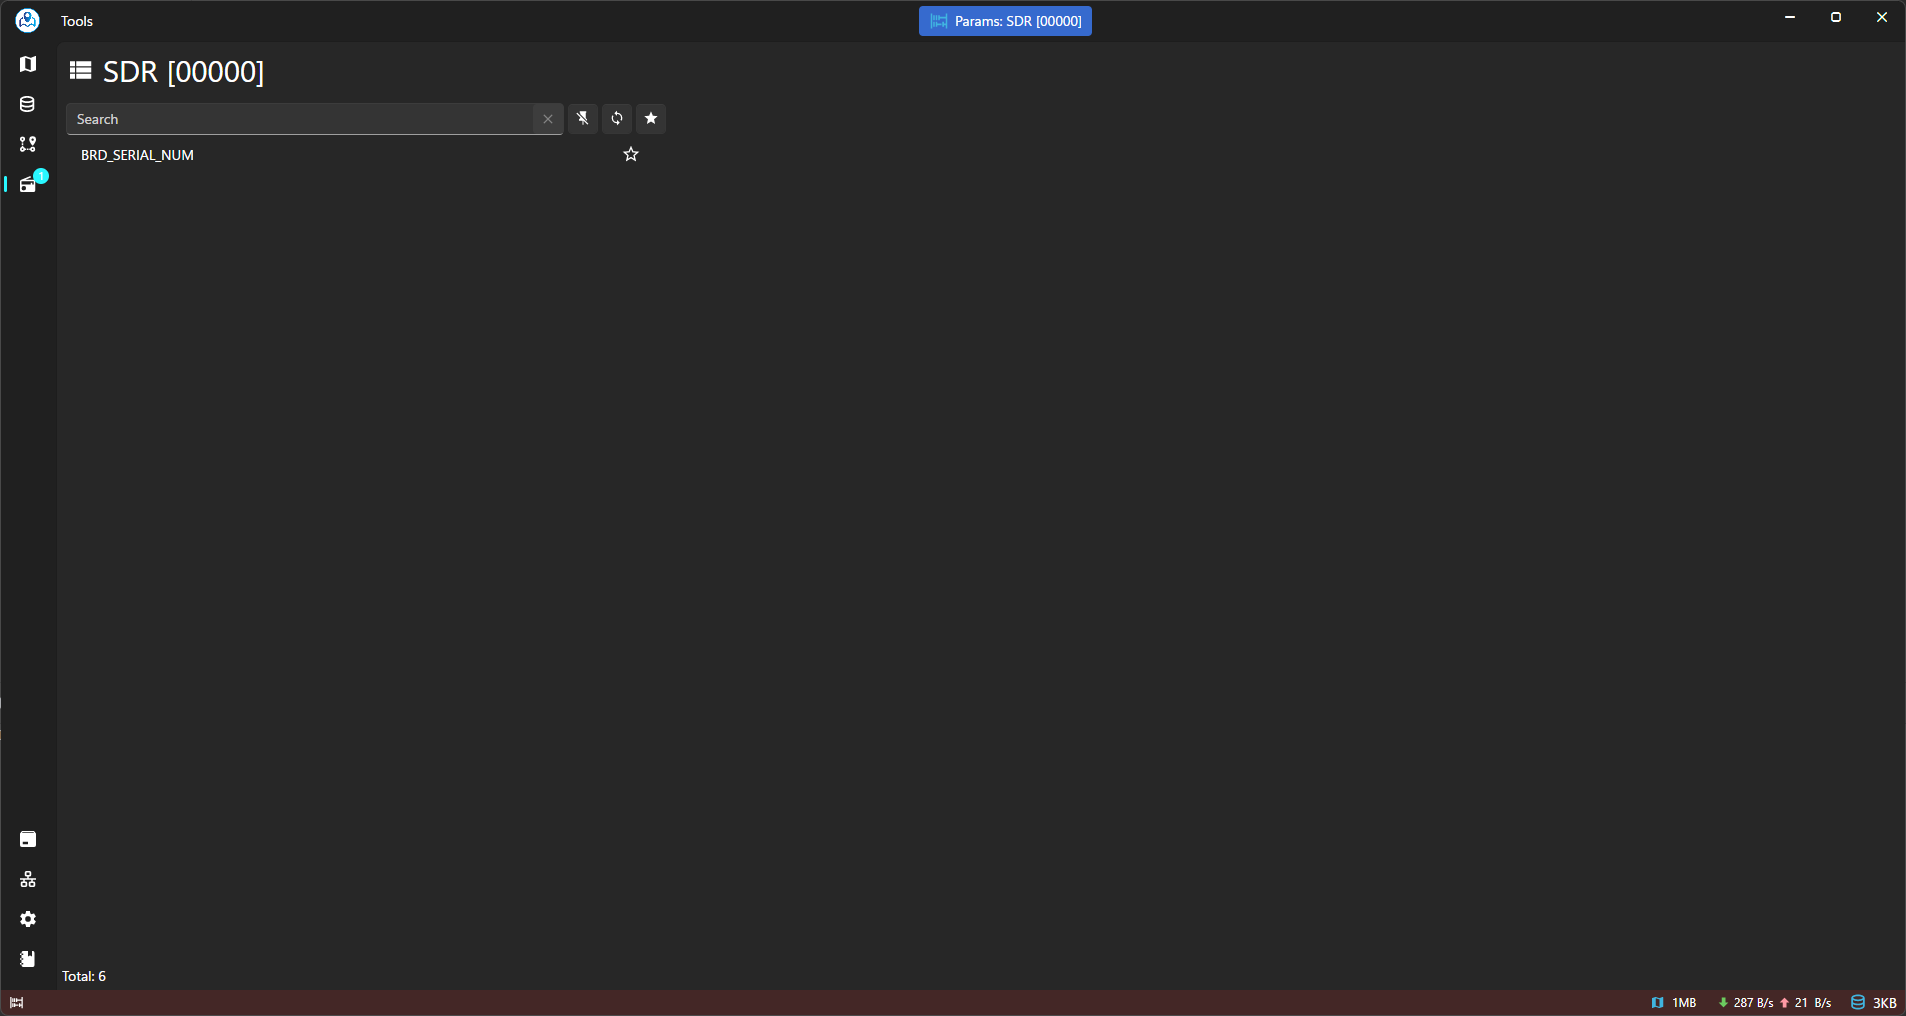
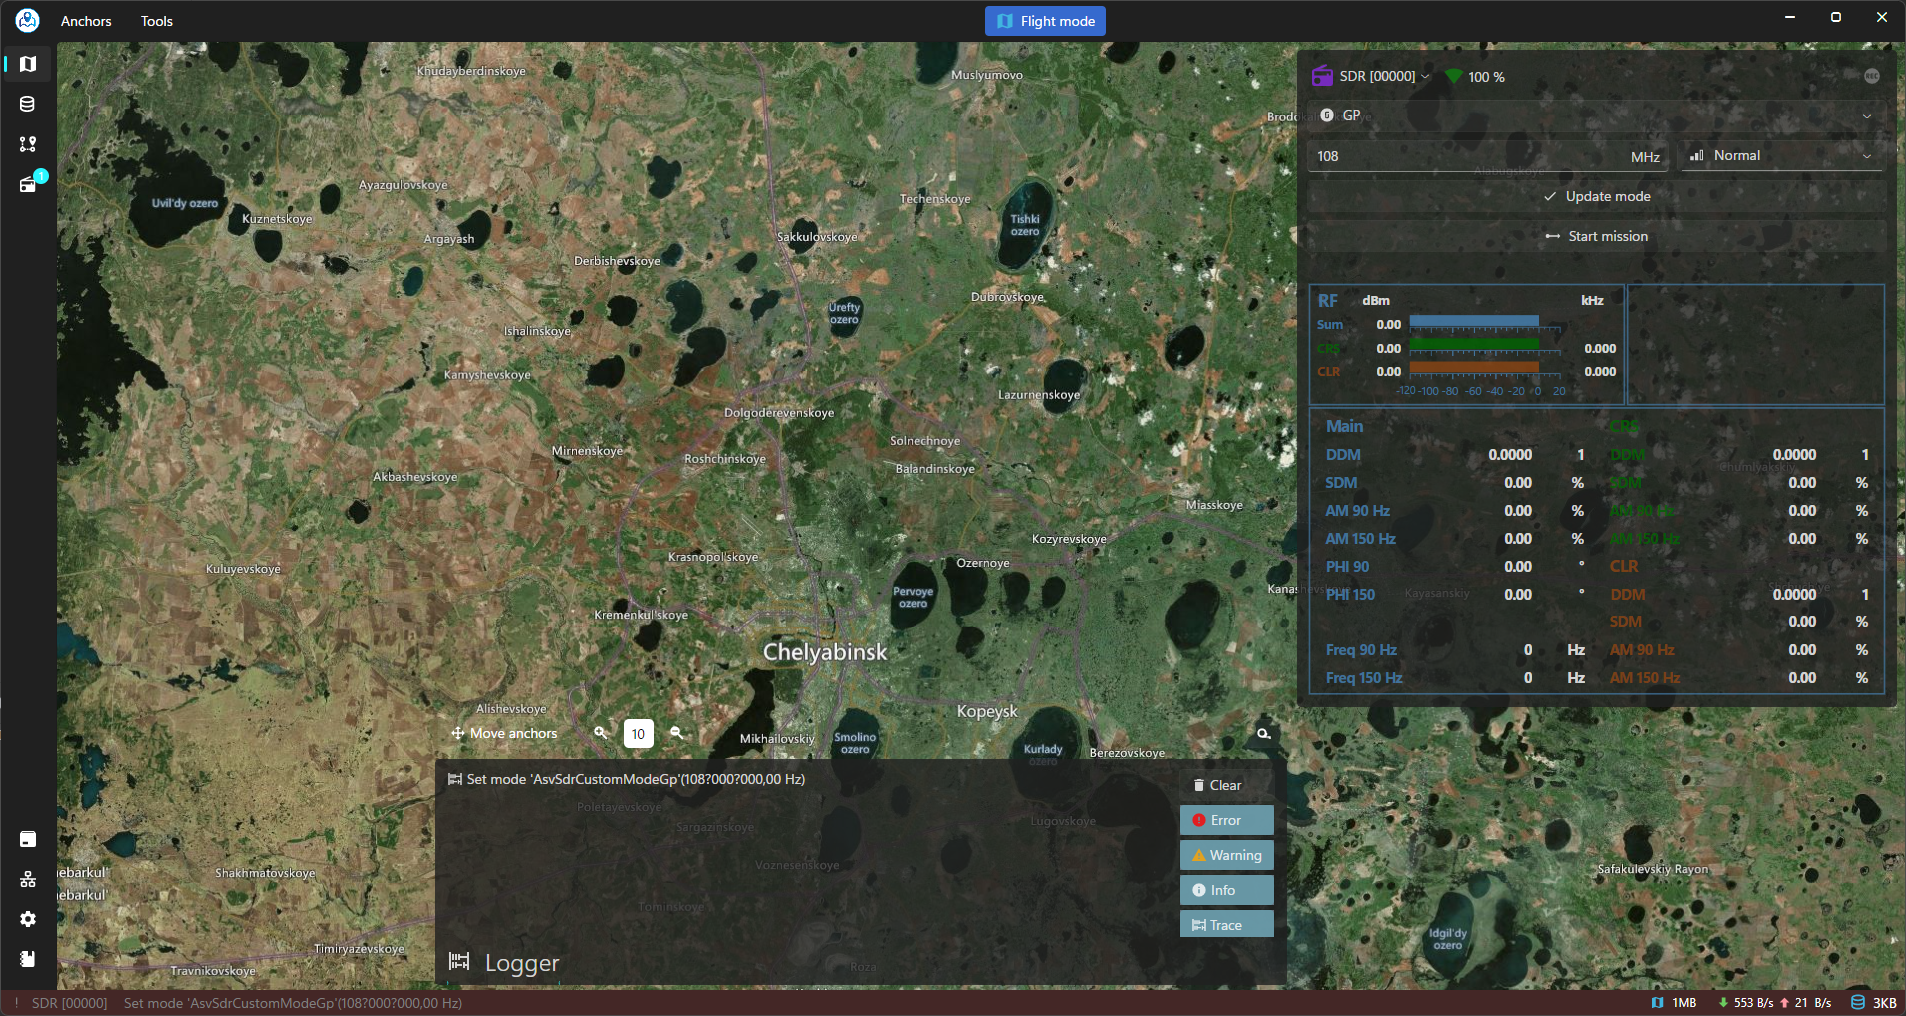
Asv.Drones: Empowering Innovation in Unmanned Aerial Systems
Welcome to Asv.Drones, an advanced and modular open-source application designed to revolutionize the field of Unmanned Aerial Systems (UAS). Committed to fostering innovation and collaboration, Asv.Drones is not just a drone application; it's a community-driven platform that opens the doors to limitless possibilities.
Key Features:
-
Modularity: Asv.Drones embraces a modular architecture, allowing users to tailor the application to their specific needs. Each module serves a distinct purpose, contributing to the overall functionality and versatility of the platform.
-
Open Source Philosophy: Transparency and collaboration lie at the heart of Asv.Drones. The entire application, along with its constituent modules, is open source. This means that not only can users benefit from the software, but they can also actively contribute to its enhancement and evolution.
-
Module Overview:
-
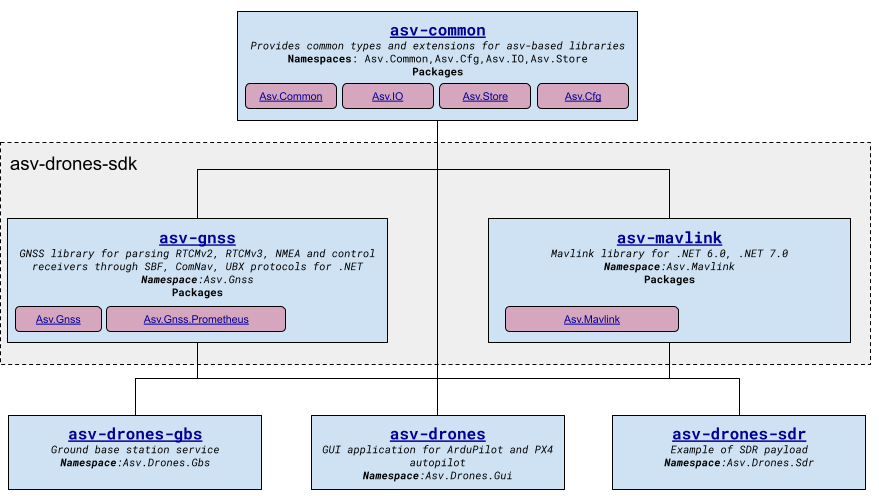
Asv.Drones.Gbs (Ground Base Station Service): This module provides a robust ground base station service, ensuring seamless communication between the drone and the operator on the ground. Open source nature encourages customization for specific ground station requirements. Source code for this module can be found here
-
Asv.Drones.Sdr (SDR Payload Example Project): Explore the possibilities of Software-Defined Radio (SDR) payloads with this open-source example project. Asv.Drones.Sdr serves as a foundation for integrating cutting-edge SDR technologies into unmanned aerial systems. Source code for this module can be found here
-
Asv.Gnss (GNSS Library): The Asv.Gnss module is a comprehensive GNSS library that parses RTCMv2, RTCMv3, and NMEA protocols. It goes a step further by providing control over receivers through SBF, ComNav, and UBX protocols, all tailored for .NET environments. Source code for this module can be found here
-
Asv.Mavlink (Mavlink Library for .NET 6.0, .NET 7.0): For seamless communication and control, Asv.Mavlink is a dedicated library compatible with .NET 6.0 and .NET 7.0. It ensures that your drone's communication adheres to the Mavlink protocol standards. Source code for this module can be found here
-
Asv.Common: Asv.Common serves as the backbone, offering common types and extensions for all Asv-based libraries. It streamlines development, ensuring consistency and efficiency across different modules. Source code for this module can be found here
Here's a schematic representation of the whole project:
- Community Collaboration: Asv.Drones thrives on community collaboration. Developers, enthusiasts, and innovators are encouraged to contribute, share insights, and collectively shape the future of unmanned aerial systems.
Embark on a journey of exploration, experimentation, and innovation with Asv.Drones. Whether you're a developer, researcher, or drone enthusiast, this open-source platform invites you to redefine the possibilities of unmanned aerial systems.
Asv.Drones can work with different combinations of it's components
Ground Base Station Integration: Asv.Drones offers seamless integration with ground base stations through our proprietary implementation called Asv.Drones.Gbs, available on GitHub here. Built to operate via the MAVLink protocol, Asv.Drones.Gbs allows users to remotely manage and monitor drone operations from a centralized platform. Moreover, any other ground base station software compatible with MAVLink can seamlessly interface with our application, ensuring flexibility and interoperability across different systems (development of additional UI controls may be required). With Asv.Drones.Gbs, users can plan missions, monitor telemetry data, and adjust flight parameters with ease.
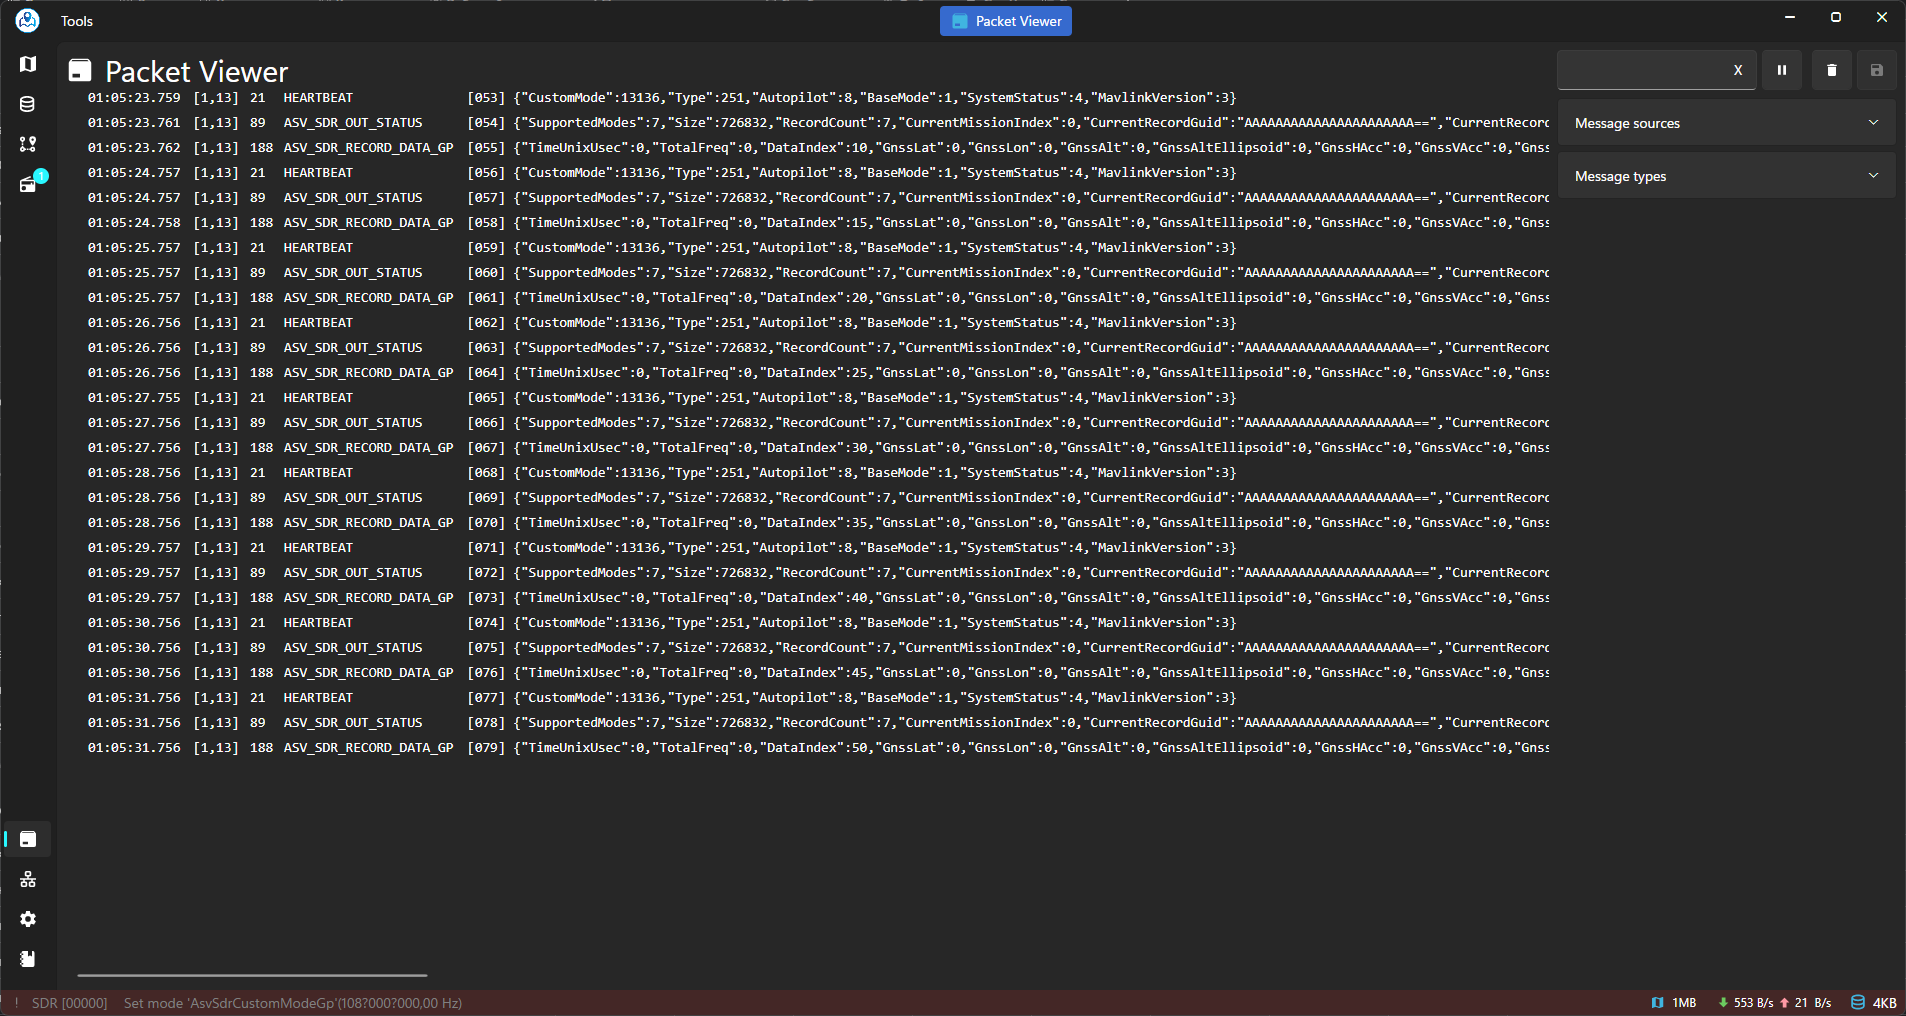
SDR Integration: Enhance your drone operations with Asv.Drones.Sdr, our custom-built SDR software available on GitHub here. Designed to communicate via the MAVLink protocol, Asv.Drones.Sdr expands the capabilities of your drones beyond traditional control. Additionally, our software allows integration with any other SDR software that utilizes MAVLink, enabling a wide range of applications such as spectrum monitoring, signal intelligence, and radio relay (development of additional UI controls may be required). With Asv.Drones.Sdr, users can leverage SDR technology to scan and analyze radio frequency signals, intercept communication signals, and extend communication networks, empowering them to tackle diverse missions effectively.
To ensure a smooth development experience, follow the steps below to set up your development environment:
- Operating System: This project is compatible with Windows, macOS, and Linux. Ensure that your development machine runs one of these supported operating systems.
- IDE (Integrated Development Environment): We recommend using Visual Studio or JetBrains Rider as your IDE for C# development. Make sure to install the necessary extensions and plugins for a better development experience.
-
This project is built using .NET 6.0 and .NET 7.0, the latests version of the .NET platform. We recommend installing .NET 7.0 by following the instructions provided on the official .NET website.
# Check your current .NET version
dotnet --version
- If you haven't already, install a version control system such as Git to track changes and collaborate with other developers.
-
Clone the project repository to your local machine using the following command:
git clone https://github.com/asv-soft/asv-drones.git
-
Navigate to the platform project directory and restore the required dependencies. There is 3 possible platform directories to build and debug our app: Asv.Drones.Gui.Desktop, Asv.Drones.Gui.Android, Asv.Drones.Gui.iOS. For example we will use Asv.Drones.Gui.Desktop platform, so you have to execute the following command:
cd asv-drones/src/Asv.Drones.Gui.Desktop
dotnet workload restore
dotnet workload repair
-
After restore you have to build the project to ensure that everything is set up correctly, and if it's not - try to restore workloads again:
dotnet build
-
Run the project:
dotnet run
Congratulations! Your development environment is now set up, and you are ready to start contributing to the project. If you encounter any issues during the setup process, refer to the project's documentation or reach out to the development team for assistance.
To build applications for Android, additional setup is required for JDK and Android SDK installation. Follow the instructions below based on your operating system.
- Install the .NET MAUI Check tool to verify your environment is ready for .NET MAUI development:
dotnet tool install -g Redth.Net.Maui.Check maui-check - For Android SDK managing we recommend to install Android Studio.
- Using Android Studio's SDK Manager, download Android 13.0 (Tiramisu) and API level 33. It's highly recommended to create an Android Virtual Device (AVD) with these settings, preferably with tablet configurations for better testing experience.
- Build the project for Android:
dotnet build -t:Run -f net7.0-android /p:AndroidSdkDirectory=${AndroidSdkPath}
- The
${AndroidSdkPath}should be replaced with the actual path to your Android SDK installation.
- Install Android Studio to manage Android SDKs:
sudo snap install android-studio --classic - Install OpenJDK 11:
sudo apt install openjdk-11-jdk - Using Android Studio's SDK Manager, download Android 13.0 (Tiramisu) and API level 33. It's highly recommended to create an Android Virtual Device (AVD) with these settings, preferably with tablet configurations for better testing experience.
- Build the project for Android:
dotnet build -f net7.0-android /p:AndroidSdkDirectory=${AndroidSdkPath}
- The
${AndroidSdkPath}should be replaced with the actual path to your Android SDK installation.
- Install Android Studio:
brew install --cask android-studio - Install JDK through Homebrew or any preferred method:
brew install openjdk - Using Android Studio's SDK Manager, download Android 13.0 (Tiramisu) and API level 33. It's highly recommended to create an Android Virtual Device (AVD) with these settings, preferably with tablet configurations for better testing experience.
- Build the project for Android, specifying the Android SDK directory:
dotnet build -f net7.0-android /p:AndroidSdkDirectory=${AndroidSdkPath}
- The
${AndroidSdkPath}should be replaced with the actual path to your Android SDK installation.
- If you want to run application after build you should start your previously created AVD and wait until it's startup processes are complete. Then you have to execute following command:
dotnet run -f net7.0-android /p:AndroidSdkDirectory=${AndroidSdkPath} - The
${AndroidSdkPath}should be replaced with the actual path to your Android SDK installation.
The organization of the codebase plays a crucial role in maintaining a clean, scalable, and easily understandable project. This section outlines the structure of our codebase, highlighting key directories and their purposes.
Our solution is organized the following way:
-
sln/: This directory contains the source code of the application. The code is further organized into projects, each residing in its own subdirectory. The goal is to promote modularity and maintainability.sln/ ├── Platforms/ │ ├── Asv.Drones.Gui.Android/ │ ├── Asv.Drones.Gui.Browser/ │ ├── Asv.Drones.Gui.Desktop/ │ └── Asv.Drones.Gui.iOS/ ├── Asv.Drones.Gui/ │ ├── Assets/ │ ├── Views/ │ └── ... ├── Asv.Drones.Gui.Core/ │ ├── Assets/ │ ├── Controls/ │ ├── Services/ │ ├── Shell/ │ ├── Tools/ │ └── ... ├── Asv.Drones.Gui.Gbs/ │ ├── Shell/ │ └── ... ├── Asv.Drones.Gui.Map/ │ ├── Core/ │ ├── ViewModels/ │ └── ... ├── Asv.Drones.Gui.Sdr/ │ ├── Control/ │ ├── Service/ │ ├── Shell/ │ ├── Tools/ │ └── ... └── Asv.Drones.Gui.Uav/ ├── Actions/ ├── Controls/ ├── Shell/ └── ...
Consistent naming conventions are essential for code readability. Throughout the codebase, we follow the guidelines outlined in our documentation
These conventions contribute to a unified and coherent codebase.
By adhering to this organized structure and naming conventions, we aim to create a codebase that is easy to navigate, scalable, and conducive to collaboration among developers.
Maintaining a consistent coding style across the project enhances readability, reduces errors, and facilitates collaboration. The following guidelines outline our preferred coding style for C#:
-
Indentation: Use tabs for indentation. Each level of indentation should consist of one tab.
-
Brace Placement: Place opening braces on the same line as the statement they belong to, and closing braces on a new line.
// Good
if (condition)
{
    // Code here
}

// Bad
if (condition) {
    // Code here
}
-
Pascal Case: Use Pascal case for class names, method names, and property names.
public class MyClass
{
    public void MyMethod()
    {
        // Code here
    }

    public int MyProperty { get; set; }
}
-
Expression-bodied Members: Utilize expression-bodied members for concise one-liners.
// Good public int CalculateSquare(int x) => x * x; // Bad public int CalculateSquare(int x) { return x * x; } -
Null Conditional Operator: Use the null conditional operator (
?.) for safe property or method access.// Good int? length = text?.Length; // Bad int length = (text != null) ? text.Length : 0;
-
XML Documentation: Include XML comments for classes, methods, and properties to provide comprehensive documentation.
/// <summary>
/// Represents a sample class.
/// </summary>
public class SampleClass
{
    /// <summary>
    /// Calculates the sum of two numbers.
    /// </summary>
    /// <param name="a">The first number.</param>
    /// <param name="b">The second number.</param>
    /// <returns>The sum of the two numbers.</returns>
    public int Add(int a, int b)
    {
        // Code here
    }
}
- Use comments sparingly and focus on explaining complex or non-intuitive code sections.
By adhering to these coding style guidelines, we aim to create code that is easy to read, understand, and maintain.
Version control is a fundamental aspect of our development process, providing a systematic way to track changes, collaborate with team members, and manage the evolution of our codebase. We utilize Git as our version control system.
For each new feature or bug fix, create a dedicated feature branch. The branch name should be descriptive of the feature or issue it addresses.
# Example: Creating a new feature branch
git checkout -b feature/my-new-featureIn case of critical issues in the production environment, create a hotfix branch. This allows for a quick resolution without affecting the main development branch.
# Example: Creating a hotfix branch
git checkout -b hotfix/1.0.1Write clear and concise commit messages that convey the purpose of the change. Follow these guidelines:
- Start with a verb in the imperative mood (e.g., "Add," "Fix," "Update").
- Keep messages short but descriptive.
Example:
# Good
git commit -m "Add user authentication feature"

# Bad
git commit -m "Updated stuff"Before merging changes into the main branch, create a pull request (PR). This allows for code review and ensures that changes adhere to coding standards.
- Assign reviewers to the PR.
- Include a clear description of the changes.
- Ensure that automated tests pass before merging.
Adopt a merging strategy based on the nature of the changes:
- Feature Branches: Merge feature branches into the main branch after code review and approval.
- Release Branches: Merge release branches into the main branch and tag the commit for the release.
# Example: Merging a feature branch
git checkout main
git merge --no-ff feature/my-new-featureOur Git repository is hosted on GitHub. Ensure that you have the necessary permissions and follow best practices for repository management.
By following these version control practices, we aim to maintain a well-organized and collaborative development process.
The build and deployment processes are crucial components of our development workflow. This section outlines the steps for building the project and deploying it using GitHub Releases.
To compile the project, use the following command:
dotnet buildThis command compiles the code and produces executable binaries.
Our application is deployed using GitHub Releases.
Latest release can be found here.
We welcome contributions from the community to help enhance and improve our project. Before contributing, please take a moment to review this guide.
All code changes undergo a review process to ensure quality and consistency. Here are the steps to follow:
-
Fork the Repository: Start by forking the repository to your own GitHub account.
-
Create a Feature Branch: Create a new branch for your feature or bug fix.
git checkout -b feature/my-feature
-
Commit Changes: Make your changes, commit them with clear and concise messages, and push the branch to your forked repository.
git commit -m "Add new feature" git push origin feature/my-feature -
Open a Pull Request (PR): Submit a pull request to the main repository, detailing the changes made and any relevant information. Ensure your PR adheres to the established coding standards.
-
Code Review: Participate in the code review process by responding to feedback and making necessary adjustments. Addressing comments promptly helps streamline the review process.
-
Merge: Once the code review is complete and the changes are approved, your pull request will be merged into the main branch.
Before submitting changes, ensure the following:
-
Coding Standards: Adhere to the coding standards and guidelines outlined in this document.
-
Tests: If applicable, include tests for your changes and ensure that existing tests pass.
-
Documentation: Update relevant documentation, including code comments and external documentation, to reflect your changes.
For larger changes or feature additions, it's beneficial to discuss the proposed changes beforehand. Engage with the community through:
-
Opening an Issue: Discuss your proposed changes by opening an issue. This provides an opportunity for community input before investing significant time in development.
-
Joining Discussions: Participate in existing discussions related to the project. Your insights and feedback are valuable.
By contributing to this project, you agree that your contributions will be licensed under the project's license. If a Contributor License Agreement (CLA) is required, it will be provided in the repository.
We appreciate your contributions, and together we can make this project even better!
Clear and comprehensive code documentation is essential for ensuring that developers can easily understand, use, and contribute to the project. Follow these guidelines for documenting your code:
Use inline comments to explain specific sections of your code, especially for complex logic or non-intuitive implementations. Follow these principles:
-
Clarity: Write comments that enhance code comprehension. If a piece of code is not self-explanatory, provide comments explaining the reasoning or intention.
-
Conciseness: Keep comments concise and to the point. Avoid unnecessary comments that do not add value.
-
Update Comments: Regularly review and update comments to reflect any changes in the code. Outdated comments can be misleading.
Example:
// Calculate the sum of two numbers
int CalculateSum(int a, int b)
{
    return a + b;
}For classes, methods, properties, and other significant code elements, use XML documentation comments to provide comprehensive information. Follow these guidelines:
-
Summary: Provide a summary that succinctly describes the purpose of the class or member.
-
Parameters: Document each parameter, specifying its purpose and any constraints.
-
Returns: If applicable, document the return value and its significance.
-
Examples: Include examples that demonstrate how to use the class or member.
Example:
/// <summary>
/// Represents a utility class for mathematical operations.
/// </summary>
public class MathUtility
{
    /// <summary>
    /// Calculates the sum of two numbers.
    /// </summary>
    /// <param name="a">The first number.</param>
    /// <param name="b">The second number.</param>
    /// <returns>The sum of the two numbers.</returns>
    public int CalculateSum(int a, int b)
    {
        return a + b;
    }
}Ensure consistency in your documentation style across the codebase. Consistent documentation makes it easier for developers to navigate and understand the project.
By following these documentation guidelines, we aim to create a codebase that is not only functional but also accessible and easily maintainable for all contributors.
Ensuring the security of our software is paramount to maintaining the integrity and confidentiality of user data. Developers should adhere to best practices and follow guidelines outlined in this section.
Always validate and sanitize user input to prevent injection attacks and ensure the integrity of your application.
// Example for C#
public ActionResult ProcessUserInput(string userInput)
{
    if (string.IsNullOrWhiteSpace(userInput))
    {
        // Handle invalid input
    }

    // Process input
}Implement secure authentication and authorization mechanisms to control access to sensitive functionalities and data. Leverage industry-standard protocols like OAuth when applicable.
Ensure that communication between components, APIs, and external services is encrypted using secure protocols (e.g., HTTPS).
Regularly scan and update dependencies to identify and address security vulnerabilities. Leverage tools and services that provide automated dependency analysis.
Keep dependencies to a minimum and only include libraries and packages that are actively maintained and have a good security track record.
Sensitive data, both at rest and in transit, should be encrypted. Utilize strong encryption algorithms and ensure proper key management.
Implement regular data backup procedures to prevent data loss in the event of security incidents or system failures.
Adhere to secure coding standards to mitigate common vulnerabilities. Follow principles such as the OWASP Top Ten to address security concerns in your codebase.
If you discover a security vulnerability or have concerns about the security of the project, please report it immediately to our team at our telegram channel. Do not disclose security-related issues publicly until they have been addressed.
Encourage ongoing security training for all team members to stay informed about the latest security threats and best practices. Knowledgeable developers are key to maintaining a secure codebase.
By incorporating security practices into our development process, we aim to create a robust and secure software environment for our users.
This project is licensed under the terms of the MIT License. A copy of the MIT License is provided in the LICENSE file.
MIT License

Copyright (c) 2023 Asv Soft

Permission is hereby granted, free of charge, to any person obtaining a copy
of this software and associated documentation files (the "Software"), to deal
in the Software without restriction, including without limitation the rights
to use, copy, modify, merge, publish, distribute, sublicense, and/or sell
copies of the Software, and to permit persons to whom the Software is
furnished to do so, subject to the following conditions:

The above copyright notice and this permission notice shall be included in all
copies or substantial portions of the Software.

THE SOFTWARE IS PROVIDED "AS IS", WITHOUT WARRANTY OF ANY KIND, EXPRESS OR
IMPLIED, INCLUDING BUT NOT LIMITED TO THE WARRANTIES OF MERCHANTABILITY,
FITNESS FOR A PARTICULAR PURPOSE AND NONINFRINGEMENT. IN NO EVENT SHALL THE
AUTHORS OR COPYRIGHT HOLDERS BE LIABLE FOR ANY CLAIM, DAMAGES OR OTHER
LIABILITY, WHETHER IN AN ACTION OF CONTRACT, TORT OR OTHERWISE, ARISING FROM,
OUT OF OR IN CONNECTION WITH THE SOFTWARE OR THE USE OR OTHER DEALINGS IN THE
SOFTWARE.
The MIT License is a permissive open-source license that allows for the free use, modification, and distribution of the software. It is important to review and understand the terms of the license before using, contributing to, or distributing this software.
By contributing to this project, you agree that your contributions will be licensed under the MIT License.
For more details about the MIT License, please visit opensource.org/licenses/MIT.
If you have questions, suggestions, or need assistance with the project, we encourage you to reach out through the following channels:
Visit our Telegram channel: ASVSoft on Telegram
Feel free to join our Telegram community to engage in discussions, seek help, or share your insights.
For bug reports, feature requests, or any project-related discussions, please use our GitHub Issues:
Our GitHub repository is the central hub for project-related discussions and issue tracking. Please check existing issues before creating new ones to avoid duplication.
If you discover a security vulnerability or have concerns about the security of the project, please report it immediately to our telegram channel: ASVSoft on Telegram. Do not disclose security-related issues publicly until they have been addressed.
For general inquiries or if you prefer email communication, you can reach us at me@asv.me.
We value your feedback and contributions, and we look forward to hearing from you!

