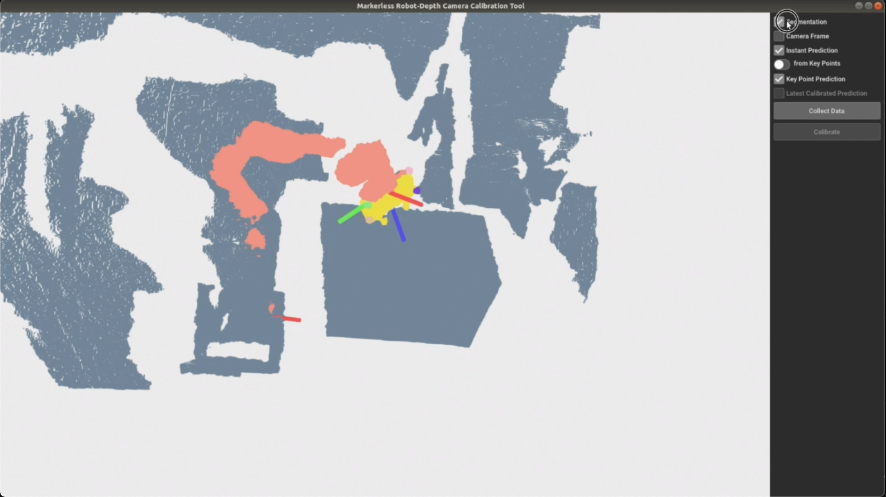
Disclaimer: We were not able to arrange an undisclosed large storage server to share our dataset and models, in time. We are going to publish our dataset and trained models once the paper is published. We shared a small sample from our dataset under dataset/sample which can be used to run training and testing scripts. We will also open source the easy robot-depth camera calibration app shown in video along with training and testing scripts.
Please install MinkowskiEngine following the most up-to-date instructions at the framework's repo. We will continue with the conda environment created there.
Please install Python packages with:
pip3 install -r requirements.txtDisclaimer: In order to fully utilize the calibration application, you need to specify tranied model paths in the config file. These models will be published alongside the paper itself as we stated above. With following commands you can run the app and verify its flow but won't be able to see predictions for the time being.
cd app
python3 main.py --config ../config/default.yamlAll model training scripts are located at the root directory. To run training scripts (mind *):
python3 train_*.py --config config/default.yamlWe support tensorboard for all our training scripts. You can run tensorboard for any experiment to track training progress with:
tensorboard --port=<port_num> --logdir <exp_path>exp_path is same as the one defined in config/default.yaml.
All other training parameters can be set in config file under TRAIN, STRUCTURE and DATA keys.
To test the individual models please run (mind *):
python3 test_*.py --config config/default.yamlWe also create a copy of config file under each experiment's folder (is set in config file) for easier reproduction. You can also run test scripts with (mind *):
python3 test_*.py --config config/default.yaml --override <exp_path>/<config_file>This overrides the values in the default config with the ones used in that particular experiment.
We use the code here during training, testing and inference. Small part of the code is taken from other code bases whose links are shared in the related comments. We also utilize several frameworks' methods whose information can be found in requirements.txt with the version data.
Our data files are pickle files (.pickle) dumped with a single JSON object. JSON object structure is as follows:
{
    "points": "<Nx3 numpy.float32 matrix>",
    "rgb": "<Nx3 numpy.float32 matrix>",
    "labels": "<N sized numpy.float32 array> - 0: background, 1: arm, 2: end-effector",
    "instance_labels": "<N sized numpy.float32 array> - 0: background, 1: arm, 2: end-effector",
    "pose": "<7 sized numpy.float32 array>: x, y, z, qx, qy, qz, qw",
    "joint_angles": "<9 sized numpy.float32 array> containing joint angles"
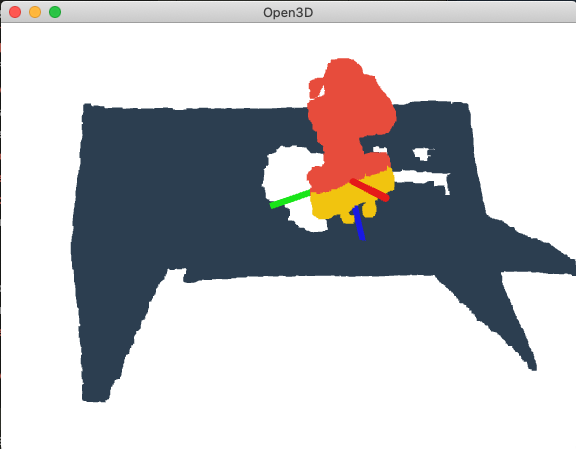
}We have shared a sample from our data under dataset/sample. You can visualize the data with following commands. Also, you can visualize the segmentation labels using k button on your keyboard.
cd visualization
python3 viz_pickle.py ../dataset/sample/labeled/<filename>.pickle
Example:
cd visualization
python3 viz_pickle.py ../dataset/sample/labeled/2.pickle
