#Advanced Lane Finding Project
Demo
##Camera Calibration
The code for this step is contained in the calibrate() method of Calibration class in calibration.py.
I started by preparing "object points", which will be the (x, y, z) coordinates of the chessboard corners in the world. Here I am assuming the chessboard is fixed on the (x, y) plane at z=0, such that the object points are the same for each calibration image. Thus, objp is just a replicated array of coordinates, and objpoints will be appended with a copy of it every time I successfully detect all chessboard corners in a test image. imgpoints will be appended with the (x, y) pixel position of each of the corners in the image plane with each successful chessboard detection. I saved the objpoints and imgpoints in calibration.p file for future use.
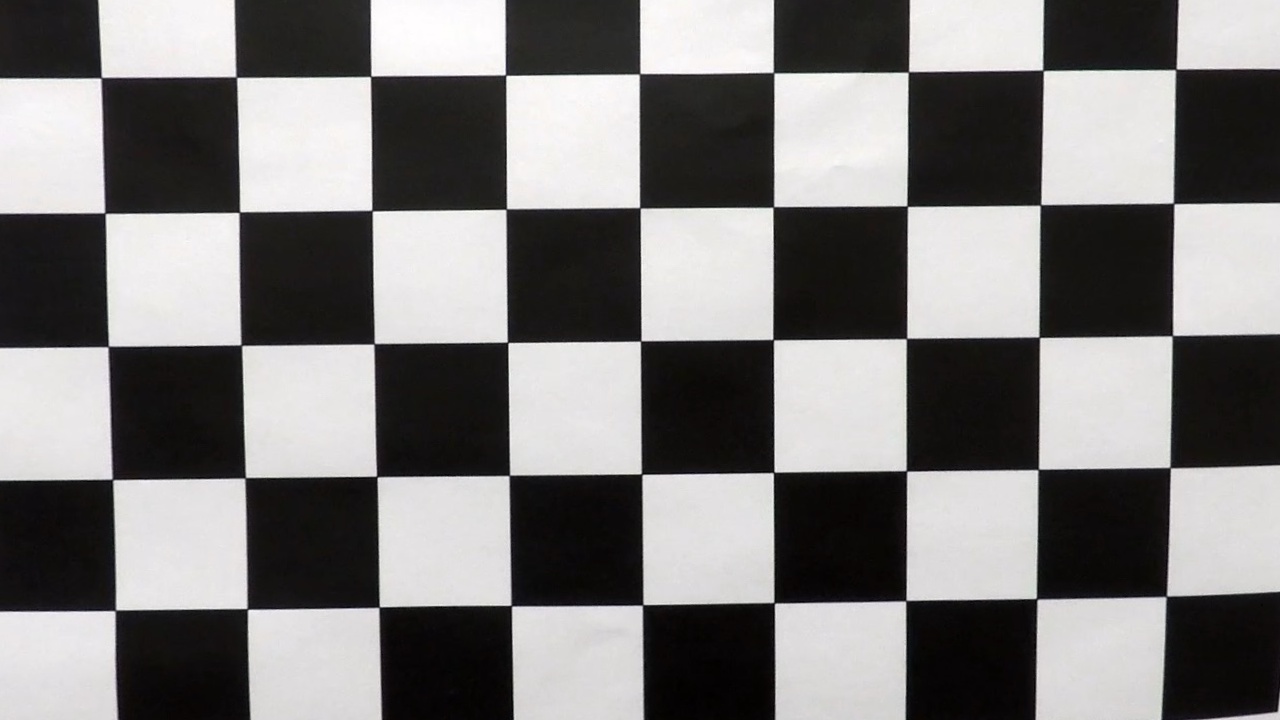
I have then used the output objpoints and imgpoints to compute the camera calibration and distortion coefficients using the cv2.calibrateCamera() function. I applied this distortion correction to the test image using the cv2.undistort() function and obtained this result:
###Undistorted chessboard Image
##Pipeline (test images)
Each image goes through the following steps implemented in process_image() method of LaneDetector class in lane_detector.py
- Undistort using
objpointsandimgpointsdetermined from camera calibration - Create binary image using several thresholding methods to make lane lines prominent
- Transform the binary image to bird eye view to make the lane lines significant
- Find lane line points from the transformed image
- Draw the lanes on undistorted image
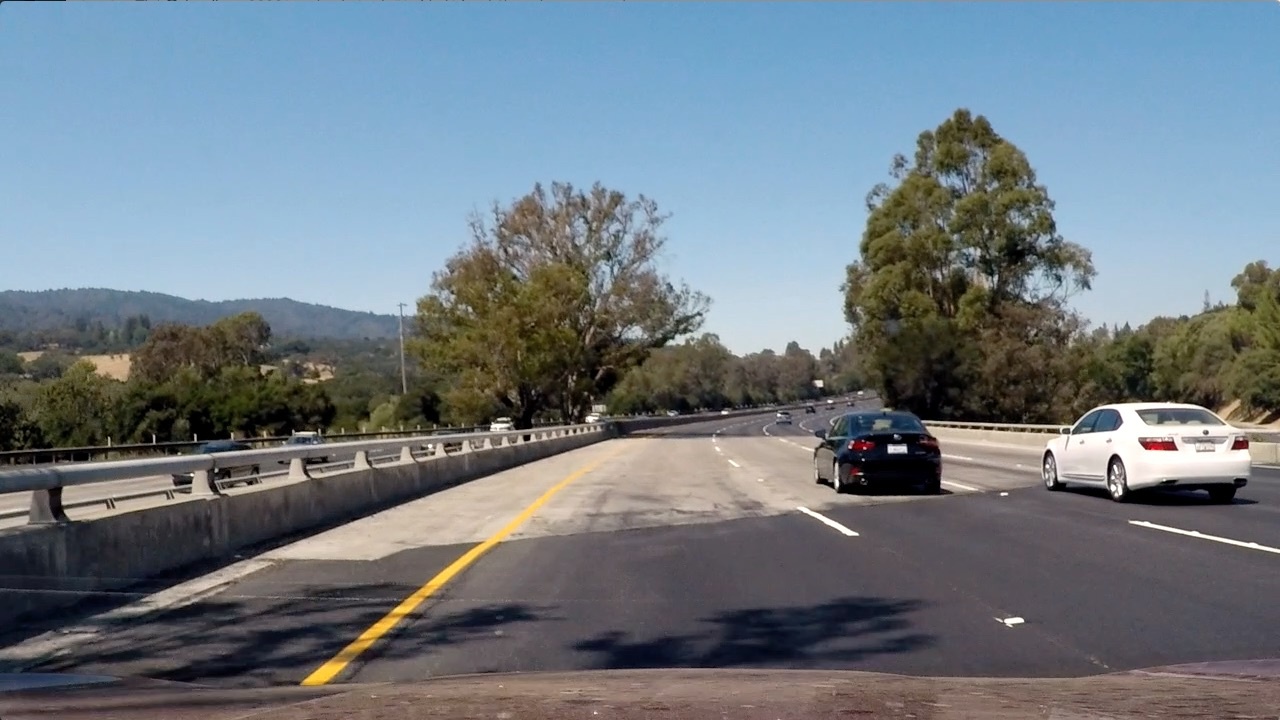
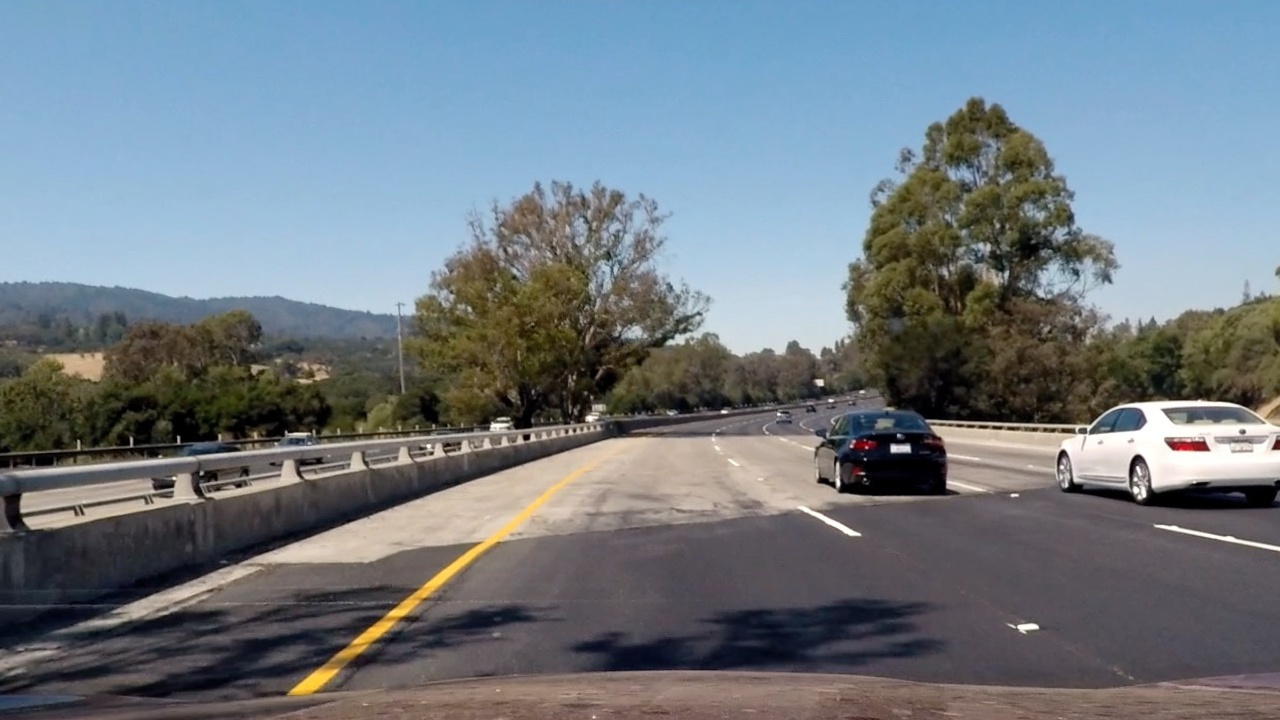
###1. Undistort:
This step is implemented in undistort() method of image_procesing.py
def undistort(img, objpoints, imgpoints):
    """ Undistort image
    Args:
        img: image in BGR
        objpoints: correct image points
        imgpoints: corresponding distorted image points
    Returns:
        Undistorted image
    """
    img_size = (img.shape[1], img.shape[0])
    # Do camera calibration given object points and image points
    ret, mtx, dist, rvecs, tvecs = cv2.calibrateCamera(objpoints, imgpoints, img_size,None,None)
    dst = cv2.undistort(img, mtx, dist, None, mtx)

    return dst

undistort_image = undistort(img, objpoints, imgpoints)###2. Processing undistorted image to binary:
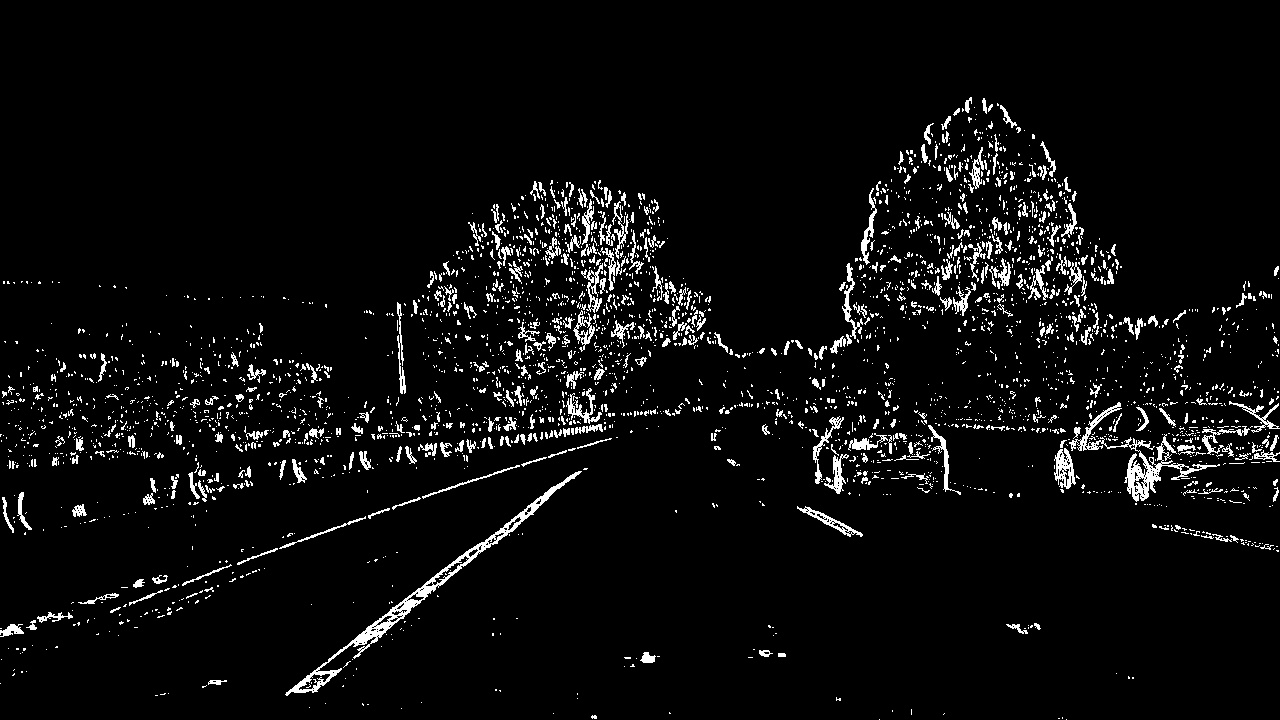
To create a binary image from undistorted image I have implemented process_binary() method of image_processing.py. Here, two separate processes are combined to create the thresholded binary.
- image is converted to gray scale => applied sobel operator on x axis => get the absolute sobel values => scale the values between 0 and 255 => apply binary thesholding between 30 and 150 pixel values
- convert the image to HLS color space => extract S channel => get pixels having S values between 175 and 250
- combine two binary images
def process_binary(img):
    """ Process image to generate a sanitized binary image
    Args:
        img: undistorted image in BGR
    Returns:
        Binary image
    """
    gray = cv2.cvtColor(img, cv2.COLOR_RGB2GRAY)
    sobelx = cv2.Sobel(gray, cv2.CV_64F, 1, 0)
    abs_sobelx = np.absolute(sobelx)
    scaled_sobel = np.uint8(255*abs_sobelx/np.max(abs_sobelx))
    sxbinary = np.zeros_like(scaled_sobel)
    retval, sxthresh = cv2.threshold(scaled_sobel, 30, 150, cv2.THRESH_BINARY)
    sxbinary[(sxthresh >= 30) & (sxthresh <= 150)] = 1


    hls = cv2.cvtColor(img, cv2.COLOR_RGB2HLS)
    s_channel = hls[:,:,2]
    s_binary = np.zeros_like(s_channel)
    # cv2.inRange sets 255 if in range other wise 0
    s_thresh = cv2.inRange(s_channel.astype('uint8'), 175, 250)
    # set 255 to 1
    s_binary[(s_thresh == 255)] = 1

    combined_binary = np.zeros_like(gray)
    combined_binary[(s_binary == 1) | (sxbinary == 1)] = 1

    return combined_binary

processed_image = process_binary(undistort_image)###3. Perspective transformation:
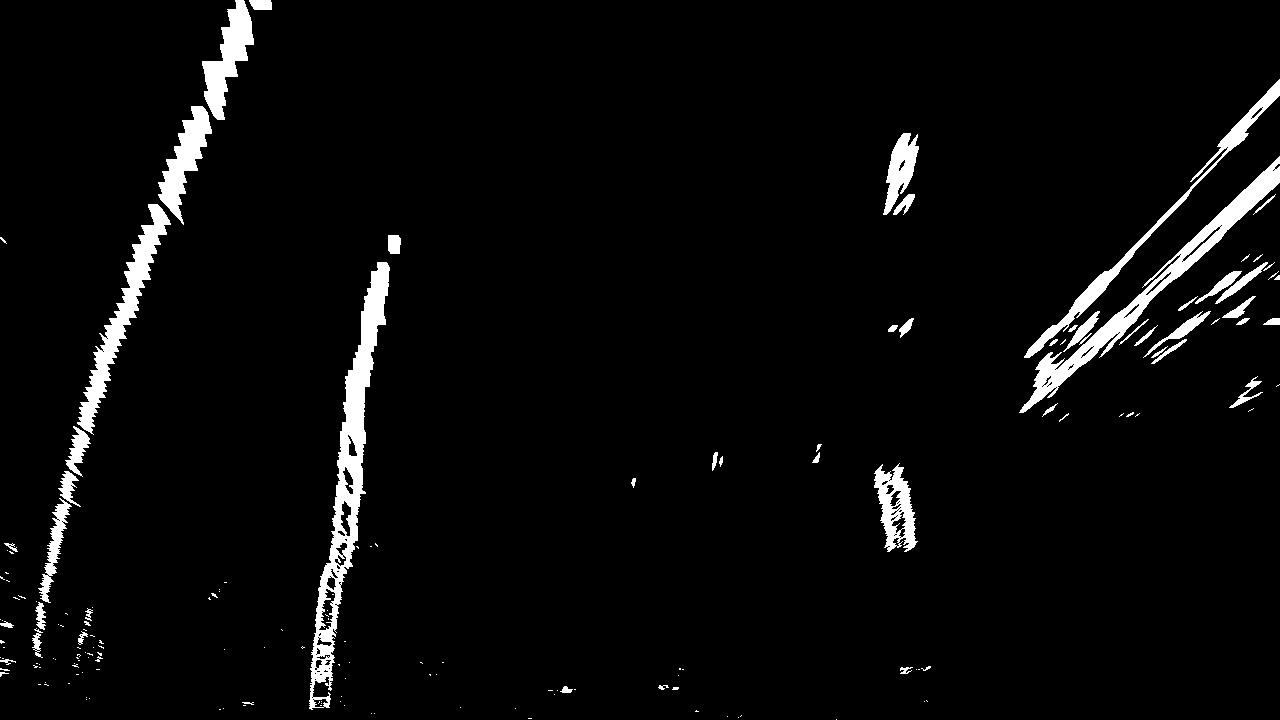
To create a bird eye view of the binary image, I have implemented transform() method of PerspectiveTransformer class in perspective_transformer.py. I chose hardcoded source and destination points in the following manner:
Source and destination points:
| Source | Destination |
|---|---|
| 240, 719 | 300, 719 |
| 579, 450 | 300, 0 |
| 712, 450 | 900, 0 |
| 1165, 719 | 900, 719 |
def transform(self, img):
    """ Transform perspective of image
    Args:
        img: input image
    """
    return cv2.warpPerspective(img, self.M, (img.shape[1], img.shape[0]), flags=cv2.INTER_LINEAR)

src = np.float32([[240,719],[579,450],[712,450],[1165,719]])
dst =  np.float32([[300,719],[300,0],[900,0],[900,719]])
transformer = PerspectiveTransformer(src, dst)
transformed_image = transformer.transform(binary_image)###4. Finding Lanes in Bird Eye View Image
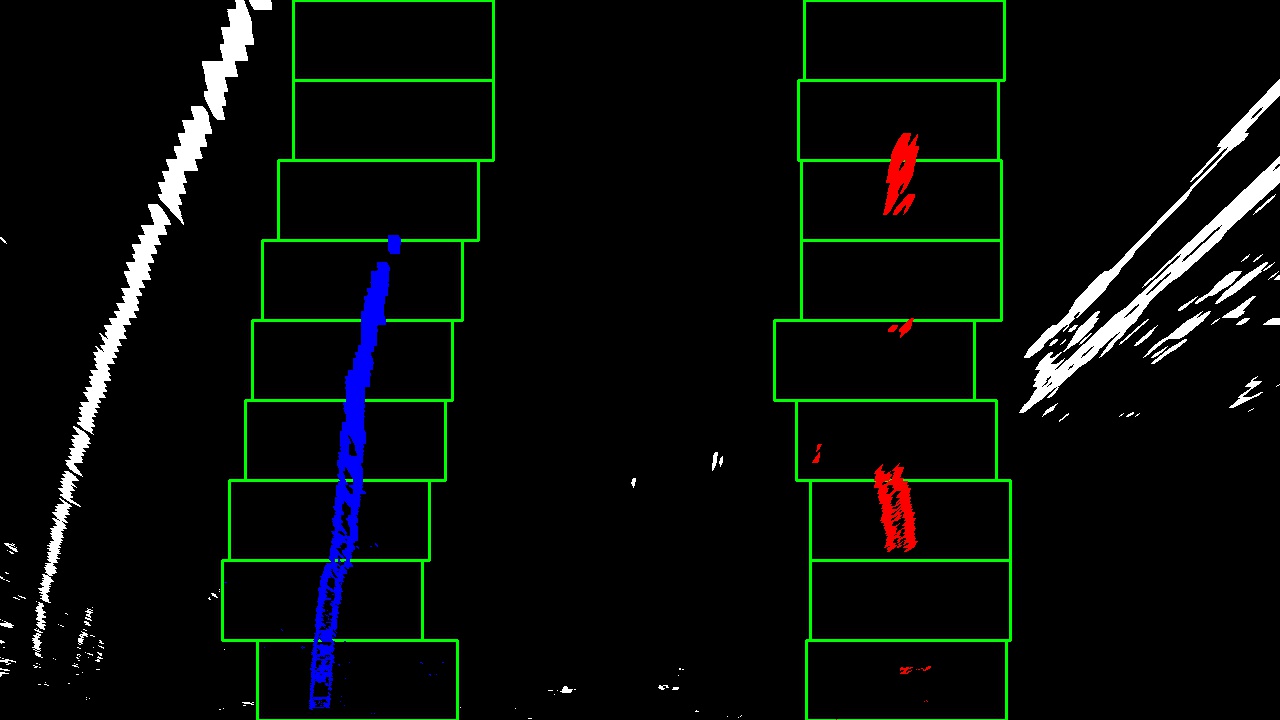
I implemented lanes finder from bird eye view image in find_lanes() method of image_processing.py. The main steps are
- Generated histogram of lower half of the image.
- Divided the histogram in two equal parts, left and right on X axis. We can assume that left line is in left part and right line is in right part.
- Determined the highest peak in left and right part. These two initial points gave the idea of the position of left and right lines to search for.
- Chose the number of sliding windows to be 9 and determined the window size with
np.int(img.shape[0]/nwindows)to slide along the initial points on Y axis and width 100 px. - Chose minimum pixels to search for in each window to be 50.
- Extracted non zero/lane pixels from the current window and appended it to left and right lanes.
- If the current window has lane pixels more than the minimum threshold recentered the search points
- Repeated the above steps
def find_lanes(img):
    """ Find lanes from binary bird eye view image
    Args:
        img: binary bird eye view image
    Returns:
        (left x points, right x points, y points, output image)
    """
    left_fit , right_fit =[], []
    # img is 1D binary array, so output image will be 3 img
    # multiplied by 255 to scale to 0 - 255 from 0 - 1
    out_img = np.dstack((img, img, img))*255

    histogram = np.sum(img[int(img.shape[0]/2):,:], axis=0)
    midpoint = np.int(histogram.shape[0]/2)
    leftx_base = np.argmax(histogram[:midpoint])
    rightx_base = np.argmax(histogram[midpoint:]) + midpoint
    # Choose the number of sliding windows
    nwindows = 9
    # Set height of windows
    window_size = np.int(img.shape[0]/nwindows)
    # Identify the x and y positions of all nonzero pixels in the image
    nonzero = img.nonzero()
    nonzeroy = np.array(nonzero[0])
    nonzerox = np.array(nonzero[1])
    # Current positions to be updated for each window
    leftx_current = leftx_base
    rightx_current = rightx_base
    # Set the width of the windows +/- margin
    margin = 100
    # Set minimum number of pixels found to recenter window
    minpix = 50
    # Create empty lists to receive left and right lane pixel indices
    left_lane_inds = []
    right_lane_inds = []

    # Step through the windows one by one
    for window in range(nwindows):
        # Identify window boundaries in x and y (and right and left)
        win_y_low = img.shape[0] - (window+1)*window_size
        win_y_high = img.shape[0] - window*window_size
        win_xleft_low = leftx_current - margin
        win_xleft_high = leftx_current + margin
        win_xright_low = rightx_current - margin
        win_xright_high = rightx_current + margin
        # print(win_xleft_low, win_y_low, win_xleft_high, win_y_high)
        # Draw the windows on the visualization image
        cv2.rectangle(out_img,(win_xleft_low,win_y_low),(win_xleft_high,win_y_high),(0,255,0), 2)
        cv2.rectangle(out_img,(win_xright_low,win_y_low),(win_xright_high,win_y_high),(0,255,0), 2)
        # Identify the nonzero pixels in x and y within the window
        good_left_inds = ((nonzeroy >= win_y_low) & (nonzeroy < win_y_high) & (nonzerox >= win_xleft_low) & (nonzerox < win_xleft_high)).nonzero()[0]
        good_right_inds = ((nonzeroy >= win_y_low) & (nonzeroy < win_y_high) & (nonzerox >= win_xright_low) & (nonzerox < win_xright_high)).nonzero()[0]
        # Append these indices to the lists
        left_lane_inds.append(good_left_inds)
        right_lane_inds.append(good_right_inds)
        # If you found > minpix pixels, recenter next window on their mean position
        if len(good_left_inds) > minpix:
            leftx_current = np.int(np.mean(nonzerox[good_left_inds]))
        if len(good_right_inds) > minpix:
            rightx_current = np.int(np.mean(nonzerox[good_right_inds]))

    # Concatenate the arrays of indices
    left_lane_inds = np.concatenate(left_lane_inds)
    right_lane_inds = np.concatenate(right_lane_inds)

    # Extract left and right line pixel positions
    leftx = nonzerox[left_lane_inds]
    lefty = nonzeroy[left_lane_inds]
    rightx = nonzerox[right_lane_inds]
    righty = nonzeroy[right_lane_inds]

    # Fit a second order polynomial to each
    left_fit = np.polyfit(lefty, leftx, 2)
    right_fit = np.polyfit(righty, rightx, 2)

    # Generate x and y values for plotting
    fity = np.linspace(0, img.shape[0]-1, img.shape[0] )
    fit_leftx = left_fit[0]*fity**2 + left_fit[1]*fity + left_fit[2]
    fit_rightx = right_fit[0]*fity**2 + right_fit[1]*fity + right_fit[2]

    out_img[nonzeroy[left_lane_inds], nonzerox[left_lane_inds]] = [255, 0, 0]
    out_img[nonzeroy[right_lane_inds], nonzerox[right_lane_inds]] = [0, 0, 255]

    return (fit_leftx, fit_rightx, fity, out_img)

left_fit, right_fit, yvals, out_img = find_lanes(bird_eye_view_image)###5. Find Curvature and Distance Measurements
I implemented this in get_measurements() method of image_processing.py.
def get_measurements(leftx, rightx, ploty):
    """ Calculate lane curvature
    Args:
        leftx: left x points
        rightx: right x points
        ploty: y points
    Returns:
        left curvature, right curvature of lane and distance of vehicle from center
    """
    # Define conversions in x and y from pixels space to meters
    ym_per_pix = 30/720 # meters per pixel in y dimension
    xm_per_pix = 3.7/590 # meters per pixel in x dimension
    y_eval = np.max(ploty)
    # ploty = np.linspace(0, 719, num=720)
    # Fit new polynomials to x,y in world space
    left_fit_cr = np.polyfit(ploty*ym_per_pix, leftx*xm_per_pix, 2)
    right_fit_cr = np.polyfit(ploty*ym_per_pix, rightx*xm_per_pix, 2)
    # Calculate the new radii of curvature
    left_curverad = ((1 + (2*left_fit_cr[0]*y_eval*ym_per_pix + left_fit_cr[1])**2)**1.5) / np.absolute(2*left_fit_cr[0])
    right_curverad = ((1 + (2*right_fit_cr[0]*y_eval*ym_per_pix + right_fit_cr[1])**2)**1.5) / np.absolute(2*right_fit_cr[0])
    # Write dist from center
    center = 640.
    lane_x = rightx - leftx
    center_x = (lane_x / 2.0) + leftx
    cms_per_pixel = 3.7 / lane_x   # US regulation lane width = 3.7m
    distance = (center_x - center) * xm_per_pix

    return (left_curverad, right_curverad, np.mean(distance * 100.0))
###6. Draw lanes on image.
I implemented this in fit_lane() method of image_processing.py.
def fit_lane(warped_img, undist, yvals, left_fitx, right_fitx, transformer):
    """ Draw lane in image
    Args:
        warped_img: binary third eye view image
        undist: undistorted image
        yvals: y points of the lane
        left_fitx: x points of left lane
        right_fitx: x points of right lane
        transformer: perspective transformer
    Returns:
        undistored image with lanes drawn
    """
    # Create an image to draw the lines on
    warp_zero = np.zeros_like(warped_img).astype(np.uint8)
    color_warp = np.dstack((warped_img, warped_img, warped_img))

    # Recast the x and y points into usable format for cv2.fillPoly()
    pts_left = np.array([np.transpose(np.vstack([left_fitx, yvals]))])
    pts_right = np.array([np.flipud(np.transpose(np.vstack([right_fitx, yvals])))])
    pts = np.hstack((pts_left, pts_right))

    # Draw the lane onto the warped blank image
    cv2.fillPoly(color_warp, np.int_([pts]), (0,255, 0))

    # Warp the blank back to original image space using inverse perspective matrix (Minv)
    newwarp = transformer.inverse_transform(color_warp)
    # Combine the result with the original image
    result = cv2.addWeighted(undist, 1, newwarp, 0.3, 0)
    return result

processed_image = fit_lane(bird_eye_view_image, undistort_image, yvals, left_fit, right_fit, transformer)
###Pipeline (video)
####1. Video Result
Here's a link to my video result
##Discussion
- Issues: Had a hard time finding the combination of binary thresholding processes. There are many options such as color, gradient, gradient magnitude, colorspace etc. It was mainly trial and error. Determining the right source and destination points for perspective transform was tricky too. Destination points will form rectangle but determining the corresponding source points is time consuming. Atlast chose hardcoded values.
- Future: Further smoothing on the binary image can be done to reduce noise and remove ouliers. Currently the pipeline shakes a bit in shadows and extra lights. Source points for perspective transform can be determined dynamically. Present points will only work for the given image resolution as well as lane position on the image.


