Ngee Ann Polytechnic Engineering Science Final Year Project with MooVita, 2020
Warning: This repository has been archived indefinitely. I have no plans to continue maintaining this repository. I strongly encourage everyone to port their projects to ROS 2 and avoid Python 2.7 & ROS 1 like the plague. Please see AutoCarROS2 instead.
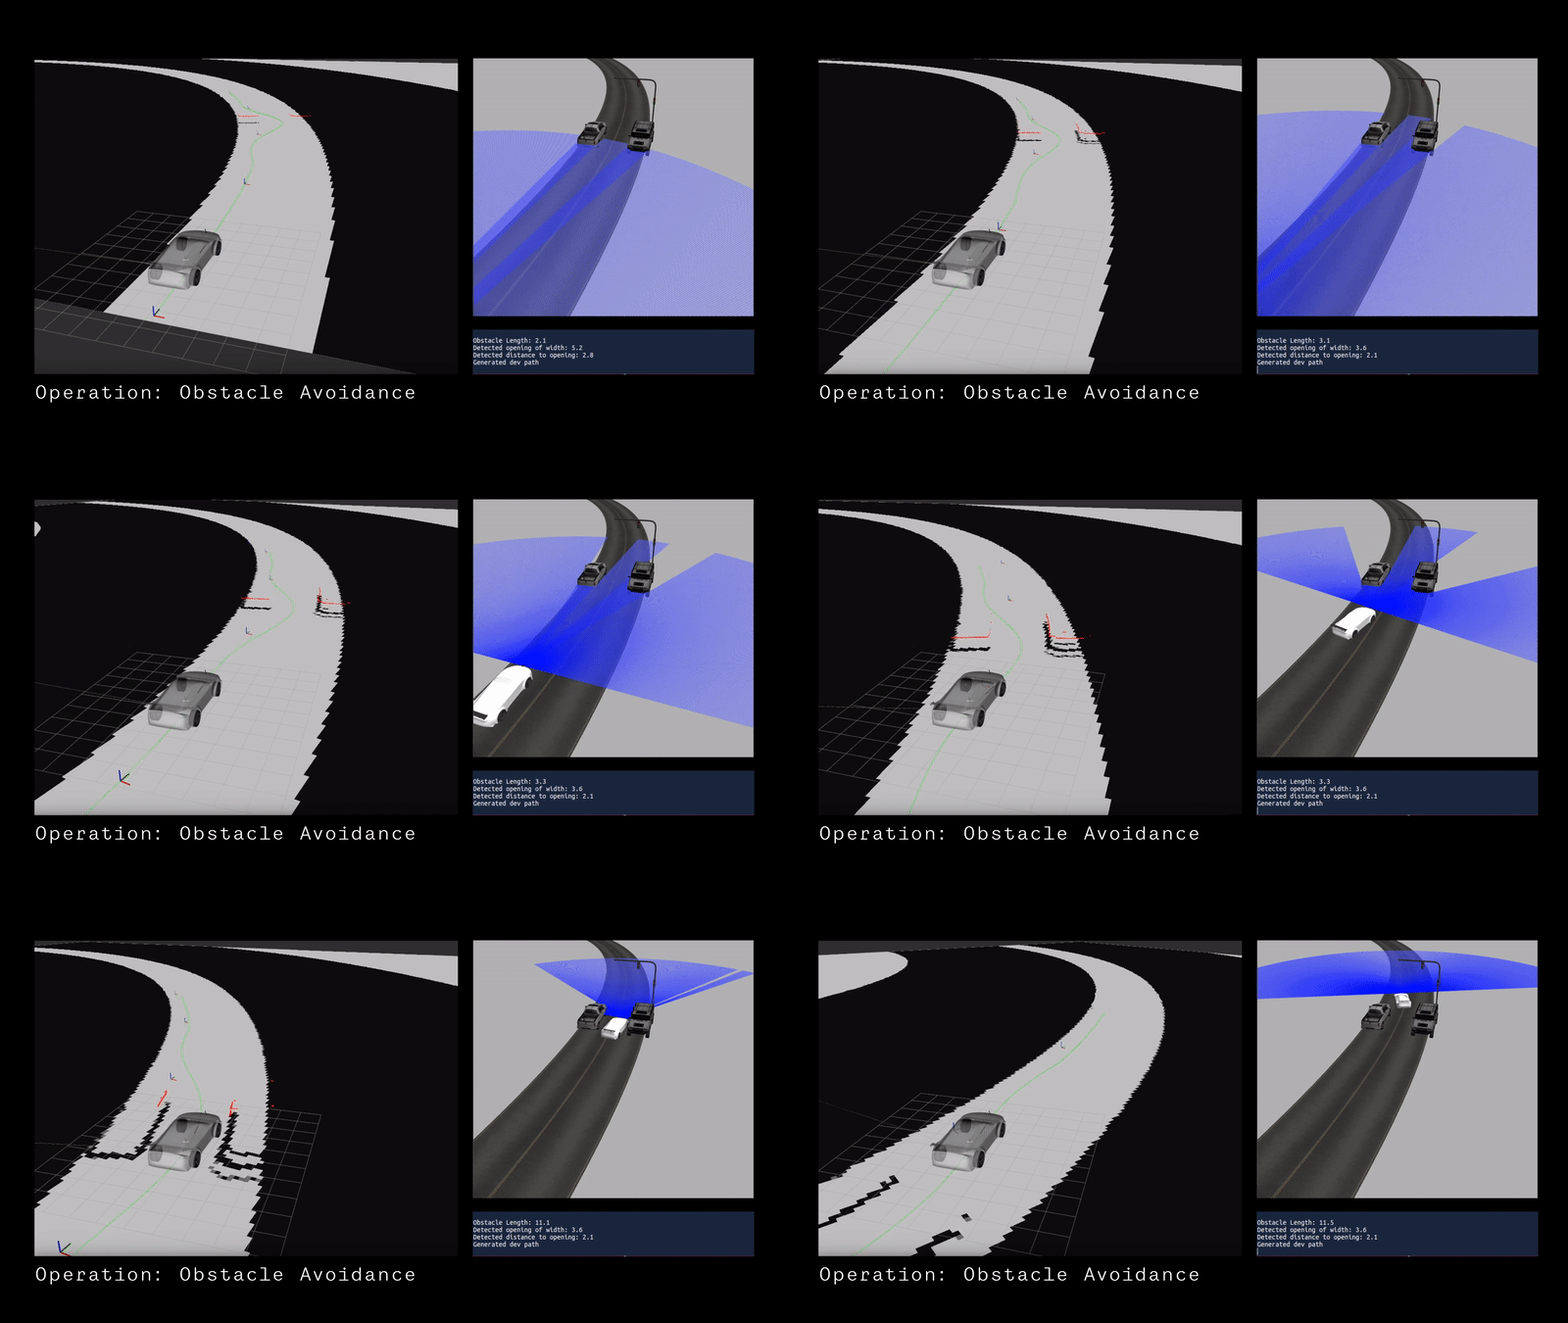
This project contains the stable variant of the fyp-moovita repository. A ROS 2 variant with additional functionality can also be found here. This project covers the development of a robust non-holonomic autonomous vehicle platform in a simulated environment using ROS and Gazebo 7.1. A sense-think-act cycle is implemented to navigate the virtual world, avoiding static and moving objects.
Recommended its equivalent or higher:
- Intel Core i7-8700 Desktop Processor
- NVIDIA GeForce GTX 1080
-
- joint_state_publisher
- joint_state_publisher_gui
- ros_controller
-
Git clone this repository
- Open your terminal
- Go to the directory you wish to clone the repository in
- Type
git clone https://github.com/winstxnhdw/AutoCarROS.git
-
Change directory to your cloned path
- Go to your terminal
- Type
cd <workspace>/src/fyp-moovita
-
Install Desktop-Full ROS Kinetic
- Type
chmod +x ros-kinetic-desktop-full-install.sh - Type
sh ros-kinetic-desktop-full-install.shto install Desktop-Full ROS Kinetic
- Type
-
Install the required packages
- Type
chmod +x requirements.sh - Type
sh requirements.sh
- Type
- Launch ngeeann_av.launch
- Launch your terminal
- Type
catkin_make - Type
roslaunch launches ngeeann_av.launch
- Execute tracker.py
- Type
rosrun ngeeann_av_nav tracker.py
- Type
circle_road_gen.py is a custom script which uses the NumPy library to calculate and generate the three-dimensional point coordinates of a circle for Gazebo's world file. This is primarily used to create a circular road of a certain radius and smoothness. The radius of the circle is calculated from the centre of the circle to the middle of the road (using Gazebo's SDF tag).
-
Download the circle_road_gen.py script if you have not cloned this repository
-
Go to the script's directory
- Open your terminal
- Type
cd scripts
-
Run the script
- Type
python circle_road_gen.py - Input your desired radius in metres
- Input your desired smoothness in degrees (lower value is smoother)
- Copy and paste result into your world file
- Type
More information about cirlce_wp_gen.py can now be found within the WaypointGenerator repository.
| Launch File | Launches | Purpose |
|---|---|---|
| gazebo.launch | gazebo, no world, ngeeann_av | For debugging |
| road.launch | gazebo, road.world, ngeeann_av | Foundational launch file for future launch files |
| display.launch | rviz, ngeeann_av | Foundational launch file for future launch files |
| controller.launch | axle controllers, steer controllers | Foundational launch file for future launch files |
Launches the populated_road.world file into Gazebo and spawns the ngeeann_av onto a populated road world. It also launches ackermann_controller.launch, RViz, the controller spawner and ackermann controller. If your Gazebo does not start, this is because you do not have the required Gazebo models in your models folder. To fix this, you may change the ackermann_vehicle.launch parameters to launch the unpopulated road variant, road.launch.
Launches nodes used by both RViz and Gazebo when visualizing a vehicle with Ackermann steering.
"Because the layman doesn't care unless it looks cool."


